Key takeaways
- Arrangement is a creative decision stage, not admin after the loop.
- A loop that cannot become a two-minute skeleton is not ready for polish.
- Printing audio is often a better professional move than keeping everything editable.
- Gain staging should serve processor behavior and translation, not superstition.
- Reference tracks work best when you compare movement, density and tone separately.
- Revision logs protect finished tracks from emotional decision-making.
A music producer workflow fails fastest when the session rewards activity instead of decisions. A bad music producer workflow can look productive for six hours: new Serum 2 patches, another transient shaper on the clap, four more kick auditions, then no finished arrangement. The trap is not laziness. It is unresolved commitment.
If you are already making clean loops and passable mixes, the ceiling is probably not another compressor tutorial. It is the way your session moves from sketch to arrangement, from sound design to printed audio, from reference track to actual translation. This is where bedroom producers, DJs moving into releases, and artists hiring ghost production help usually lose time. The fixes are not romantic. They are routing choices, print points, reference rules, revision limits, and knowing when a plugin is solving a problem versus hiding indecision.
The Music Producer Workflow Mistake: Treating Arrangement Like Admin
The common music producer workflow failure is separating creativity from arrangement too hard. Producers write an eight-bar loop, then treat the full arrangement as clerical work: copy blocks, mute parts, add risers, bounce. That is backwards. Arrangement is where the hook either earns club time or exposes that the loop was only interesting because nothing changed.
On a CDJ-3000 in a real set, nobody cares that your loop had a beautiful hi-hat texture at bar 5. They care whether the first 32 bars give the next DJ something usable, whether the drop arrives with intention, and whether the second break justifies its length.
Fix the Music Producer Workflow Around Four-Bar Decisions
Stop arranging in 64-bar chunks. Work in four-bar decisions first. If a part does not change the listener’s expectation every four or eight bars, it is probably decoration. I like color markers for entry, promise, payoff, reset. That sounds basic until you apply it to every lead, vocal chop, snare fill and noise sweep.
Your music producer workflow should force one question per phrase: what changed, and why now? If the answer is only that the loop needed movement, delete the move. Fake motion is worse than stillness because it eats headroom and attention.
Arrangement Markers Beat Endless Clip Duplication
In Ableton Live, use locators for DJ-function sections before duplicating clips. Intro, first tension lift, drop A, strip-down, break, drop B, outro. In FL Studio, do the same with arrangement markers and keep pattern names brutally literal. “Perc Top 2 Open 16th” is useful. “Vibe 7” is a tax on your future brain.
This is also where custom music production gets cleaner. A client can argue about a 16-bar break. They cannot usefully argue with a session where every section has a job.
- Build the first rough arrangement before adding the third lead layer.
- Check energy every four bars, not only at drops.
- Name sections by function, not mood.
- Leave DJ-friendly intros and outros unless the release brief says otherwise.
- Cut one transition effect every time you add two new ones.

The Loop Stage Lies About Energy
A music producer workflow usually breaks in the loop because repetition flatters weak ideas. Eight bars on repeat lets the ear invent momentum that is not actually printed. The loop feels huge because your brain already knows the downbeat is coming. A first-time listener does not have that luxury.
Most tutorials overrate loop polish and underrate loop exit strategy. A loop is only useful if it suggests a believable next section. If it cannot survive being copied to a two-minute skeleton with basic mutes, it was not a track idea yet.
The 20-Minute Loop Ceiling
Give the loop 20 minutes after the core groove works. Then duplicate it into a rough timeline. No extra plugins. No new bass sound. Just arrange the obvious version. This is why music producer workflow advice that says “perfect the loop first” wastes serious time. The arrangement tells you what the loop needs, not the other way around.
For tech house or Afro house, I want kick, bass, one drum identity, one hook identity, and one tension device before leaving the loop. That might be a tuned tom, a chopped vocal, or a filter-modulated noise bed. More than that is usually anxiety.
Test Hooks Against Silence, Not More Layers
Mute the drums for two bars before the drop and listen to the hook naked. If the synth riff only works when the full groove is carrying it, it is probably not the hook. Try the same with vocal chops. A dry two-word chop through Soundtoys Decapitator and a short plate can beat a 12-layer call-and-response stack.
The trade-off is harsh: early deletion hurts, late deletion kills sessions. I would rather throw out six average hooks in the first hour than automate their reverb tails for two evenings.
- Cap loop polishing after the groove and hook identity are clear.
- Build a two-minute skeleton before detailed automation.
- Mute the groove to expose whether the hook stands up.
- Avoid adding layers to solve a weak musical idea.
- Use silence as a stress test, not just another transition trick.

Sound Design Without Commit Points Creates CPU Debt
Your music producer workflow needs print decisions, especially if you use heavy synths and spectral processors. Keeping every MIDI part editable feels safe until the session hits 78 percent CPU and every creative move stutters. Then the track starts serving the computer instead of the record.
I am blunt about this: print more audio. If a bass patch depends on Serum 2 unison, a pitch envelope, and two synced LFOs, bounce it once the part works. Save the MIDI lane muted below it if you must. The active arrangement should not be a museum of every possibility.
Commit Points Make a Music Producer Workflow Faster
A serious music producer workflow has commit points after each decision class: groove, bass tone, hook tone, transition FX, pre-mix. At each point, print anything that is no longer being composed. Bass resamples, reverse cymbals, granular fills, and long reverb throws all belong as audio unless they are still harmonically unresolved.
This also improves editing. Audio lets you see transient shape, tail length, and phase relationships without guessing through plugin windows. If the printed bass tail smears into the kick, you will notice faster than you would inside a nested rack.
Do Not Freeze Tracks as a Personality
Freeze is a parking brake, not a workflow philosophy. In Ableton, freeze and flatten when you want the audio. In Logic Pro, bounce in place and label the rendered channel with the source synth and date. In Cubase, render in place with tail settings that match the musical phrase, not the default.
Some parts should stay live. A filter cutoff that drives the whole breakdown belongs editable until late. A one-shot impact with Valhalla VintageVerb printed into a 6-second tail does not.
- Print resampled basses once the groove relationship is working.
- Keep live MIDI only where composition or automation is still open.
- Render long FX tails so their timing becomes visible.
- Archive muted MIDI sources below printed audio tracks.
- Label prints with source and purpose, not random version numbers.
Gain Staging Superstition Wastes Better Decisions
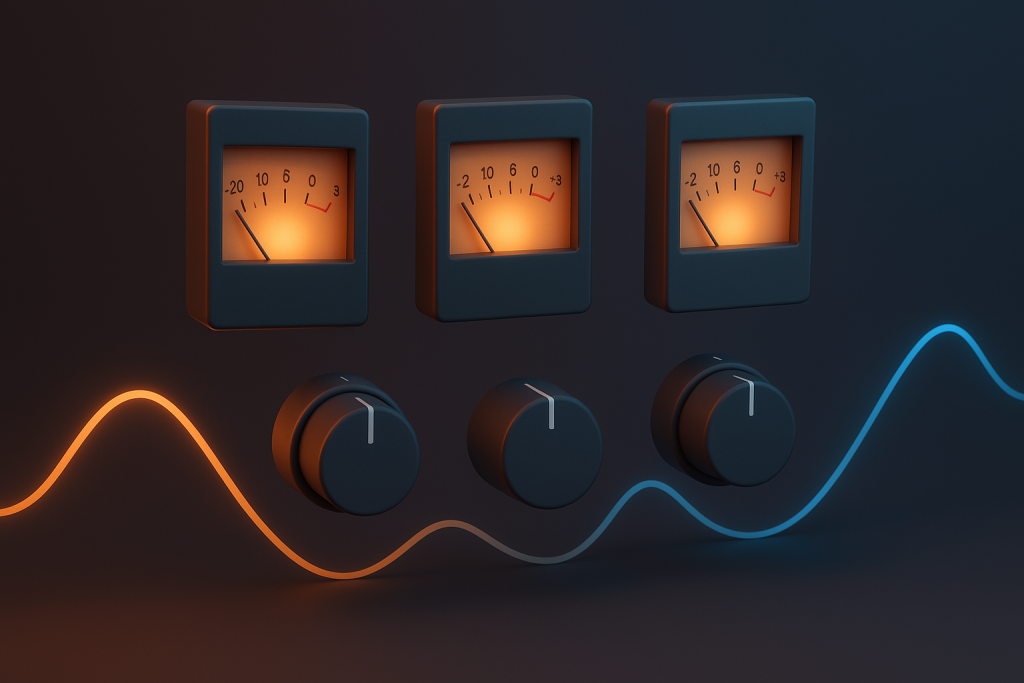
Most music producer workflow templates talk about gain staging like there is one sacred number. There is not. The useful target is translation headroom and predictable processor behavior. A channel peaking at -12 dBFS is not morally better than one peaking at -7 dBFS if the gain structure feeding your saturators, compressors and bus processing is intentional.
Where producers get burned is plugin input behavior. An analog-modeled 1176, a soft clipper, Soothe2, and a linear-phase EQ do not react to level the same way. Gain staging is not tidiness. It is DSP context.
Where Gain Staging Fits Before the Mix Bus
In a club-focused music producer workflow, I want the kick and bass relationship stable before broad mix moves. Leave around -6 dB peak headroom on the premaster, but do not worship the number. Watch whether your drum bus compressor changes groove when the open hat enters. That is a musical problem, not a spreadsheet problem.
Use FabFilter Pro-Q 4 for corrective EQ before saturation if the resonance is ugly. Use saturation before EQ if the tone needs harmonics first. On bass, a 1.5 dB cut around 220 Hz can clear boxiness, but only if the kick fundamental and bass note actually fight there.
Sidechain Ducking Is Not a Substitute for Arrangement
Sidechain ducking with Kickstart 2, ShaperBox, or a compressor keyed from a ghost kick is useful. It is not a license to let every low-mid element talk over the kick. If the pad, tom, bass fill and vocal reverb all need ducking at the drop, the arrangement is overcrowded.
I prefer simple envelope shaping before complex sidechains. Shorten the bass note. Trim the reverb return below 180 Hz. Put the tom fill in a different octave. Then use sidechain for groove, not rescue.
- Set levels for processor behavior, not cosmetic meter targets.
- Keep roughly -6 dB peak headroom before mastering decisions.
- Use sidechain for groove after arrangement space exists.
- Check drum bus compression when new percussion enters.
- EQ low-mid conflicts by musical role, not by memorized frequency charts.

Reference Tracks Fail When You Copy Loudness
A music producer workflow gets weird when the reference track becomes a loudness contest. Producers drag in a mastered Fisher, Peggy Gou, ANOTR or Anyma record, hear the size difference, and start crushing their premaster. That teaches the wrong lesson. The reference is already mastered. Your job is to compare movement, density, spectral balance and arrangement function at matched perceived loudness.
LUFS-I can help across the full track, but LUFS-S tells you more during drops, breaks and transitions. Peak level tells you almost nothing about why the groove feels expensive.
Use LUFS-S Inside the Music Producer Workflow
Use LUFS-S for short sections and level-match by ear after metering. If your drop feels smaller at the same short-term loudness, check transient density and low-end envelope before reaching for a lookahead limiter. A limiter can raise level, but it cannot invent groove contrast.
Your music producer workflow should include three reference passes: arrangement map, tonal balance, and motion. Do not do all three at once. The ear starts chasing brightness when the real issue is that your break has no harmonic reveal.
Match Movement, Not Just Spectrum
Spectrum analyzers are useful, but static matching is a trap. A Schroeder reverb tail, a convolution room, and a tempo-synced delay can fill the same frequency range while creating completely different motion. If the reference breathes every two bars and your track sits still, no EQ curve will save it.
Listen for automation rates. Filter opens over 16 bars feel different from stepped cutoff moves every two bars. Mid/side EQ can place width above 5 kHz, but width without timing is just haze.
- Level-match references before judging size.
- Use LUFS-S for drops and breaks, LUFS-I for whole-track context.
- Separate arrangement, tone and motion passes.
- Avoid mastering-chain decisions while still writing transitions.
- Compare automation timing as carefully as frequency balance.

Revision Chaos Is the Silent Track Killer
The final music producer workflow mistake is pretending revisions live in memory. They do not. Once a track has artist notes, label feedback, or a ghost production brief, undocumented changes become dangerous. Version 14 might sound worse than version 8, but nobody remembers why the vocal delay was shortened or why the second drop bass fill disappeared.
That keeps the music producer workflow emotional. You start defending decisions because they took time, not because they still serve the record. A revision system removes that fog.
A Revision Log Beats Another Bounce Folder
Use a plain text log next to the DAW project. Date, version, change, reason. “v07, shortened first break from 32 to 24 bars, keeps club energy before vocal hook.” That sentence is worth more than ten mystery bounces named FINAL2_REAL_MASTER.wav.
For ghost production, music producer workflow discipline is part of the product. The client may never see your routing, but they will feel the difference when requested changes come back focused instead of randomly rebalanced.
Stem Exports Need Rules Before Feedback Starts
Decide stem groups before anyone comments: drums, bass, music, vocals, FX, returns if needed. Print from bar 1. Keep tails. Use 24-bit WAV. Do not normalize stems unless requested. If you are delivering for a mix engineer, include dry and wet vocal versions when the effects are part of the identity.
Most revision pain comes from changing export rules mid-project. Once feedback starts, consistency beats cleverness.
- Keep a dated revision log beside the DAW session.
- Name bounces by version and purpose, not emotion.
- Export stems from bar 1 with tails intact.
- Separate creative notes from technical fixes.
- Stop revising once the change list starts repeating itself.
| Decision Point | Best Tool Or Method | Bad Habit To Avoid | Useful Target |
|---|---|---|---|
| Loop exit | Two-minute rough arrangement | Polishing eight bars for hours | Core groove, hook and tension device |
| Sound design commit | Bounce in place or flatten audio | Keeping every synth live forever | Visible tails, stable CPU, editable archive |
| Low-end control | Envelope edits plus sidechain ducking | Ducking everything against the kick | Kick and bass relationship that works quietly |
| Reference checking | LUFS-S matched A/B passes | Copying mastered loudness | Movement, density and tonal balance |
| Client revisions | Dated text change log | Mystery bounce folders | Clear reason for every version |
Further reading
- Ableton Live concepts — Ableton's official manual is authoritative for DAW workflow, arrangement concepts and session behavior.
- Sound On Sound referencing — Sound On Sound is a long-running technical publication trusted for professional recording, mixing and production education.
Frequently asked questions
What is a good music producer workflow for finishing tracks?
A good music producer workflow moves through decisions in order: loop, rough arrangement, sound commitment, balance, reference passes, revisions and export. The main point is not speed. It is preventing the session from reopening solved problems every time you hear a new issue.
How long should I spend on an eight-bar loop?
If the groove and hook are working, cap detailed loop work around 20 minutes and build a rough timeline. The full arrangement will expose missing energy faster than another hour of hi-hat swaps, extra fills or synth layer auditioning.
Should I print MIDI to audio while producing?
Yes, once the part is musically decided. Print resampled basses, FX tails, one-shot impacts and dense synth layers. Keep muted MIDI backups if needed. Audio makes timing, phase, tail length and CPU load easier to manage during serious arrangement work.
How should I use reference tracks without copying them?
Level-match the reference, then separate the listening passes. First check arrangement shape, then tonal balance, then movement and automation. Copying loudness from a mastered file is the wrong lesson. The useful information is density, contrast and timing.
What headroom should I leave before mastering?
Around -6 dB peak headroom is a safe working target, but it is not a magic rule. More important is avoiding unwanted clipping, feeding processors at sensible levels, and keeping the kick, bass and drum bus behavior stable before limiting.
How do ghost producers manage revision requests?
Good ghost producers use version logs, clear stem rules and specific change notes. Each bounce should have a reason, not just a louder limiter or a new file name. That keeps feedback focused and stops the track from drifting away from the brief.
Conclusion
The strongest music producer workflow is not the one with the prettiest template. It is the one that forces decisions before the session bloats. Arrange earlier. Print sounds when they stop being questions. Treat gain staging as DSP context. Reference movement instead of mastered loudness. Log revisions like the track may matter in three months, because it might.
None of this kills creativity. It protects it from fake work. Try this in your next session: after the first solid loop, build a rough arrangement immediately and write one sentence for what every section is supposed to do. If a part has no job, mute it before you mix it.
Music producer workflow — Quick Recap
The fastest way to lock in music producer workflow is to internalise the workflow above and repeat it on every project. Start small: pick one technique from this music producer workflow guide, apply it to your next session, and audit the result against a reference track.
- Arrangement is a creative decision stage, not admin after the loop.
- A loop that cannot become a two-minute skeleton is not ready for polish.
- Printing audio is often a better professional move than keeping everything editable.
- Gain staging should serve processor behavior and translation, not superstition.
Treat music producer workflow as a habit, not a one-off — the producers who consistently nail music producer workflow are the ones who run the same checks on every track. That’s the difference between a clean, club-ready master and a track that sounds great at home but falls apart on a real system.
In a real studio session, music producer workflow comes down to the order in which you make decisions: reference first, gain stage second, then the creative work. Producers who treat music producer workflow as a checklist instead of a vibe end up shipping more tracks.
Most producers and DJs undervalue music producer workflow because the wins are invisible until the track plays back on a real system. Bake music producer workflow into your template and the next ten projects benefit automatically.
When you struggle with music producer workflow, the fix is rarely a new plugin. Loop a problem section, A/B against a reference, and isolate which element is breaking your music producer workflow.
My Career makes videos from your own track and posts them for you, pitches your release to 34,000+ labels, playlists, radio stations, YouTube channels and blogs, puts it in every store and briefs you every morning. Free plan, no card, two minutes to set up.