 By Emma Carter · November 14, 2026
Key takeaways
- Choose the sample’s job before editing pitch, warp, or effects.
- Vocal chops need envelope control, EQ, and sidechain to sit in a drop.
- One-shots become instruments only after root key, range, and envelope are fixed.
- Resampling your own track creates fresh fills without clearance risk.
- Before-and-after bounces expose whether processing improved the sound.
How to sample in Ableton starts with choosing a job for the sound before you touch warp markers. Is this sample the hook, a texture, a bass layer, a fake instrument, or a transition? Decide that first. Then chop with intent.
We are going to build practical EDM and pop parts: vocal chops that answer the lead, one-shot instruments that play like patches, resampled drop fills, and safer sample choices when you do not want clearance drama. Use Ableton Live’s Simpler, Sampler, Drum Rack, EQ Eight, Saturator, Utility, and Resampling input. Nothing exotic. Open a session. Set the project to 128 BPM, leave around -6 dB on the master, and work in 4-bar phrases. Club tracks forgive weird sounds. They do not forgive sloppy timing.
How to sample in Ableton without stealing the hook
Start with boring legal discipline. If the recognizable part is the reason you love the sample, assume somebody else will recognize it too. Pitching a famous vocal down 5 semitones does not magically make it yours. Filtering the intro of a chart record is still risky.
Use source material where the musical identity is not already doing all the work: your own voice notes, paid royalty-free packs with clear terms, session singers, public-domain recordings, foley, or one-shot notes you can replay. The creative part comes after the safe choice.
Make the sample less like a quote
Cut tiny pieces. One syllable. One breath. One consonant. Load them into Simpler in Slice mode, transient slicing first. If Ableton misses the consonant, switch to manual slice points and place the marker just before the attack.
Then change the musical function. A vocal phrase becomes a stab rhythm. A guitar note becomes a pluck. A crowd shout becomes a snare layer. That is the difference between sampling and borrowing somebody else’s chorus.
- Record your own phone memo and chop the cleanest 2 seconds.
- Keep a screenshot or PDF of any royalty-free license.
- Avoid famous hooks, acapella rips, and TikTok-identifiable vocals.
- Replay the rhythm with new notes instead of looping the original phrase.

Build vocal chops that sit like a synth lead
Vocal chops work when they behave like an instrument, not a folder of random syllables. Pick one vowel family first. Ah, eh, and oh sounds layer well. Hard consonants create groove, but too many of them turn the part into typewriter noise.
Drag the vocal to a MIDI track with Simpler. Choose Slice mode. Set playback to Mono, because overlapping syllables blur fast in a busy drop.
How to sample a vocal into a playable hook
Set warp mode to Complex Pro only if the vocal needs heavy pitch movement. For short chops, Beats or Texture often sounds tighter. Try Transpose at +7 semitones for a pop lift, or -3 semitones for a darker pre-drop answer.
Now clean it. Open EQ Eight. High-pass at 120 Hz. Cut 3 to 6 dB around 250 Hz if the chop clouds the kick and bass. Add a narrow dip near 3.5 kHz only if the consonants stab your ear. Listen in context. Solo lies.
Before and after A/B check
Render two bars before processing, then render two bars after EQ, envelope shaping, and sidechain. Label them vocal_chop_raw and vocal_chop_drop_ready. The finished version should feel shorter, brighter, and more locked to the kick. If it just sounds louder, turn it down and fix the envelope.
- Attack: 0 to 3 ms for tight EDM chops.
- Decay: 180 to 450 ms for short hook notes.
- Release: under 120 ms if the drop is dense.
- Sidechain: 2 to 5 dB of gain reduction from the kick.
- Pan doubles 15 to 30 percent left and right for width.

Turn one-shots into instruments, not sample spam
A one-shot is not automatically an instrument. You have to give it pitch tracking, envelope behavior, range, and a reason to exist. A single house piano hit, vocal stab, bottle tap, or plucked string can become the main riff if you control it properly.
Map the root note first
Drop the one-shot into Sampler. Find the root note with Ableton’s Tuner or by matching it against a simple sine from Operator. Set the root key correctly. If the source is an F but Sampler thinks it is C, every chord you play will feel wrong before you know why.
Limit the playable range. Most one-shots sound good across maybe 7 semitones, sometimes an octave. Past that, transients get rubbery. Duplicate the chain and use another sample for higher notes if needed.
Shape it like a patch
Use a short amp attack, 2 to 8 ms, to remove clicks. Pull sustain down if the sample has room noise. Add Filter Drive around 2 to 4 dB if the part needs density. For a pluck, low-pass around 8 kHz and modulate cutoff with an envelope amount of 20 to 35 percent.
- Use Sampler when you need key zones, loops, or velocity layers.
- Use Simpler when the part is one sound and one job.
- Add Corpus quietly for metallic plucks and bell-like top end.
- Freeze and flatten once the MIDI part feels committed.
Walkthrough: Resample a boring drop into a fresh fill
Resampling is where Ableton gets fun. You can print your own synth, chop it like stolen audio, and avoid stealing anything. Good deal. We will take a plain 4-bar drop loop and turn the last beat into a fill.
Print the source
Make a new audio track. Set Audio From to Resampling. Arm it. Solo the lead, bass top, and vocal chop group, but leave the kick out. Record bars 5 to 9. You now have your own mini sample pack from the track itself.
Cut the last half bar. Reverse it. Consolidate. Set warp mode to Beats, Preserve Transients, and reduce Transient Envelope to around 65. That tightens the tail without smearing the groove.
Process the fill hard
Add Auto Filter before the fill hits. High-pass sweep from 200 Hz to 1.2 kHz over one beat. Add Redux at 12-bit for grit, then Saturator with Soft Clip on and Drive around 3 dB. Keep Utility after everything and pull the fill down until it supports the drop instead of announcing itself like a DJ tag.
- Record 4 bars through Ableton’s Resampling input.
- Cut the final half bar and reverse it.
- Warp in Beats mode for sharper rhythm.
- Sweep the low end out before the downbeat.
- Render a before and after fill for level matching.

Keep the groove tight with warp, timing, and gain
The fastest way to ruin a sample is to let it flam against the drums. Zoom in. Do not guess. Put the first transient on the grid, then check the second important hit. If the feel drifts, fix the warp markers before adding effects.
Pick the right warp mode
Use Beats for drum loops and choppy rhythmic vocals. Use Complex Pro for full vocals, but do not leave Formants at the default if the voice turns cartoonish. Move Formants between 70 and 130 until the throat sounds believable. Use Texture for pads, breaths, and noisy tails.
Gain staging matters. Clip gain the sample so it peaks around -12 to -8 dB before plug-ins. Leave the channel fader near unity while you design. If the master is already red, you are not making a better sample. You are making a louder problem.
- Place warp markers on musical hits, not random waveform spikes.
- Check chops against the kick in mono for timing problems.
- Trim silent tails before compression.
- Use fades of 2 to 5 ms to kill clicks.
- Keep low-end samples mono below 120 Hz.
Export before-and-after examples like a serious producer
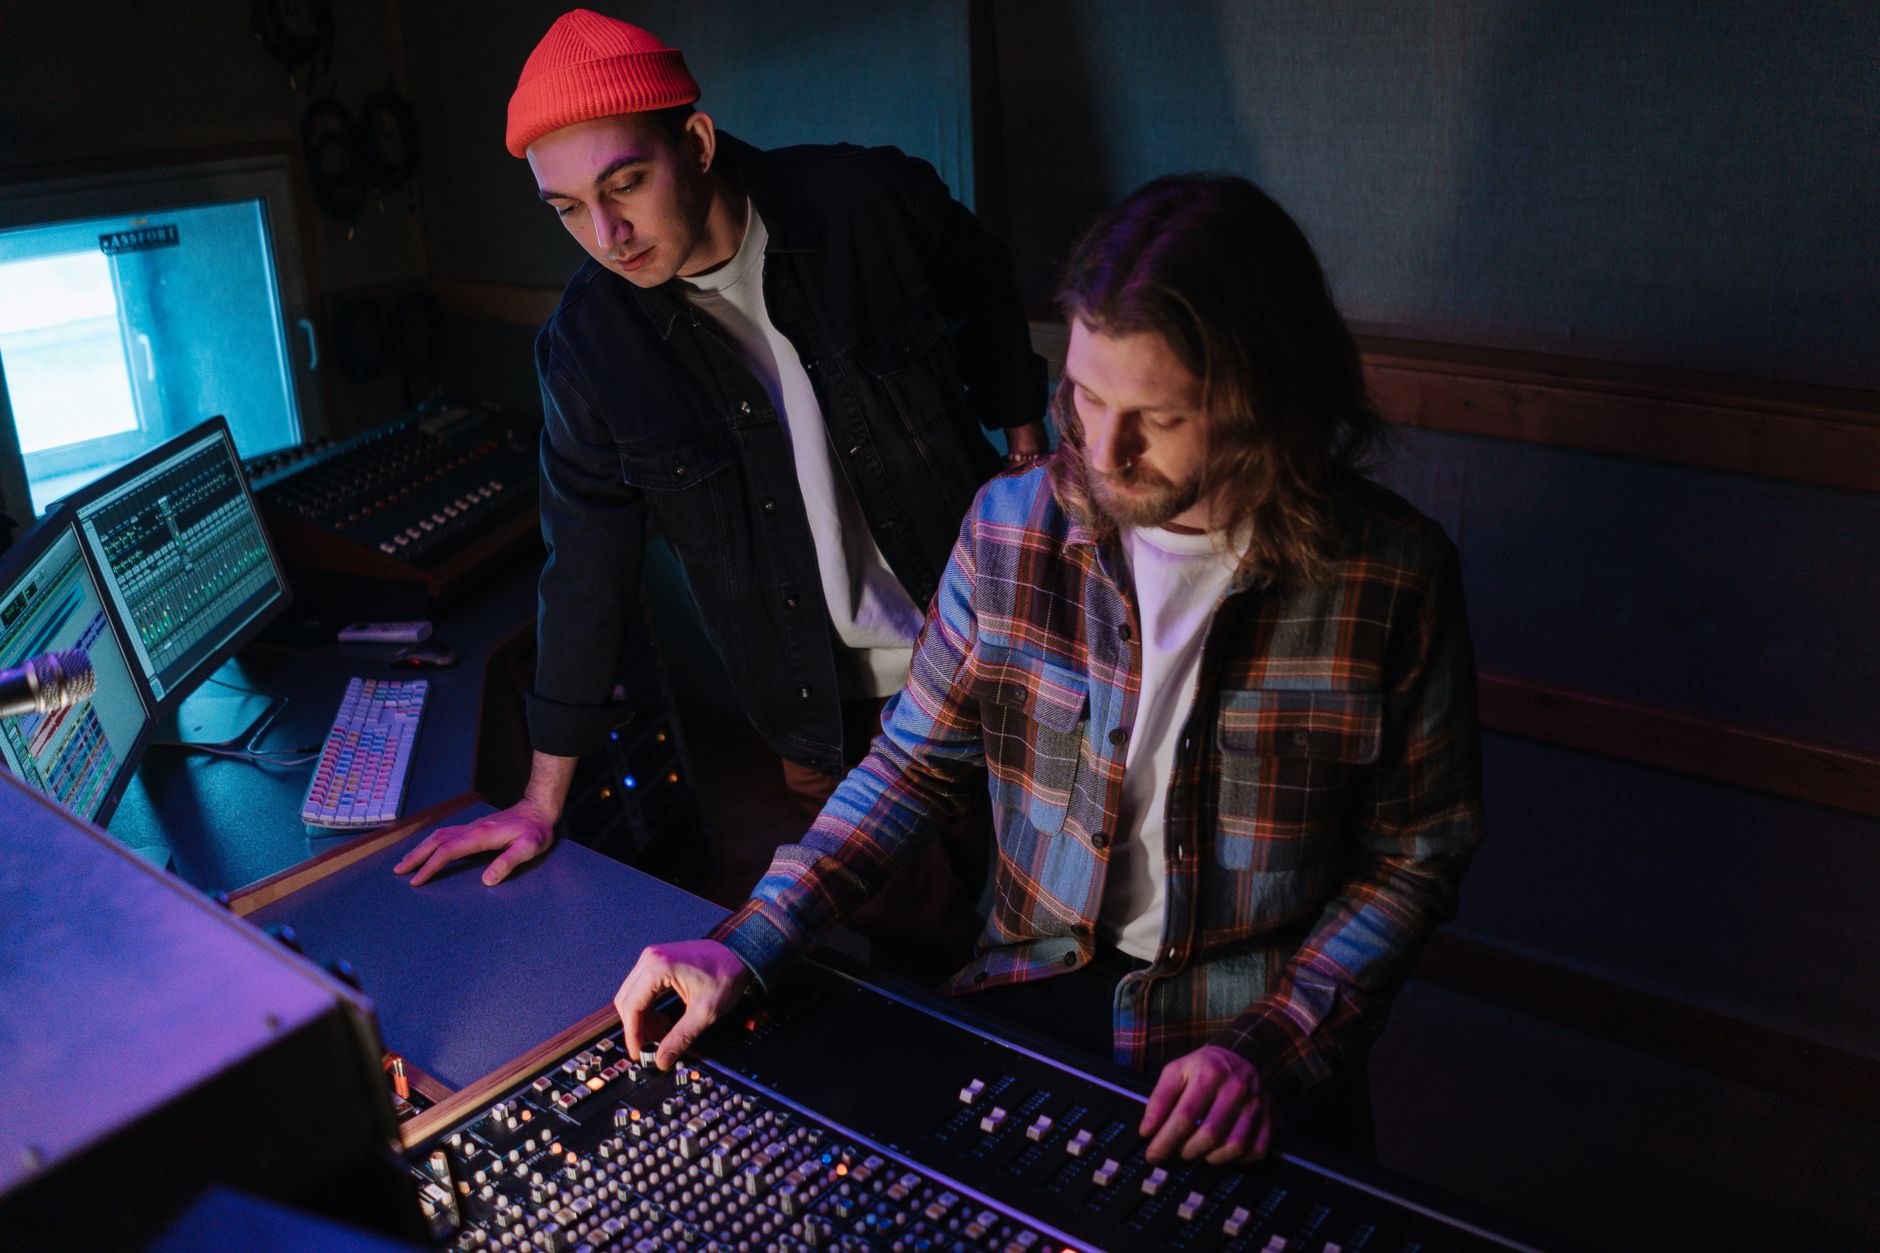
If you are sending ideas to a vocalist, artist, label, or ghost production client, show the transformation. A folder of mystery audio does not explain your taste. A short before-and-after bounce does.
Create one audio track called A_RAW and one called B_PROCESSED. Put them at the same loudness. This matters. Louder nearly always fools people.
Use short clips with clear names
Export 8 to 16 seconds per example. Name files by job: vocal_chop_raw_128bpm, vocal_chop_processed_128bpm, resampled_fill_before, resampled_fill_after. Keep peaks around -6 dB so nobody hears clipping and blames the idea.
If you are learning how to sample for pop or EDM work, this habit teaches faster than collecting another pack. You hear the decision, then the result. That feedback loop is brutal, useful, and honest.
- Bounce raw and processed versions at matched loudness.
- Use 24-bit WAV for archive files.
- Export MP3 references only for quick messaging.
- Keep one dry backup before flattening tracks.
| Use case | Best Ableton tool | Starting settings | Print audio when |
|---|---|---|---|
| Vocal chops | Simpler Slice mode | Mono, transient slices, 0-3 ms attack | The rhythm and pitch feel locked |
| Playable one-shot | Sampler | Correct root key, limited key range, short fades | The MIDI part is written |
| Drop fill | Resampling input | Record 4 bars, reverse half bar, Beats warp | The fill answers the downbeat |
| Textural pad | Simpler Classic mode | Texture warp, long release, filtered highs | The atmosphere supports the chord |
Further reading
- Ableton instrument reference — Ableton's official Live 12 manual explains Simpler, Sampler and related instrument controls used in the workflow.
Frequently asked questions
How to sample in Ableton without copyright problems?
Use your own recordings, commissioned vocals, properly licensed royalty-free packs, or public-domain sources you have verified. Do not rely on pitch shifting, reversing, or filtering to hide a famous sample. Keep license records with the project folder so you can prove where the sound came from later.
Is Simpler or Sampler better for vocal chops?
Simpler is faster for most vocal chops because Slice mode maps transients across MIDI notes immediately. Sampler is better when you need key zones, velocity layers, loop points, or more detailed modulation. For EDM hooks, start in Simpler, then move to Sampler only if the part needs deeper control.
What warp mode should I use for sampled vocals?
Use Complex Pro for longer melodic vocals, especially when changing pitch. Use Beats for short rhythmic chops where transient punch matters more than natural tone. Texture works well for breaths, pads, and airy fragments. Always check the vocal against the drums, not in solo.
Should I resample MIDI parts before finishing a track?
Yes, once the part is arranged. Resampling forces decisions and gives you audio you can reverse, stretch, chop, fade, and process without endless MIDI tweaking. Keep a muted backup of the original instrument track in case the key, chord, or arrangement changes later.
Conclusion
how to sample well is mostly decision-making. Pick safer sources. Chop smaller. Tune the root note. Warp by ear, then by grid. Print your own material through resampling when the track needs movement but you do not want legal baggage. Ableton gives you enough tools inside the box: Simpler for speed, Sampler for control, Drum Rack for performance, and Resampling when you need fresh audio from your own session.
Try this in your next session: make one vocal chop, one playable one-shot, and one resampled fill from the same 8-bar idea. Bounce the raw and processed versions. If the after file does not groove harder, go back and change one decision, not ten.
My Career makes videos from your own track and posts them for you, pitches your release to 34,000+ labels, playlists, radio stations, YouTube channels and blogs, puts it in every store and briefs you every morning. Free plan, no card, two minutes to set up.