

 By Emma Carter · November 11, 2026
Massive xl morphing works when one patch can shift from tight bass stab to wide tearing lead without loading a new sound. The second pass matters too: massive xl morphing should feel playable, not like six random LFOs fighting each other.
The useful setup is simple. Start with Native Instruments Massive X for wavetable movement, map a few macros with intent, then use Cableguys ShaperBox 3 or host automation when the synth runs out of hands. Keep the patch loud enough to judge, but leave around -6 dB of headroom before processing. If you are making tracks for DJs, ghost production briefs, sample packs or custom hooks, this is the stuff that makes a loop sound expensive in eight bars instead of busy for no reason.
Massive XL Morphing Starts With Macros, Not Random LFOs
Build one clear performance layer before you add movement. A good morph patch needs a spine: one macro for tone, one for motion, one for width, and one for aggression. If every oscillator, filter and effect has its own free-running LFO, the patch will never land the same way twice.
In Massive X, I usually put Macro 1 on wavetable position and filter cutoff, Macro 2 on FM amount or phase modulation, Macro 3 on Dimension Expander-style width, and Macro 4 on drive into the filter. Keep each range small at first. A 20 percent sweep often sounds stronger than a full-range wobble.
Massive XL Morphing Macro Map
Start with four controls you can play from a MIDI controller. Map them to hardware knobs if you have one. Record a 16-bar pass, then edit the best two bars. That gives you human timing without messy automation everywhere.
For club bass, keep sub level static. Morph the harmonics above 120 Hz instead. The low end should feel locked while the top half moves.
- Macro 1: wavetable position plus low-pass cutoff
- Macro 2: FM amount, phase modulation or bend mode depth
- Macro 3: stereo width above 250 Hz only
- Macro 4: filter drive, noise level or insert distortion
Massive X Is the Core Synth, Not the Whole Sound
Massive X gives you the raw morphing tone, but the finished patch comes from the chain around it. The synth is strong at wavetable scanning, flexible routing and modulation curves. It is less fun when you expect it to solve groove, ducking, stereo discipline and mix translation by itself.
Use the two oscillators as contrast. Put a smooth wavetable on Oscillator 1, then a brighter, more nasal table on Oscillator 2. Crossfade them with a macro. Send one oscillator through a cleaner filter and the other through a driven path. That simple split gives massive xl morphing a reason to move.
Routing That Actually Reads
Parallel routing beats stacked chaos. One clean lane and one damaged lane will read better than four distorted modules in series. Try a clean low-pass path for body and a band-pass path into distortion for bite.
After the synth, trim the output. If your channel peaks at 0 dB before EQ, you are judging distortion instead of tone. Pull it down and make decisions at a sane level.
- Keep one oscillator stable while the other scans
- Use separate filter paths for body and edge
- Print a dry version before heavy processing
- Gain-stage the synth before adding external effects
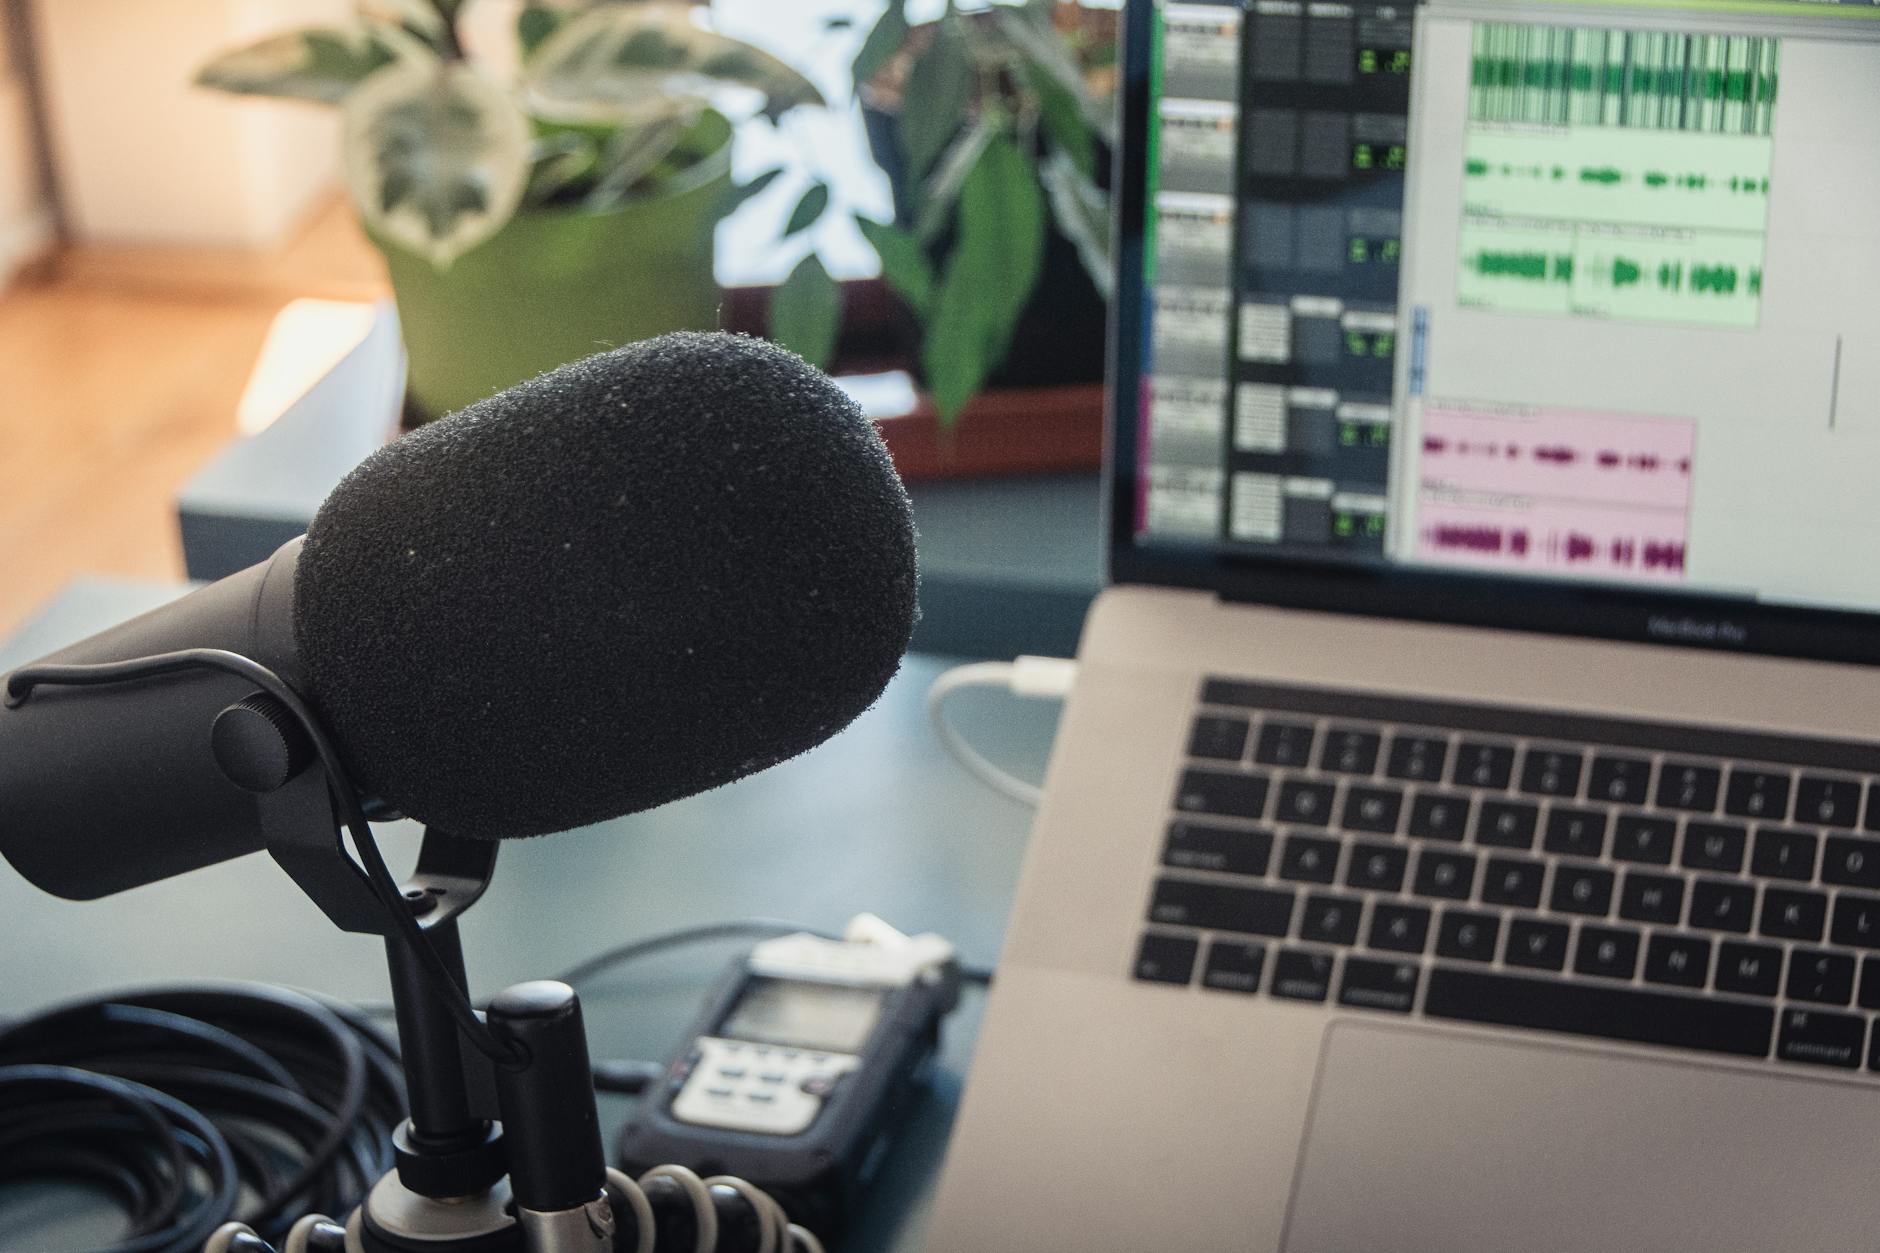
ShaperBox 3 Makes Movement Feel Mixed, Not Just Modulated
ShaperBox 3 is the fast fix when a morph patch moves well but sits badly. Massive X can generate the motion. Cableguys ShaperBox can make that motion breathe with the drums, especially on basses, plucks and risers.
VolumeShaper is the obvious tool for sidechain ducking, but the better move is mixing shapes. Use a short 1/8-note dip for kick space, then a slower 1-bar FilterShaper or PanShaper lane for ear candy. That keeps the groove stable while the upper mids move around it.
Sidechain Before Width
Ducking comes before stereo tricks. If the kick and bass fight, widening the sound only spreads the fight across the mix. Set the duck first, then widen frequencies above 200 to 300 Hz.
For massive xl morphing basses, I like 40 to 70 ms of deep duck on the kick transient, then a curved return that finishes before the next offbeat. It feels cleaner than a long pump on fast techno or tech house grooves.
- VolumeShaper: short kick duck with curved release
- FilterShaper: slow tonal sweep on the top layer
- PanShaper: tiny movement above the mono bass
- WidthShaper: narrow verses, wider fills

Bitwig and Ableton Automation Are Still the Best Editors
The DAW wins when you need the morph to follow the arrangement. Synth modulation is great inside a loop. Arrangement automation decides when the sound opens, tightens, answers the vocal or gets out of the way before the drop.
In Ableton Live 12, record macro moves, then simplify the automation so it has phrase logic. In Bitwig Studio, modulators can be nested and mixed with clip automation, which is excellent for controlled chaos. Either way, draw the big shape first: closed for 4 bars, rising for 4 bars, wide for 2 bars, then snapped shut before impact.
Four-Bar Morphing Beats Constant Motion
Most club phrases still speak in fours, even when the sound design is wild. Let the patch earn its movement. A static first bar makes the second bar feel bigger. A narrow seventh bar makes the eighth-bar fill feel wider.
Use automation breakpoints like arrangement markers. If every beat changes, the DJ loses the groove and the listener loses the hook.
- Bar 1: stable tone, low width
- Bar 2: introduce wavetable movement
- Bar 3: open filter and add drive
- Bar 4: tighten before the kick or fill returns
Free Download Searches Need a Safety Filter
Free patches can help, but random zip files are a bad studio habit. Searches like massive xl morphing for modern sound design free download often lead to recycled preset packs, broken installers or sketchy links pretending to be Native Instruments content.
Use official freebies, trusted community libraries and clean preset folders you can audition fast. If a download asks for a cracked installer, skip it. You do not need a piracy problem to get one usable wavetable bass. A small pack with 20 organized macros is worth more than 2,000 unlabeled patches.
How to Judge a Free Morphing Pack
Open five presets and check the macros before you save anything. If Macro 1 does nothing useful, the pack was probably made for screenshots, not music. Good sound design labels movement clearly: tone, bite, width, motion, noise, pitch or FX.
Also check gain. If every patch clips your master, it was built to impress in isolation. Turn it down and compare against your own track, not the preset browser.
- Avoid downloads that bundle installers you did not ask for
- Keep presets in a separate quarantine folder first
- Reject patches with unlabeled or useless macros
- Normalize loudness before comparing presets
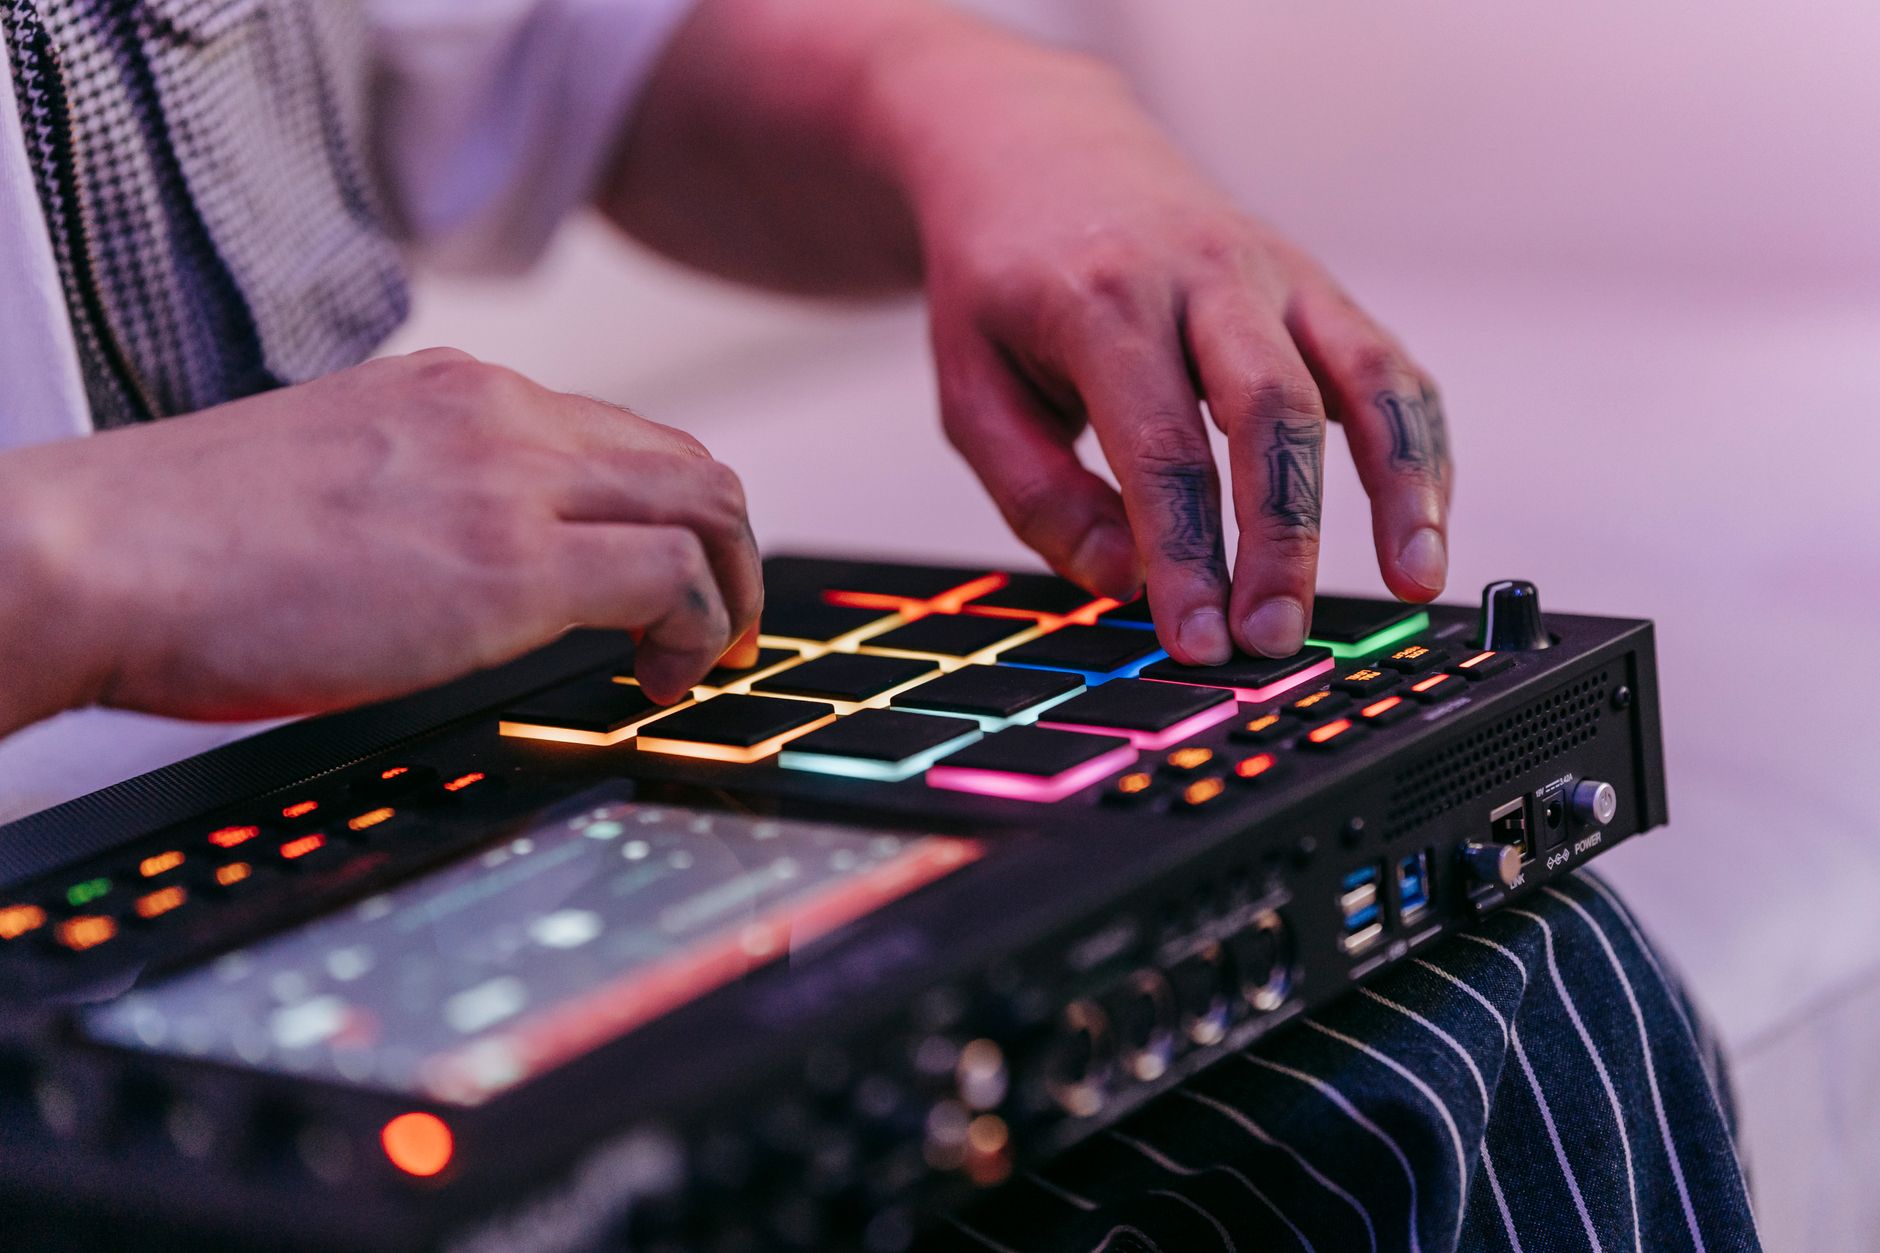
Layer Diva for Weight When Massive X Gets Too Glassy
u-he Diva is not a morphing monster, and that is exactly why it helps. Massive X can get sharp, glassy and digital in a good way. Diva gives you the boring, heavy center: a saw, a filter, a little detune and no drama.
Layer Diva under a morphing Massive X lead when the hook sounds exciting but thin. Keep Diva mostly static. Low-pass it around 3 to 6 kHz, trim the stereo width, and let Massive X handle the animated top. This contrast makes massive xl morphing sound finished instead of synthetic for its own sake.
Static Analog Layer, Moving Digital Layer
Do not make both layers perform the same trick. If Diva and Massive X open at the same time, you get volume creep and midrange fog. Let Diva carry note weight while the wavetable layer handles expression.
Check the phase around 100 to 250 Hz. If the layered patch loses punch in mono, high-pass Diva slightly or shift its octave. Weight is useful only if it survives a club system.
- Diva: mono or narrow support layer
- Massive X: moving stereo harmonics
- High-pass the animated layer if the low mids smear
- Check mono before printing the stack
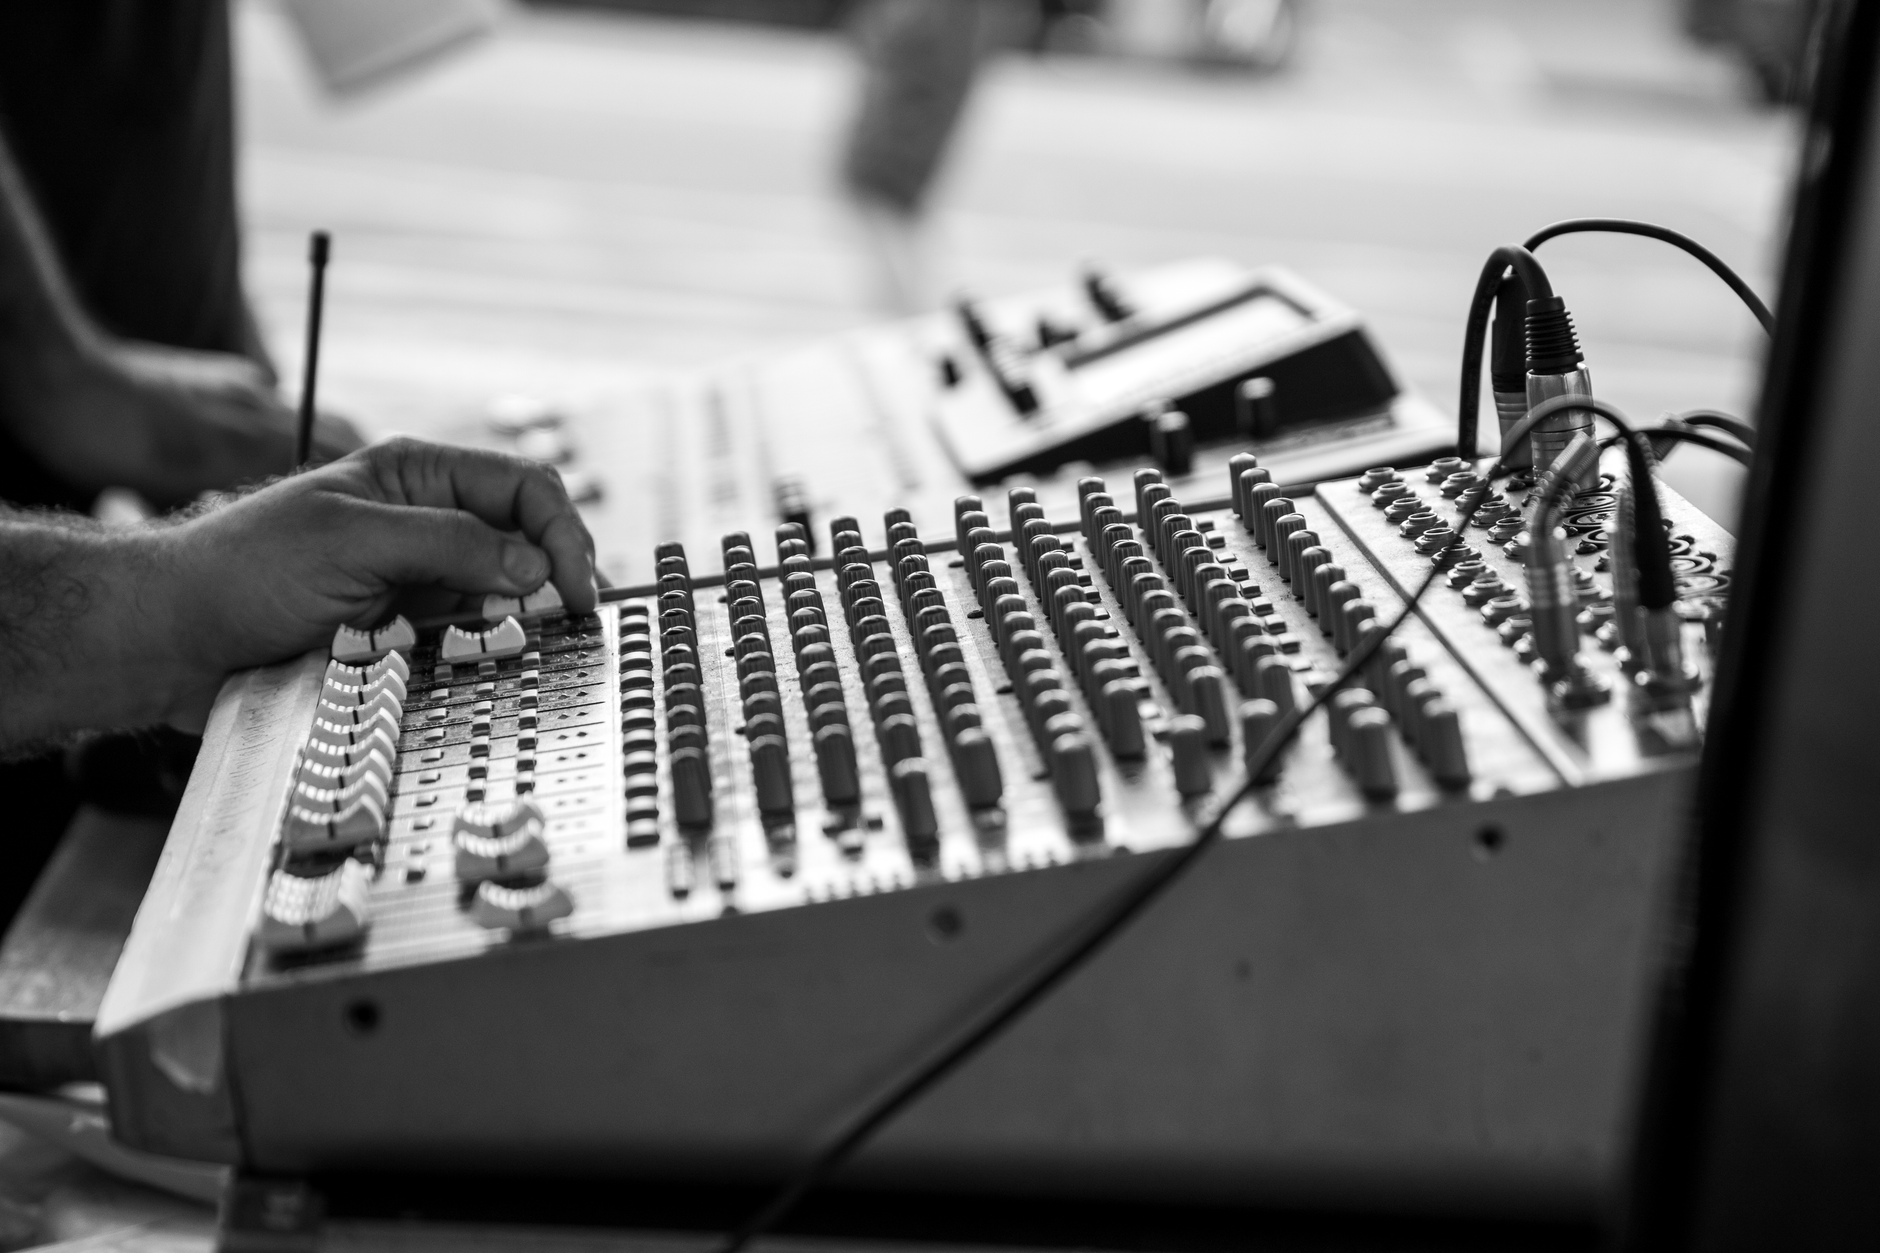
Print Audio Early and Resample the Best Two Bars
Resampling turns an over-flexible patch into an actual part. Keep the live synth while you are designing. Once the movement works, print 16 bars of knob passes, then cut the two bars with the best attitude.
This is where modern sound design starts sounding like a record. Reverse a tiny slice into the downbeat. Pitch one printed copy down 12 semitones for a fill. Chop the tail and feed it into a short reverb. Audio makes massive xl morphing editable in a way MIDI often does not.
Commit Without Trapping Yourself
Print versions, not final answers. Bounce one dry pass, one processed pass and one exaggerated pass. Label them by tempo and key. You can always go back to the synth, but you probably will not need to.
For ghost production sessions, printed audio is cleaner for handoff. Stems open faster, revisions are easier, and the client hears the sound you approved instead of a missing preset warning.
- Print 16 bars of macro movement
- Cut the strongest 2-bar phrase
- Render dry, wet and exaggerated versions
- Name files with BPM, key and patch role
Mix the Morph Like a Lead Vocal, Not a Background Pad
A morphing synth usually needs its own lane in the mix. If it carries the hook, treat it like a vocal. Clear space around it, automate its level and control its harsh points instead of burying it under reverb.
Start with subtractive EQ. Sweep for pain around 2.5 to 5 kHz, then cut 1 to 3 dB with a medium Q. If the sound has low-mid cardboard, try a small cut around 220 to 350 Hz. Use dynamic EQ only where the movement gets spiky. Static cuts can make the quiet parts too dull.
Mid/Side EQ for Wide Morphs
Keep the center useful and the sides decorative. Low-cut the side channel up to 150 or 200 Hz. If the sides hiss, tame 7 to 10 kHz. If the center feels nasal, check 800 Hz to 1.2 kHz before reaching for more saturation.
Automation beats one perfect setting. A hook can be brighter in the drop and darker in the breakdown. Let the arrangement decide.
- Cut harsh peaks around 2.5 to 5 kHz
- Control mud around 220 to 350 Hz
- High-pass side information below 150 to 200 Hz
- Automate level by phrase, not just by section

Use Presets as Parts, Then Rewrite the Performance
A preset is a tone source, not your finished hook. The fastest way to make a preset sound less borrowed is to rewrite its motion. Change macro ranges, swap the LFO rate, alter the wavetable start point and record your own automation pass.
This matters for artists using custom music production services too. If the brief asks for a specific reference, the sound may need the same energy, but not the same fingerprint. Massive xl morphing gives you room to keep the attitude while changing the performance enough that the track has its own identity.
Three Edits Before You Keep Any Preset
Change rhythm, range and role. Rhythm means the movement speed. Range means how far the macro travels. Role means whether the patch is a bass, lead, stab, riser or response.
If all three stay the same, you are using the preset as written. If you change all three, you have probably designed a part that belongs to the track.
- Move LFO timing from 1/4 to 3/16 for tension
- Reduce filter travel if the hook gets too bright
- Turn a lead preset into a call-and-response stab
- Save your edited version with a project-specific name
| Tool | Best Use | Morphing Move | Trade-Off |
|---|---|---|---|
| Native Instruments Massive X | Core wavetable basses, leads and FX | Macro-controlled wavetable scans, routing changes and filter drive | Needs careful gain staging and macro discipline |
| Cableguys ShaperBox 3 | Groove, ducking and timed movement after the synth | Volume, filter, pan and width curves locked to the beat | Can make patches feel over-edited if every lane moves |
| Ableton Live 12 | Arrangement-level automation and resampling | Recorded macro rides, clip edits and audio chops | Automation lanes get messy without naming and color coding |
| Bitwig Studio | Nested modulation and experimental control | Modulators mixed with clip automation and device macros | Easy to overbuild patches that are hard to revise |
| u-he Diva | Static analog weight under digital movement | Stable saw or pulse layer supporting the moving top | Not the right tool for extreme wavetable morphing |
Worth a deeper read on this: NI's new Massive XL is nicely overstuffed but easier to … and Massive XL.
Questions producers actually ask
What is massive xl morphing in sound design?
massive xl morphing means building a large, playable morphing patch around Massive-style wavetable movement, macros and external modulation. The goal is not just a moving preset. It is a sound that can change role across a phrase while staying mixable, repeatable and useful in a track.
Is Native Instruments Massive XL a separate synth?
Most producers searching that phrase are usually talking about Native Instruments Massive X, the older Massive, or an expanded preset workflow around them. Check the exact product name before downloading anything. Official Native Instruments products and licensed expansions are safer than random files labeled as Massive XL.
Can I get Massive XL morphing for modern sound design free?
You can find free presets and tutorials, but be picky. Use official sources, trusted creators and clean preset folders. Avoid cracked installers, bundled executables and packs with unlabeled macros. A small free bank with proper modulation mapping beats a huge folder of broken or clipped presets.
Which plugin is best for morphing bass sounds?
Massive X is a strong first pick for wavetable bass morphing because its macros, oscillators and routing are built for movement. For final groove, pair it with ShaperBox 3 or DAW automation. Keep the sub stable and morph the harmonics above it.
Should I use LFOs or macros for modern morphing patches?
Use both, but macros should lead. Macros give you performable control over tone, width and aggression. LFOs add repeatable movement inside that range. If the LFOs control everything, the patch can sound random and hard to arrange.
How do I stop morphing synths from sounding harsh?
First, reduce modulation range. Then check 2.5 to 5 kHz for painful peaks and use dynamic EQ if the harshness appears only during bright macro positions. Avoid fixing everything with reverb. A harsh morphing lead usually needs less range, cleaner gain and tighter EQ.
What to remember
- Macro design matters more than stacking random LFOs.
- Massive X handles the core wavetable movement, but ShaperBox and DAW automation make it fit the groove.
- Free morphing preset downloads need safety checks before they touch your main library.
- Layering a static Diva part under Massive X can add weight without blurring the motion.
- Print audio early so the best morphing pass becomes an editable arrangement part.
- Mix morphing hooks like lead elements, with dynamic EQ, mid/side control and phrase-level automation.
Wrapping up
massive xl morphing is strongest when the patch has a job: bass that opens before the drop, a lead that widens on the answer, or an FX hit that carries tension across four bars. Massive X gives you the animated core. ShaperBox, Ableton, Bitwig and careful resampling turn that motion into a track part instead of a preset demo.
Keep the sub steady. Map fewer controls. Print the best pass. Then mix the morphing layer with the same care you would give a vocal hook. Try one four-macro patch in your next session and bounce three audio passes before you add another synth.
My Career makes videos from your own track and posts them for you, pitches your release to 34,000+ labels, playlists, radio stations, YouTube channels and blogs, puts it in every store and briefs you every morning. Free plan, no card, two minutes to set up.


