

Granular synthesis turns audio into tiny playable slices, so granular synthesis can stretch a vocal into a pad, smear a piano hit into a cloud, or make a hi-hat sound like glass dust. Think of it like freezing a video and scrubbing through individual frames, except the frames are little audio fragments called grains. You do not need to understand the maths first. You need to know which controls change the sound, where the ugly artifacts come from, and how to make the result sit in an EDM mix without covering the kick, vocal or drop lead.
This is a beginner walkthrough, but it uses real settings. We will cover grains, density, position, pitch, useful DAW tools, stronger VST choices, hardware options, and a few practical patches you can build in one loop.
Granular synthesis in plain English
Imagine tipping a bag of rice onto a table. One grain is tiny, but thousands together make a shape. Audio works the same way here. A grain is a very short snippet of sound, often 5 to 100 milliseconds long. The synth plays many grains back in controlled patterns, which can sound smooth, choppy, frozen, metallic or airy.
The source matters. A plain saw wave gives you a clean synthetic blur. A vocal breath gives you human texture. A cymbal gives you sparkle. A piano chord gives you cloudy harmony. Start with a sample that already has character, because the process magnifies whatever is inside it.
Granular synthesis controls: Grain size, position, density
Grain size is the length of each slice. Short grains around 5 to 20 ms sound buzzy or sharp. Medium grains around 30 to 80 ms work well for pads. Long grains above 100 ms can expose the original sample more clearly.
Position is where the playback head sits inside the sample. Modulating position slowly across 4 or 8 bars creates movement. Density is how many grains play per second. Low density feels broken. High density feels like mist. Jitter means random variation, useful in small amounts, usually 5 to 20 percent.
- Start grain size at 50 ms for pads, then adjust by ear.
- Keep density medium before adding reverb, or the mix gets cloudy fast.
- Use slow position movement for texture instead of random movement everywhere.
- Pitch grains by +12 semitones for shimmer, -12 for darker swells.
- Use a short fade or window setting to avoid clicks between grains.

Granular synthesis examples you can build in one loop
Think of a photocopier zooming into one corner of a picture. The original image is still there, but it becomes texture more than a literal object. These patches do the same with audio. They take one simple source and exaggerate a small detail until it becomes a part.
Work in an 8-bar loop with kick, bass and a simple chord progression already playing. Granular sounds can feel impressive soloed, then useless in context. Build them against the groove from the start.
Vocal pad from one chopped word
Drop a dry vocal word into your granular tool. Set grain size to 70 ms, density to 35 grains per second, position around the vowel, pitch spread to 7 semitones, and attack to 80 ms. Add a low-pass filter at 7 kHz if it starts hissing.
Then sidechain duck it from the kick by 2 to 4 dB. Sidechain ducking means one sound turns another down briefly. In this case, the pad steps out of the kick’s way without disappearing.
Percussive shimmer from a closed hat
Use a closed hi-hat sample, not a crash. Set grain size to 12 ms, density to 20 grains per second, pitch +12 semitones, random pitch around 3 semitones, and decay under 300 ms. Pan spread at 40 percent is enough.
High-pass at 500 Hz, then notch any whistle around 3 to 6 kHz. This gives you a bright transition layer without dumping white noise over the whole drop.
- For uplifters, automate grain position forward across 8 bars.
- For impacts, freeze one chord and pitch it down -12 semitones.
- For ghostly backing vocals, keep the dry sample barely recognizable.
- For techno tension, automate density upward before the drop.
- For cleaner breaks, print the granular part to audio and cut dead space.

Granular synthesis Ableton, FL Studio and Logic Pro workflows
Different DAWs are like different kitchens. A sharp knife, a small pan and a heavy oven can all cook the same ingredient, but the workflow changes how fast you get there. Use the native tool first if you already own it. Buy a specialist plugin only when you can hear what is missing.
Ableton Live: Granulator III and audio resampling
In Ableton Live 12 Suite, Granulator III is the obvious first stop. Drag in a vocal, synth stab or field recording. Set grain size around 60 ms, spray under 25 percent, and scan position with a slow LFO over 4 bars. An LFO is a low-frequency oscillator, which means a slow automatic movement source.
Record the output to a new audio track. Once it is printed, chop the best 2-bar section, fade the edges, and treat it like a sample. This keeps you from endlessly tweaking a beautiful mess.
FL Studio: Fruity Granulizer without the harsh top end
Fruity Granulizer can get spiky if you push randomization too hard. Load a short vocal or synth stab, set grain spacing near the middle, keep wave spacing low, and use the hold control for frozen tones. Route it to a mixer track immediately.
Add Parametric EQ 2 after it. High-pass at 150 Hz, dip 2 to 4 dB around 2.5 kHz if it bites, then use Fruity Limiter only for catching peaks, not for making it loud.
Logic Pro: Alchemy as the safe first choice
Logic Pro users should start with Alchemy in granular mode. Import a sample, select granular playback, then set grain size around 80 ms and position modulation to a slow, synced movement. Use the filter envelope if the part needs to bloom into a chorus.
Alchemy can sound polished fast, which is useful for pop-leaning EDM. The trade-off is that it can become too pretty. Distort lightly after it if the part needs grit.
- Use Ableton when you want fast resampling and arrangement edits.
- Use FL Studio when you want quick rough textures from simple samples.
- Use Logic Pro when you want smooth pads and controlled modulation.
- Print a version before changing the source sample.
- Keep the original dry sample muted nearby for reference.

Best granular synthesis VST and hardware choices
A plugin is like a camera lens. The sample is the scene, but the lens decides whether it looks sharp, smeared, wide or warped. For most bedroom producers, a VST is the right buy before hardware. It recalls with the project, automates cleanly, and costs less than a dedicated box.
Granular synthesis VST picks worth learning
Output Portal is strong for turning drums, vocals and synth loops into rhythmic movement. Keep the mix knob around 20 to 40 percent at first. Arturia Efx Fragments is better when you want polished delays, reverse grains and tempo-synced motion. Audio Damage Quanta 2 is more of a true granular instrument, good for playable pads and keys.
If you already design sounds in Xfer Serum 2, resample your patch to audio first, then process that bounce through a granular effect. Wavetable motion into grains can get rich fast, but keep only the part that serves the track.
Hardware, pedals and online tools
Tasty Chips GR-1 and 1010music Lemondrop are dedicated granular hardware options. They make sense if you enjoy hands-on sampling and performance. Hologram Microcosm is the better pedal choice for guitarists, synth players and ambient transitions, though it is less precise than a full plugin.
Granular synthesis online tools are fine for learning the concept, but I would not build a release around a browser patch. Use them to hear grain size and density changes, then rebuild the sound in your DAW where you can save, automate and mix properly.
- Choose Portal for fast rhythmic effects on loops.
- Choose Efx Fragments for clean transitions and modern ear candy.
- Choose Quanta 2 for playable granular instruments.
- Choose Lemondrop if you want compact hardware with sample control.
- Choose Microcosm if you want a pedal for performance textures.
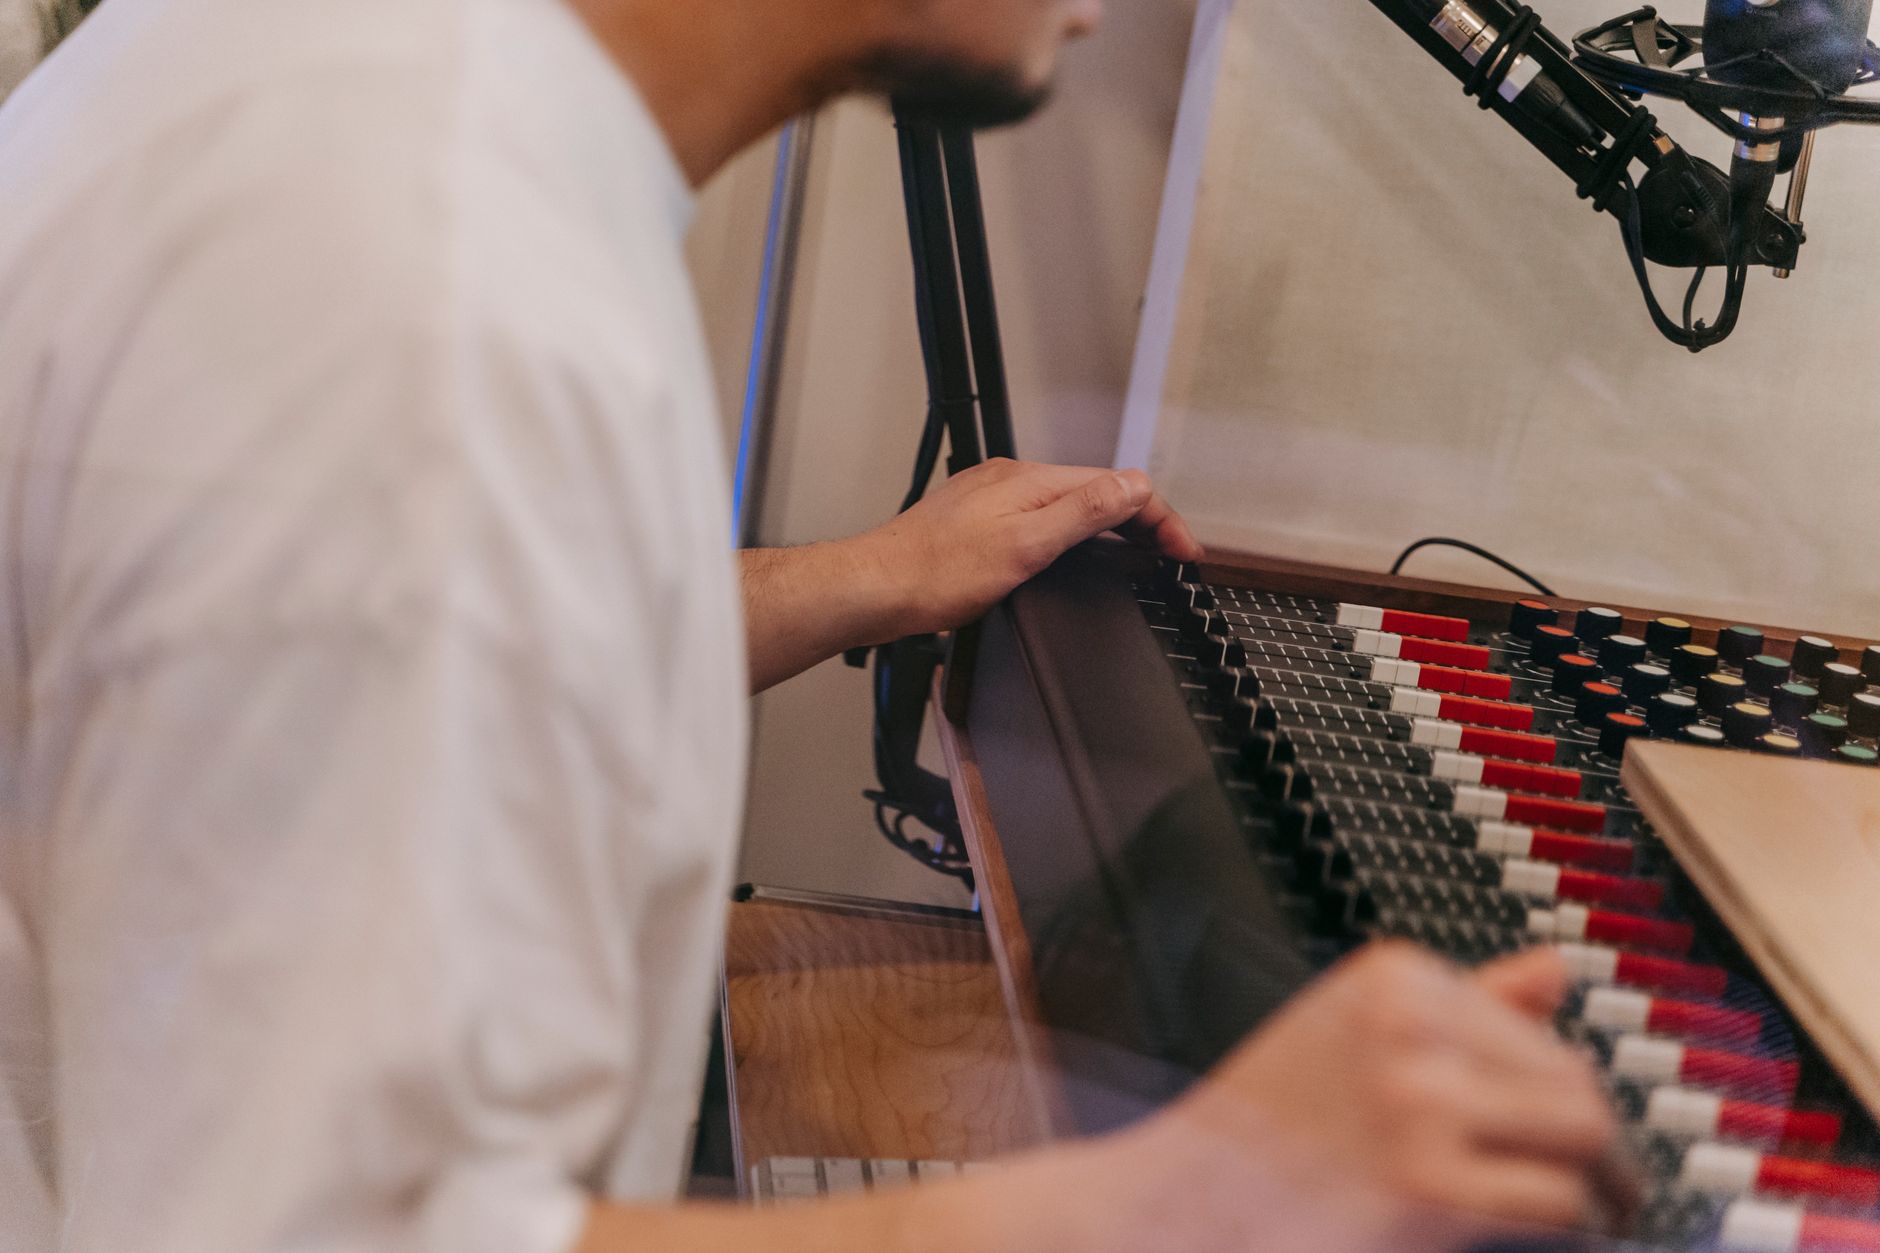
Mixing granular sounds so they sit in EDM
A granular layer is like a fog machine at a show. A little makes the lights visible. Too much hides the DJ, the dancers and the exits. The biggest beginner mistake is making the texture wide, loud and full-range, then wondering why the drop feels smaller.
Across our catalogue of over 10,000 exclusive tracks, the best atmospheric details usually leave the main drums and lead alone. They support the section change. They do not compete for the hook.
Make space before adding more effects
High-pass most granular pads between 120 and 250 Hz unless the texture is meant to be a bass element. Cut 2 to 5 dB around 220 Hz if it clouds the low mids. Use mid/side EQ, which means separate EQ for the center and sides, to remove low-end from the stereo sides below 180 Hz.
For vocals, duck the granular layer 3 dB whenever the lead vocal enters. For drops, sidechain to the kick with a fast attack under 5 ms and release around 120 ms.
Print audio and edit like a producer
Do not leave every granular patch live until mixdown. Bounce it to audio, then cut the boring bars. Reverse one hit. Fade the tail. Nudge the best swell 1/16 note earlier if it helps the drop breathe.
Peak level matters too. Keep printed textures around -12 to -8 dB peak before bus processing. If they need to feel louder, widen the upper mids or automate the filter, not the master limiter.
- High-pass texture layers before reaching for another reverb.
- Use mono below 150 to 180 Hz on wide granular pads.
- Duck pads from the kick and lead vocal, not only from the kick.
- Bounce the patch once it works, then arrange it like audio.
- Leave at least -6 dB headroom on the master while designing.
| Tool | Best use | Starter settings | My take |
|---|---|---|---|
| Ableton Granulator III | Vocal pads and evolving resampled textures | 60 ms grains, spray under 25%, slow 4-bar scan | Best first choice for Ableton Suite users |
| Fruity Granulizer | Rough textures, stutters and frozen hits | Moderate spacing, low randomization, EQ after | Fast and useful, but tame the harsh highs |
| Logic Pro Alchemy | Smooth pads and tonal atmospheres | 80 ms grains, synced position modulation | Polished quickly, sometimes too polite |
| Output Portal | Rhythmic movement on loops and transitions | 20-40% mix, tempo-synced presets as starting points | Great effect plugin when the dry loop already works |
| 1010music Lemondrop | Hands-on hardware granular performance | Load short samples, map position and density | Worth it if you perform and resample outside the DAW |
Sources worth your time
- Granular synthesis — en.wikipedia.org
- Granular synthesis: A guide to what it is and how to use it — splice.com
FAQ
What is granular synthesis in simple terms?
Granular synthesis chops audio into tiny slices called grains, then plays them back in new patterns. By changing grain size, position, pitch and density, you can turn a normal sample into a pad, shimmer, glitch, riser or atmospheric layer.
Is granular sound design good for EDM?
Yes, especially for transitions, vocal pads, breakdown atmospheres, intro textures and ear candy. It is less useful as a main hook unless you keep the sound focused. In EDM, the trick is filtering and ducking the texture so the kick, bass and lead stay clear.
What is the easiest granular plugin for beginners?
If you use Ableton Live Suite, start with Granulator III. Logic users should try Alchemy before buying anything. For a separate effect plugin, Output Portal is the easiest to hear quickly, while Arturia Efx Fragments gives more controlled transition-style results.
Can I use granular synthesis online for real tracks?
Online tools are useful for learning how grains behave, but they are weak for serious production because saving, automation and mix recall can be limited. Use browser tools for experiments, then rebuild the patch inside Ableton, FL Studio, Logic or a proper VST.
Granular synthesis is easiest to understand when you stop treating it like a mystery synth type and start treating it like sample editing at microscopic size. Pick one source, freeze or scan a small part of it, then shape the result with grain size, density, pitch and filtering. The sound design part can happen fast. The producer work comes after: bounce it, cut the weak moments, duck it from the kick or vocal, and leave space for the main idea.
For your next session, take one dry vocal chop or hi-hat, build a 4-bar granular texture, print it to audio, and mix it under the drop instead of leaving it soloed and unfinished.
My Career makes videos from your own track and posts them for you, pitches your release to 34,000+ labels, playlists, radio stations, YouTube channels and blogs, puts it in every store and briefs you every morning. Free plan, no card, two minutes to set up.


