 By TGP DJ Desk · August 22, 2026
Key takeaways
- Buy for the source you record most, not for imaginary future sessions.
- Two inputs are enough for most vocals, guitar parts, DJ mixes and beat-making rigs.
- For tracking, 64 or 128 samples usually feels better than a huge buffer.
- Stereo line inputs matter more than vocal preamps when recording DJ mixes.
- Used interfaces are smart buys only when current drivers and sockets check out.
- Do not overspend before fixing gain staging, mic placement and room noise.
Your first audio interface should solve one job before it tries to look impressive. Record a vocal cleanly. Plug in a guitar without fizz. Capture a DJ mix without clipping. Hear your beat with low enough latency that you stop fighting the computer.
That is the whole brief. The wrong audio interface usually fails because the buyer copied someone else’s setup, not because the box was bad. A singer needs a quiet preamp and direct monitoring. A guitarist needs a proper Hi-Z input. A DJ may need line inputs, not a fancy mic preamp. A producer who never records may only need stable drivers and a decent headphone output. We will build the choice from the session backward. Open your notes app. Write what you actually record. Then buy for that, not for the studio you imagine owning in five years.
Pick the Right audio interface Before You Look at Specs
Start with the source. Not the sample rate. Not the metal case. Not the bundle screenshot. The source decides the box.
If you record one vocal at a time, a two-input audio interface is enough. If you sing and play guitar together, you still only need two inputs, but one must handle instrument level properly. If you record DJ mixes from a controller or mixer, you need stereo line inputs. If you only make beats with samples, soft synths and MIDI, you may not need mic inputs at all.
First audio interface checks before checkout
Ask three questions. What enters the box? What leaves the box? How loud do you monitor?
A rapper recording into one condenser mic needs 48V phantom power, a gain knob with usable range, and direct monitoring. A guitar player needs a Hi-Z input so the pickup does not sound thin. A DJ recording a set from a club mixer needs two clean line inputs and enough headroom to catch hot mixer outputs.
Do not buy inputs for imaginary sessions
Four inputs look safer. Eight inputs look serious. Most bedroom producers use one or two. Empty sockets do not improve a track.
Spend the saved money on a stable mic stand, closed-back headphones, or simple room treatment. A £130 interface plus a quiet room will beat a £400 unit placed next to a humming laptop fan.
- One vocal at a time: 1 mic input is enough.
- Vocal plus guitar: 2 inputs, with one Hi-Z socket.
- DJ mixes: 2 line inputs matter more than mic preamps.
- Beat making only: driver stability beats extra inputs.
- Streaming plus recording: check loopback support.
The Shortlist: Interface Picks by Real Job
Here is where I would spend money for a first rig. Not fantasy money. Normal bedroom money.
The Focusrite Scarlett 2i2 4th Gen is the safe vocal and guitar pick because the preamps are clean, the gain range is friendly, and the driver setup rarely turns into a weekend project. The Audient iD14 MkII costs more, but the monitor control and preamp feel better if you record vocals often. The MOTU M2 is strong for producers who care about metering and low-latency monitoring. The Arturia MiniFuse 2 is a tidy budget pick with useful software and a small footprint.
For vocals and toplines
Pick the Scarlett 2i2 4th Gen if you want a low-drama first purchase. Plug in an XLR mic, turn on 48V for a condenser, set peaks around -12 dBFS, and record. The Auto Gain feature can help beginners, but do not treat it as law. Sing the loudest chorus. Watch the meter. Leave space.
If you send toplines to a producer or work with custom music production briefs, clean takes matter more than the logo on the box. Room noise and clipped consonants are harder to fix than a slightly basic preamp.
For guitar, bass and production
The Audient iD14 MkII is the one I like for guitar-heavy bedrooms. The instrument input feels solid, and the monitor knob behaves like a real studio control. If you track DI guitar into amp sims, set the instrument input so hard strums peak around -10 dBFS. Then stop touching it.
The MOTU M2 is also easy to recommend. Its front-panel meters are not decoration. They teach gain staging fast. Red means back off. Yellow is fine. Green with healthy peaks is fine.
For small budgets
The Arturia MiniFuse 2 and Native Instruments Komplete Audio 2 both make sense when cash is tight. You get two inputs, headphone monitoring, and bundled software that can help you start without hunting downloads all night.
Skip the cheapest no-name box if the driver page looks abandoned. A £50 saving is not worth pops, clicks, and random disconnects during the one vocal take that finally had the right emotion.
- Safe first vocal box: Focusrite Scarlett 2i2 4th Gen.
- Better monitor control: Audient iD14 MkII.
- Clear metering: MOTU M2.
- Budget bundle: Arturia MiniFuse 2.
- Lowest-cost usable option: Native Instruments Komplete Audio 2.
Inputs: Vocals, Guitar, Synths and DJ Mixes
Inputs are not just holes in the front panel. They expect different signal levels. Feed the wrong level and you get noise, distortion, or that weak guitar tone that makes every amp sim sound broken.
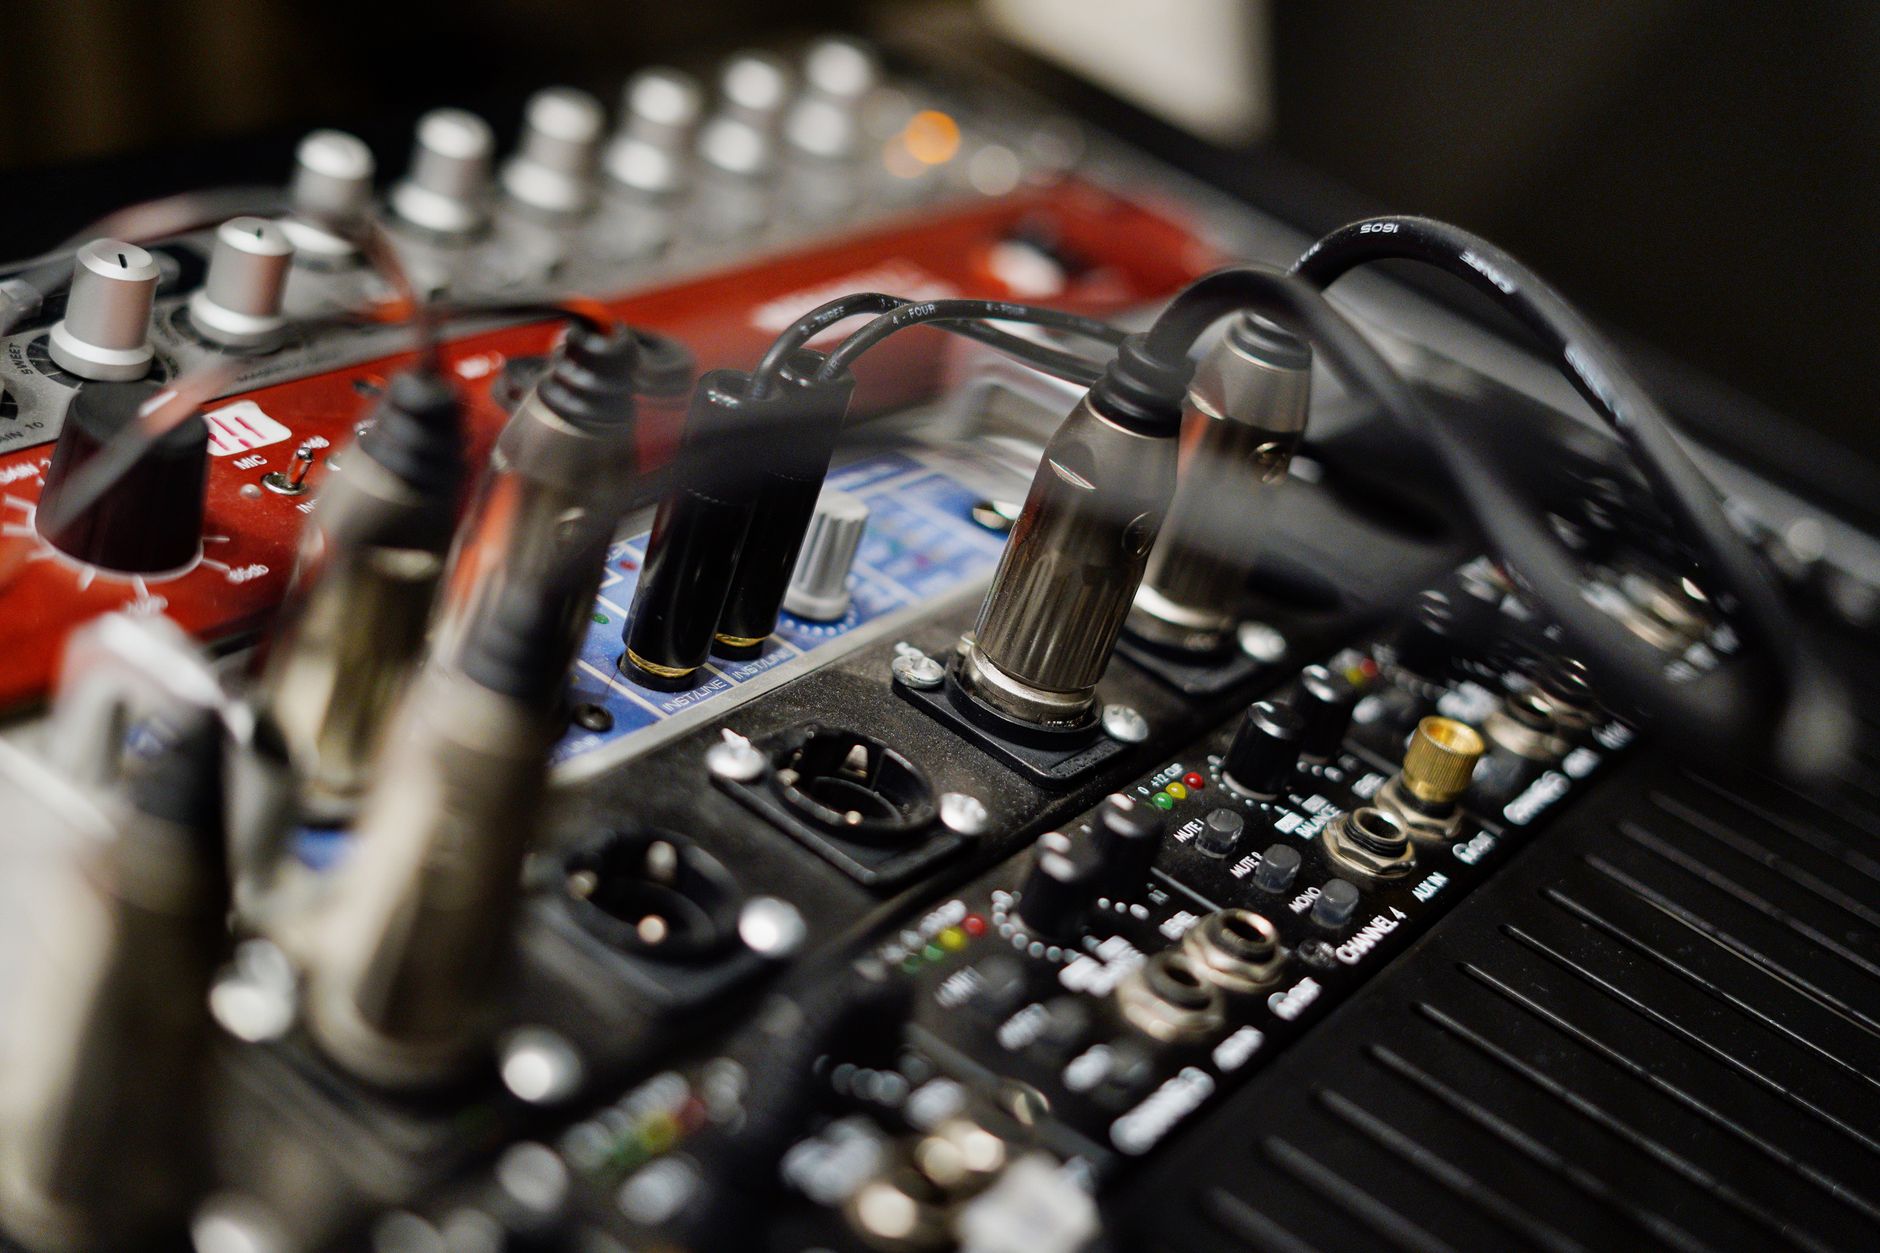
A mic input is for microphones. A Hi-Z instrument input is for guitar and bass pickups. A line input is for synths, drum machines, DJ mixers, and controller outputs. Learn this once. Save yourself years of weird gain problems.
Vocals need headroom, not maximum gain
Put the mic where it belongs first. Six to eight inches from the mouth is a sensible start. Use a pop filter. Turn on 48V only if your mic needs phantom power.
Now gain the loudest line. Aim for peaks around -12 dBFS, not -1 dBFS. Digital recording does not reward hot input levels. If the take clips, it is damaged before your compressor ever sees it.
Guitar and bass need Hi-Z
Plug guitar into the input marked instrument, INST, or Hi-Z. If you use a normal line input, the pickups are loaded wrong and the top end folds in a strange way. It can sound like dead strings even when the guitar is fine.
Record DI clean. Put amp sims after the fact. That gives you room to change tone without asking the guitarist for another take.
DJ mixes need stereo line inputs
If you record from a DJ mixer, take REC OUT or BOOTH OUT into two line inputs. Keep the mixer out of the red. Set the interface so the loudest blend peaks around -6 dBFS.
If you use a controller such as the Pioneer DDJ-FLX10, check whether your software can record internally first. If it can, you may not need an external audio interface for the mix capture. You may still want one for better monitors and a mic.
- XLR mic input: vocals, spoken tags and acoustic sources.
- Hi-Z input: guitar and bass straight into the interface.
- Line input: synths, DJ mixers, drum machines and controller outputs.
- MIDI socket: useful only if you own older MIDI hardware.
- Loopback: handy for streaming, screen recording and reaction content.

Latency: The Number That Changes How a Take Feels
Latency is the delay between playing or singing and hearing it back. Too much latency makes a vocal feel late even when the singer is locked in. You start nudging takes that were never the real problem.
For tracking, keep round-trip latency under about 10 ms if you can. Under 6 ms feels better. Above 15 ms, many players start compensating without realizing it. That is where timing gets messy.
Buffer size is the lever
At 44.1 kHz or 48 kHz, a 64-sample buffer is a good tracking target. If your laptop crackles, try 128 samples. For mixing, raise it to 512 or 1024 samples and let the CPU breathe.
Do not track vocals through a heavy mastering chain. Disable lookahead limiters, linear-phase EQ, oversampled clippers and reverb stacks while recording. Print the take first. Make it shiny later.
Direct monitoring can save old laptops
Direct monitoring sends the input straight to your headphones before the computer returns it. It feels immediate. The trade-off is simple: you may hear the dry mic instead of your DAW effects.
For a nervous singer, give them a little DAW reverb if the system can handle 64 or 128 samples. If it cannot, use direct monitoring and record dry. A confident dry take beats a delayed glossy one.
- Track vocals at 64 or 128 samples when the computer allows it.
- Mix at 512 or 1024 samples to avoid CPU spikes.
- Keep heavy lookahead plugins off while recording.
- Use direct monitoring if the singer hears a slapback delay.
- Work at 48 kHz if you also make video content.

Walkthrough: Set Buffer, Gain and Headphone Level
Do this before your next vocal, guitar or DJ recording. Ten minutes. No guessing.
We are going to set the session so the performer hears timing correctly, the input does not clip, and the headphone level does not push the singer into shouting. Small moves. Listen after each one.
Step-by-step setup
1. Open your DAW audio preferences. Choose the interface ASIO driver on Windows, or the interface driver/Core Audio device on Mac. Do not use the laptop microphone as the input.
2. Set sample rate to 48 kHz for general work. Set buffer to 128 samples. Press play on the busiest part of the beat. If it crackles, go to 256 for now, then freeze tracks or disable heavy plugins.
3. Arm one audio track. Sing or play the loudest section. Turn the gain knob until peaks sit near -12 dBFS for vocals or -10 dBFS for DI guitar. If you record a DJ mix, aim closer to -6 dBFS on the loudest blend.
Build a cue mix that helps the take
Pull the beat down before you push the mic up. Start the beat around -12 dB on the DAW channel. Bring the vocal monitor level up until the performer stops asking for more.
Add a short reverb return if latency is stable. Low-cut the reverb around 180 Hz. Keep it quiet. The singer should feel space, not swim through a cathedral.
Run the thirty-second test
Record thirty seconds. Stop. Listen on headphones. Check three things: clipping, timing and noise. If you hear fan noise, move the laptop. If consonants hit too hard, angle the mic slightly off-axis. If the take feels late, lower the buffer or use direct monitoring.
Do not record the whole song to discover the setup was wrong. Test first. Always.
- Select the proper interface driver.
- Set 48 kHz and start at 128 samples.
- Gain vocals to roughly -12 dBFS peaks.
- Gain DJ mixes to roughly -6 dBFS peaks.
- Record a thirty-second test before the full take.
Bundles, Drivers and the Boring Stuff That Saves Sessions
The software bundle looks exciting on the product page. The driver page matters more. A stable driver keeps the audio interface connected, predictable and quiet when the session gets heavy.
Bundles are still useful. Ableton Live Lite, Cubase AI, Studio One Artist or a few starter effects can help a new producer work tonight instead of researching for three more weeks. Just do not buy an interface only because the free plugins look expensive.
Drivers beat decoration
On Windows, use the manufacturer’s ASIO driver. Avoid generic drivers unless you have no other choice. On Mac, Core Audio usually behaves, but you still want current firmware and a control app that does not crash.
Before buying used or discounted stock, check the support page. If the last driver update was years ago and the forum is full of disconnect complaints, walk away.
Loopback is useful, but not magic
Loopback lets you record computer audio into your DAW or streaming software. It is useful for tutorials, livestreams, sample capture and DJ reaction content.
If you only record vocals and make beats, loopback can wait. If you teach, stream, or record social clips from your DAW, move it higher on the list.
Headphone power is real
Some interfaces struggle with high-impedance headphones. If your 250-ohm cans sound quiet even with the knob high, that is not your mix. The headphone amp may be running out of steam.
For most beginners, 32 to 80 ohm closed-back headphones are easier to drive. Keep it practical. You need a clear cue mix, not a hi-fi debate.
- Check current drivers before buying.
- Confirm your operating system is supported.
- Look for direct monitoring if your computer is older.
- Choose loopback if you stream or record screen content.
- Do not overvalue bundled plugins.
Used Interfaces: Smart Savings and Hard Passes
A used audio interface can be a clean win. Interfaces do not wear out like headphones, but sockets, knobs and USB ports take abuse. Check the boring physical stuff before you celebrate the price.
I would rather buy a clean used Scarlett, Audient, MOTU or SSL 2 than a brand-new mystery unit with no support trail. The used market is good when you stick to models with active drivers and easy resale.
What to test before paying
Bring a laptop if possible. Plug it in. Wiggle the USB-C or USB-B cable gently. If the connection drops, pass. Turn every gain knob and monitor knob through its range. Scratchy pots are not always fatal, but they are leverage on price.
Test 48V phantom power with a condenser mic if you can. Record ten seconds. Listen for hiss, hum and one-sided headphone output. Check both inputs, not just input one.
Old FireWire units are usually a trap
Some old interfaces still sound good. That does not mean they belong in a beginner setup. FireWire adapters, discontinued control panels and unsigned drivers can turn a cheap box into a full technical problem.
Unless you enjoy troubleshooting legacy hardware, buy USB-C or modern USB 2.0 from a supported line. Music time is worth more than adapter drama.
- Buy used only if the current driver supports your computer.
- Test every input and output before handing over cash.
- Avoid damaged USB ports and intermittent headphone sockets.
- Skip discontinued FireWire units for a first setup.
- Keep the original power supply if the unit needs one.

When Not to Overspend
Here is the honest bit. A more expensive interface will not fix bad mic placement, untreated corners, weak performances or a distorted DJ mixer output. It will not make a loop hit harder. It will not arrange the drop for you.
Spend where the bottleneck lives. If your vocal has boxy room tone, treat the space around the mic. If your DJ recordings clip, learn gain staging. If your beats sound flat, finish more arrangements and compare them on real speakers.
The £150 to £250 zone is enough for most first rigs
For one-person bedrooms, the sweet spot usually sits around £150 to £250. That buys clean conversion, two inputs, phantom power, direct monitoring and workable headphones output. Above that, improvements get more specific.
Pay more when you know why. Need ADAT expansion for a drum kit? Fine. Need better monitor control? Fine. Need four performers at once? Buy more inputs. Buying up because the cheaper unit looks less professional is a waste.
Spend the leftover money where it is heard
A cheap reflection filter will not replace a treated room, but a duvet behind the singer and thick absorption at first reflection points can beat bare plaster. Set the mic away from corners. Kill the obvious reflections first.
If you produce for artists or send demos for ghost production feedback, a clean recording chain helps the person on the other end judge the song. The interface is one part. The room, gain and performance carry the rest.
- Do not pay for eight inputs if you record alone.
- Do not chase 192 kHz for bedroom demos.
- Do not buy Thunderbolt unless you have a real need.
- Do not upgrade before fixing clipping and room noise.
- Do buy stable drivers and the right input types.
| Scenario | Good first pick | Why it fits | Avoid paying for |
|---|---|---|---|
| Solo vocals and toplines | Focusrite Scarlett 2i2 4th Gen | Simple gain setup, 48V phantom power, direct monitoring | Four or eight inputs |
| Guitar, bass and production | Audient iD14 MkII | Strong Hi-Z input and useful monitor control | Extra mic preamps |
| Beat making with occasional recording | MOTU M2 | Clear meters, stable low-latency performance | High sample-rate bragging rights |
| Budget starter rig | Arturia MiniFuse 2 | Two inputs, compact box, useful starter software | Premium converters |
| Recording DJ mixes | Any supported 2-in/2-out interface with stereo line inputs | Captures mixer or controller output cleanly | Boutique vocal preamps |
Further reading
- Best audio interface 2026: For home recording and more — musicradar.com
Frequently asked questions
What audio interface should I buy first?
Buy a two-input USB interface from a supported brand unless you record several sources at once. For most bedroom producers, Focusrite Scarlett 2i2 4th Gen, MOTU M2, Audient iD14 MkII or Arturia MiniFuse 2 covers vocals, guitar, basic production and monitor output without wasting money.
Do I need an audio interface if I only make beats?
Not always. If you only use headphones and software instruments, your laptop output can work at first. An interface becomes useful when you want better monitor outputs, lower latency, reliable headphones volume, a microphone input, or cleaner recording from synths and other hardware.
How many inputs do bedroom producers need?
Most need two. That covers one vocal mic plus guitar, stereo line recording from a DJ mixer, or a synth pair. Four or eight inputs make sense only if you record multiple performers, drum machines with separate outs, or live jams that need separate mixing later.
What buffer size should I use for recording vocals?
Start at 128 samples. If the singer hears delay, try 64 samples. If the session crackles, freeze heavy tracks or disable high-latency plugins before raising the buffer. For mixing, 512 or 1024 samples is fine because nobody is performing against the delay.
Can I record a DJ mix without buying another interface?
Sometimes. DJ software may record internally, especially when using a controller. If you record from a standalone mixer or want a backup capture, use stereo line outputs into two interface line inputs. Keep the mixer out of the red and aim for about -6 dBFS peaks.
Is a used interface safe for a beginner?
Yes, if drivers still support your computer and every socket works. Test both inputs, headphone output, monitor outs, phantom power and the USB connection. Avoid unsupported FireWire units, damaged ports and listings without proof that the interface works on a current operating system.
Conclusion
A first audio interface should make recording feel boring in the best way. Plug in. Set the driver. Choose the right input. Leave headroom. Record without the singer fighting delay or the DJ mix smashing into red.
If you are choosing this week, write down your main job: vocal, guitar, DJ mix, or production. Pick the smallest supported box that handles that job cleanly. Use 48 kHz, start at 128 samples, gain the loudest section, and record a thirty-second test before the real take. Try that in your next session. You will learn more from one clean recording than from another night comparing spec sheets.
My Career makes videos from your own track and posts them for you, pitches your release to 34,000+ labels, playlists, radio stations, YouTube channels and blogs, puts it in every store and briefs you every morning. Free plan, no card, two minutes to set up.