Key takeaways
- Do not master to -14 LUFS by default. Master to clean impact and check normalization after.
- Use tools like Pro-L 2, Ozone 11, Youlean, MetricAB, Pro-Q 4, and Soothe2 for specific jobs.
- True peak ceiling matters, but codec preview and top-end distortion matter too.
- Reference tracks only help when they are level-matched and compared section by section.
- Print separate streaming, club, and client versions instead of forcing one master to do every job.
Spotify mastering advice usually starts with -14 LUFS, and that belief makes a lot of otherwise solid tracks weaker. The myth says Spotify wants one magic loudness number. The actual platform behavior is less romantic: Spotify normalizes playback level, applies codec encoding, and gives listeners a volume-normalized stream unless they turn that setting off.
That changes the job. spotify mastering is not about making a file obedient. It is about making a file survive normalization, lossy encoding, earbuds, car systems, and playlist comparison without losing impact. For DJs and bedroom producers, the bigger mistakes are over-limiting the kick, leaving inter-sample peaks near 0 dBTP, and trusting a preset that never heard the vocal. The tools below are not magic. Used correctly, they stop you from mastering against superstition.
Belief: spotify mastering means hitting -14 LUFS
The most repeated advice is also the least useful. Yes, Spotify’s loudness normalization target is commonly discussed around -14 LUFS integrated, but that does not mean your master should always land there. A tech house record mastered to -14 LUFS often sounds polite next to commercial releases, even after normalization.
The working alternative is to master for musical density and clean peak behavior. For modern EDM, a controlled -9 to -7 LUFS integrated master can still work if the low end stays stable and the limiter is not shredding the transient. spotify mastering should start with translation, not a poster on your wall.
Spotify mastering check: loudness before damage
Use Youlean Loudness Meter 2 or iZotope Insight 2 after your limiter. Watch integrated LUFS, short-term LUFS, true peak, and loudness range. If the drop sits at -6 LUFS short-term and the vocal disappears, your master is not energetic. It is tired.
I would rather hear a clean -9 LUFS master with a kick that still has 40 ms of punch than a crushed -6 LUFS file that smears every clap. spotify mastering punishes that second file because normalization removes the loudness advantage and leaves only the distortion.
The number that matters after normalization
Check the master at matched playback level. Drop your reference into ADPTR MetricAB, turn on loudness match, and compare tone, kick length, vocal forwardness, and top-end bite. Do not compare your limiter output at full blast against a reference that is already level-matched. That is how bad decisions happen.
- Start your premaster with about -6 dB peak headroom, not a pinned mix bus.
- Keep the final ceiling at -1.0 dBTP for typical releases, lower if the master is very loud.
- Use LUFS as a meter reading, not as the creative target.
- Level-match every reference before judging brightness or width.
- Check the loudest 30 seconds, not only the full-track integrated value.
Belief: Ozone presets can master the whole record
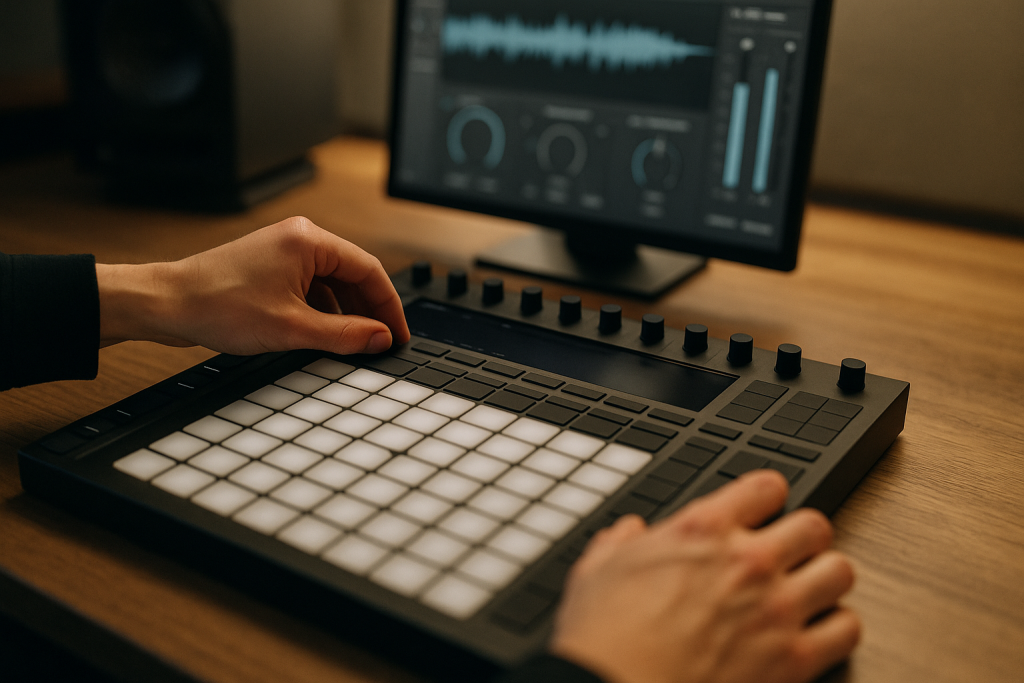
Ozone 11 can get close fast, and the Master Assistant is useful when you are tired at 2 a.m. The mistake is treating the preset as a decision-maker. A preset cannot know if your bass note at 55 Hz is masking the kick, or if the hi-hat harshness is coming from 7.8 kHz rather than the limiter.
For spotify mastering, Ozone is best used as a modular chain. Pick the jobs. Do not let every module speak at once.
Use Ozone as a checklist, not a pilot
My typical chain starts simple: corrective EQ, light dynamic EQ, saturation if the mix is too sterile, then limiter. In Ozone, that might mean Stabilizer barely moving, Impact on low percentages, and Maximizer in IRC IV or IRC LL depending on the material. If four modules are doing 4 dB each, the mix was not ready.
For spotify mastering, I like Ozone Maximizer when a record needs firmness without obvious pumping. Set transient emphasis carefully. Too much turns the kick into a plastic click, especially on 128 BPM house where the kick repeats every half second.
Where FabFilter still beats the all-in-one chain
FabFilter Pro-Q 4 is faster for surgical moves. Cut 220 Hz by 1.5 dB with a dynamic bell if the low mids bloom only when the bass plays. Use mid/side EQ to reduce side information below 120 Hz. Pro-L 2 is still my first pick when I need to see gain reduction clearly and audition different limiting styles quickly.
- Use Ozone Match EQ at 20 to 40 percent, not 100 percent.
- Avoid wideband compression if the mix bus already has 2 dB of glue.
- Bypass every module after setting it. If the master gets smaller, remove it.
- Use Pro-Q 4 for exact cuts before broad enhancer tools.
- Save one clean limiter pass and one louder client-check pass.

Belief: True peak is the only safety number that matters
True peak matters, but it is not the whole safety system. A master at -1.0 dBTP can still sound broken after encoding if the hi-hats are brittle, the stereo bass is wide, or the limiter is creating fuzzy distortion on every kick. spotify mastering has to account for codec behavior, not only the ceiling value.
Spotify streams lossy formats depending on device and settings. That encoding can exaggerate problems near the top end and expose ugly limiter artifacts. The working alternative is to leave peak space and monitor the codec damage before release.
Ceiling settings that survive encoding
For dense dance masters, I set FabFilter Pro-L 2 to -1.0 dBTP as a normal starting point. If the track is extremely loud, around -7 LUFS integrated or hotter, I move the ceiling to -1.5 or -2.0 dBTP. Spotify’s own loudness guidance recommends more true peak headroom for loud masters because transcoding can create overs.
That is not cowardice. It is damage control. spotify mastering gets worse when you fight for the last half dB and hand the encoder no room.
Listen to the codec, not the marketing
Use Ozone Codec Preview, Sonnox Fraunhofer Pro-Codec if you have it, or a controlled export test where you compare WAV against a high-quality Ogg Vorbis or AAC file. Pay attention to ride cymbals, white-noise risers, distorted vocals, and stereo synths. Those are usually the first parts to get sandy.
- Keep sub-bass mostly mono below 100 to 120 Hz.
- Avoid clipping the mix bus before the mastering chain unless it is intentional and checked.
- Use oversampling on clippers and limiters when the CPU allows it.
- Check the final file on AirPods, car speakers, and one ugly Bluetooth speaker.
- Print a 24-bit WAV for distribution, not an MP3 master.

Belief: EQ matching is better than reference listening
EQ matching looks scientific, which is why producers over-trust it. A curve copied from a Fred again.. track or a Chris Lake record will not fix a weak arrangement, a wrong kick sample, or a bass patch with too much 180 Hz. For spotify mastering, reference tools work only when you know what you are comparing.
The working alternative is boring and stronger: level-match the reference, loop comparable sections, then decide what the track actually needs.
Build a reference lane that tells the truth
Use ADPTR MetricAB, Mastering The Mix REFERENCE 2, or a plain Ableton Live audio track routed straight to your monitors. Load three references in the same lane: one for low-end weight, one for vocal brightness, one for overall density. Do not use a breakdown reference against your drop. Compare 4-bar and 8-bar phrases where the energy matches.
spotify mastering improves fast when references are judged at equal loudness. Without loudness matching, the brighter and louder file wins your ear before the mix has a fair trial.
Useful reference checks for DJs
If you DJ your own music, compare your streaming master against a club master separately. A CDJ-3000 playing a WAV from USB is not the same playback chain as a normalized Spotify stream. The club master can be hotter and more direct. The streaming master should be slightly more conservative around the ceiling and top-end grit.
- Match references within 0.2 dB perceived loudness before judging tone.
- Compare drops to drops, not drops to intros.
- Check 60 to 90 Hz for kick and bass balance on dance records.
- Use spectrum analyzers to confirm what you hear, not replace hearing.
- Keep references in the session until the final print.

Belief: Stereo width makes a master sound expensive
Width is addictive. It also ruins more bedroom masters than bad converters do. A wide master can feel impressive for ten seconds, then collapse on mono phones, club systems, or smart speakers. spotify mastering needs controlled width, not a chorus smear across the whole mix.
The better move is frequency-specific width. Keep subs centered, open the upper mids only if the vocal and snare stay focused, and leave the kick alone unless the mix was built for stereo low end from the start.
Use mid/side EQ before stereo toys
In FabFilter Pro-Q 4, set the side channel to high-pass at 120 Hz with a gentle 12 dB/oct slope. If the sides feel boxy, cut 300 to 450 Hz by 1 dB. If the master needs air, add a tiny side shelf at 10 kHz, maybe 0.5 to 1 dB. That is usually enough.
For spotify mastering, I prefer small mid/side moves over stereo wideners on the full mix. Full-band widening makes the low end wander, and the limiter reacts less predictably.
Where Soothe2 earns a place
Soothe2 can tame harsh side information without dulling the center. Try it in mid/side mode on the side channel, sensitivity low, depth around 1 to 2 dB, focusing from 2.5 to 8 kHz. If the wide synths stop stabbing the ear but the vocal remains present, you are using it correctly.
- Keep correlation mostly positive during the drop.
- Mono-check the kick, bass, lead vocal, and main snare.
- Use side EQ for cleanup before using wideners.
- Avoid widening below 120 Hz on streaming masters.
- Automate width in the mix if the chorus needs lift, rather than forcing it in mastering.
Belief: One export fits Spotify, clubs, and clients
This belief comes from wanting the session to be finished. I get it. Still, one master rarely serves every playback job well. A Spotify release, a DJ WAV for CDJ-3000s, and a preview file for a client are different deliverables. spotify mastering is the streaming version, not the only version.
The working alternative is to print controlled variants from the same approved chain. Change only what the destination demands. Do not rebuild the master three times and pretend the versions are related.
Print versions without losing control
I keep a final mastering rack in Ableton Live or Logic Pro, then print named versions: streaming 24-bit WAV, club WAV, instrumental, and clean edit if needed. The streaming master might sit at -1.0 dBTP. The club master might use a slightly hotter limiter ceiling if it will never be transcoded, but I still avoid clipping at 0.0 dBFS.
For ghost production clients, spotify mastering also needs documentation. Include integrated LUFS, true peak, sample rate, bit depth, and version notes. That prevents the classic message: why is the WAV quieter than the demo MP3?
Export settings I would actually send
Print 24-bit WAV at the project sample rate, usually 44.1 or 48 kHz. Dither only when reducing bit depth to 16-bit. Do not normalize on export. If your DAW has a normalize checkbox, leave it off. The limiter already set the final level.
- Streaming master: 24-bit WAV, -1.0 to -2.0 dBTP ceiling.
- Club master: WAV for USB playback, checked hard on kick transient punch.
- Client preview: MP3 or WAV clearly labeled as preview, not final distribution.
- Instrumental: same chain, checked again because vocals often mask harshness.
- Clean edit: recheck loudness after muting explicit words or sections.
| Tool | Best job | Use it when | Watch out for |
|---|---|---|---|
| FabFilter Pro-L 2 | Transparent true peak limiting | You need clear gain-reduction feedback and reliable ceiling control | Too much transient emphasis can make kicks clicky |
| iZotope Ozone 11 | Fast modular mastering chain | You need EQ, dynamics, saturation, and limiting in one place | Assistant presets can over-process a weak mix |
| Youlean Loudness Meter 2 | LUFS and true peak measurement | You need a simple final meter after the limiter | Meters do not judge groove, punch, or emotion |
| ADPTR MetricAB | Level-matched reference checking | You need honest A/B decisions against released tracks | Bad reference choices lead to bad targets |
| FabFilter Pro-Q 4 | Surgical and mid/side EQ | You need precise cuts at 220 Hz, 450 Hz, or 8 kHz | Over-EQ can make the master smaller |
| Soothe2 | Dynamic resonance control | You need to calm harsh sides or sharp vocals | Heavy settings can flatten excitement |
Further reading
- Spotify loudness guidance — Spotify’s own artist support page explains how loudness normalization works on the platform.
- EBU R 128 standard — The European Broadcasting Union documentation is a primary reference for LUFS-based loudness measurement.
Frequently asked questions
What is the best LUFS level for spotify mastering?
There is no single best LUFS level. Spotify normalization is commonly discussed around -14 LUFS, but many commercial dance records are mastered louder. A clean -9 to -7 LUFS master can work if the kick, bass, true peak, and codec preview hold up. Do not sacrifice punch just to hit a target number.
Should I master my track to -14 LUFS for Spotify?
No, not automatically. If your genre is acoustic or sparse, -14 LUFS may fit. For EDM, hip-hop, pop, and club music, it can sound underpowered next to references. Master to the sound first, then check how normalization changes the playback level.
What true peak ceiling should I use for Spotify?
Start at -1.0 dBTP for a normal streaming master. If the track is very loud, use -1.5 or -2.0 dBTP to reduce the chance of codec overs after transcoding. The extra headroom is usually less audible than the distortion it prevents.
Can I use Ozone to master a song for Spotify?
Yes, Ozone is useful, especially Maximizer, Stabilizer, and dynamic EQ modules. The trap is using a preset as the final authority. Treat Ozone as a chain of tools. If a module does not clearly improve the master at matched volume, turn it off.
Do I need a different master for DJs and Spotify?
Usually, yes. A DJ WAV for CDJ playback can be more aggressive because it is not being normalized and transcoded the same way. A streaming master should leave safer true peak headroom and avoid brittle top-end distortion. Print both from the same approved session.
Is mastering necessary if my mix already sounds loud?
Yes, because loud is not the same as release-ready. Mastering checks peak behavior, tonal balance, spacing against references, codec survival, and export format. If the mix is already strong, the master may be subtle. That is a good sign, not a failure.
Conclusion
spotify mastering is less about obeying Spotify and more about refusing lazy mastering myths. The -14 LUFS target is not a finish line. Ozone presets are not a mastering engineer. Stereo width is not automatic quality. A loud file with bad peak behavior will still sound worse after normalization than a slightly quieter master with a stable kick and clean top end.
Use the tools with a narrow purpose: Pro-Q 4 for exact EQ, Soothe2 for harsh resonances, MetricAB for honest references, Youlean for final measurement, and Pro-L 2 or Ozone Maximizer for controlled level. Print the streaming version, check it against references, then test it on bad speakers. Run that workflow on your next session before you chase another half dB.
Spotify mastering — Quick Recap
The fastest way to lock in spotify mastering is to internalise the workflow above and repeat it on every project. Start small: pick one technique from this spotify mastering guide, apply it to your next session, and audit the result against a reference track.
- Do not master to -14 LUFS by default. Master to clean impact and check normalization after.
- Use tools like Pro-L 2, Ozone 11, Youlean, MetricAB, Pro-Q 4, and Soothe2 for specific jobs.
- True peak ceiling matters, but codec preview and top-end distortion matter too.
- Reference tracks only help when they are level-matched and compared section by section.
Treat spotify mastering as a habit, not a one-off — the producers who consistently nail spotify mastering are the ones who run the same checks on every track. That’s the difference between a clean, club-ready master and a track that sounds great at home but falls apart on a real system.
In a real studio session, spotify mastering comes down to the order in which you make decisions: reference first, gain stage second, then the creative work. Producers who treat spotify mastering as a checklist instead of a vibe end up shipping more tracks.
Most producers and DJs undervalue spotify mastering because the wins are invisible until the track plays back on a real system. Bake spotify mastering into your template and the next ten projects benefit automatically.
When you struggle with spotify mastering, the fix is rarely a new plugin. Loop a problem section, A/B against a reference, and isolate which element is breaking your spotify mastering.
Treat spotify mastering as a craft, not a chore. The producers releasing on the biggest labels lock spotify mastering in early so they can spend their energy on melody and arrangement instead of fighting the mix.
My Career makes videos from your own track and posts them for you, pitches your release to 34,000+ labels, playlists, radio stations, YouTube channels and blogs, puts it in every store and briefs you every morning. Free plan, no card, two minutes to set up.