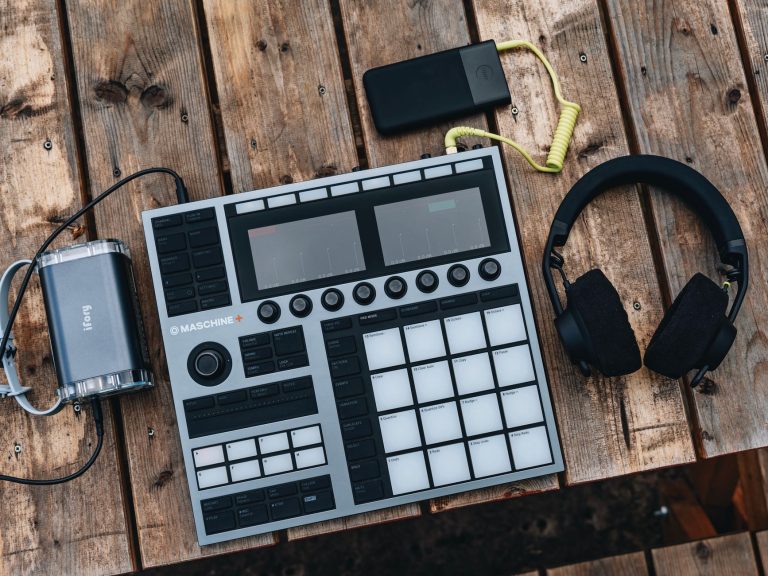
Key takeaways
- Most famous synth sounds come from simple waveform, filter, envelope, modulation, and effects choices.
- Match octave and raw tone before adding reverb, delay, chorus, or saturation.
- Serum suits clean modern sounds, while Diva and Juno-style plugins suit vintage analog character.
- Reference tracks work best when level-matched and looped in short 2 to 4 bar sections.
- A mono center layer plus quieter wide layer often translates better on club systems.
- Stop copying once the sound performs the same musical job in your track.
Famous synth sounds stop feeling mysterious once you treat them like recipes, not magic. The trick is learning what each ingredient does: oscillator (the raw tone generator), filter (the tone shaper), envelope (the movement controller), and effects (the space and polish after the sound). If those words feel new, that is fine. A synth patch is just a small machine with a few repeatable decisions.
The goal is not to clone a record until it becomes sterile. The goal is to hear a sound on a track, break it into simple parts, then rebuild something close enough to use in your own production. We will use Serum, Diva, Ableton Live, FabFilter Pro-Q 4, and a few hardware references like the Minimoog and Juno-106, but the thinking works in almost any synth.
Why Famous Synth Sounds Are Recipes, Not Spells
Think of a synth patch like a burger order. The bun, patty, sauce, and grill marks all matter, but you do not need the original kitchen to make something recognizable. With famous synth sounds, the same idea applies: waveform, pitch, filter, envelope, modulation, and effects create the final flavor.
A waveform is the basic shape of a sound. Saw waves sound bright and buzzy, square waves sound hollow, sine waves are pure and smooth, and noise sounds like air or hiss. Most famous synth sounds start with one of those simple shapes, then become interesting through movement.
The Four Clues To Listen For First
Before touching a synth, play the reference track through decent headphones or monitors. Listen for four clues: brightness, thickness, attack, and movement. Brightness means how much top end the sound has. Thickness means how wide or heavy it feels. Attack means how fast the sound starts. Movement means whether it stays still or changes over time.
Use a 4-bar loop and focus on one clue at a time. If the synth slices in sharply, the amp envelope probably has a fast attack. If it blooms after the note starts, the filter envelope is doing work. If it wobbles, an LFO (low frequency oscillator, a slow repeating control signal) is likely moving pitch, filter, or volume.
Famous Synth Sounds Start With Rough Matching
Do not start with effects. Start dry. If you are rebuilding famous synth sounds, match the raw tone first at a low volume. In Serum, load Init Preset, choose a saw wave, and play the same octave as the reference. In Diva, try a Minimoog-style oscillator stack with two saws and one square, then tune one oscillator down an octave.
A close raw tone beats a fancy effect chain every time. If the dry patch is wrong, Valhalla VintageVerb and Soundtoys EchoBoy will only make the wrong sound bigger.
- Loop 4 bars of the reference before programming.
- Match octave and note length before tone.
- Pick the closest waveform, then adjust brightness.
- Keep effects off until the dry patch makes sense.
- Leave about -6 dB of headroom while comparing.

Pick The Right Synth Before You Touch A Knob
Choosing a synth is like choosing a vehicle. A scooter, van, and race car can all move you across town, but they feel different before you even turn the key. Famous synth sounds work the same way. Serum, Diva, Arturia Mini V, Ableton Drift, and hardware synths all have different strengths.
Wavetable synths, such as Xfer Serum and Vital, scan through digital wave shapes. Analog-style synths, such as u-he Diva or Arturia Juno-60 V, emulate old circuits where oscillators, filters, and saturation have small imperfections. Those imperfections often matter for classic basses, brass pads, and thick leads.
Digital, Analog, And Sample-Based Choices
Use Serum when the reference has clean top end, precise movement, aggressive EDM growl, or stacked supersaws. Use Diva when the sound feels rounded, unstable, warm, or like an old record. Use Ableton Wavetable when you want speed inside Live. Use a sampler when the original sound includes a recorded attack, vocal chop, or one-shot layer.
For bedroom producers, one flexible synth is enough. Serum or Pigments can recreate many famous synth sounds if you understand the basics. Diva is harder on CPU, but it gets you closer to vintage Moog, Juno, and Prophet behavior without a wall of hardware.
A Practical Starting Point
If the sound is a bass, start with one oscillator and no reverb. If it is a lead, start with two detuned saws. If it is a pad, start with slow envelopes and chorus. If it is a pluck, use a short decay envelope on the filter. These are not rules from a textbook. They are fast starting positions that stop you from scrolling presets for an hour.
- Serum: clean EDM leads, basses, plucks, and wavetable motion.
- Diva: vintage basses, brass, pads, and unstable analog color.
- Ableton Drift: simple analog-style sounds with fast setup.
- Arturia Mini V: Moog-style basses and leads.
- Kontakt or Simpler: sounds with a sampled attack or texture.

Build The Core Tone With Oscillators And Tuning
Oscillators are the vocal cords of a synth. Before a singer uses a microphone, reverb, or compression, the voice already has a character. Famous synth sounds usually reveal themselves here, long before the mix chain.
An oscillator creates the initial tone. Detune means shifting two tones slightly apart, often by cents (100 cents equals one semitone). Unison means stacking multiple copies of the same oscillator and spreading them in pitch or stereo width. That is how many huge trance, progressive house, and EDM leads get their size.
Famous Synth Sounds Need The Right Octave
Octave mistakes are common. If your patch feels thin, it may simply be playing too high. For a Moog-style bass, try one saw at the played note, one saw one octave lower, and a square wave quietly underneath. For a Deadmau5-style pluck, two saws with light detune in the mid register often get you closer than a giant supersaw stack.
In Serum, set Osc A to saw, unison 2 to 4, detune around 0.06 to 0.12, and keep random phase low if you want a consistent attack. For old synth behavior, raise random phase slightly so each note starts a little differently.
Thickness Without Mud
Stacking oscillators can turn to soup fast. Mud means low-mid buildup, usually around 180 to 350 Hz, that makes the sound cloudy. If a lead needs size, add width above 500 Hz instead of dumping more low mids into it. In FabFilter Pro-Q 4, try a gentle cut around 220 Hz if the synth fights the kick or vocal.
For bass, keep sub frequencies centered. Sub means the very low range, roughly 20 to 80 Hz. A wide sub sounds exciting alone and terrible on a club system. Mono low end is boring for ten seconds and useful for ten years.
- Use one oscillator first, then add layers only when needed.
- Tune support oscillators by octaves, not random semitones.
- Keep sub bass mono below roughly 100 Hz.
- Use unison for width, but check the sound in mono.
- Cut low mids before adding more top-end brightness.
Shape The Sound With Filters, Envelopes, And Movement
A filter is traffic control for frequencies. It decides what gets through and what gets slowed down or blocked. Famous synth sounds often depend more on filter movement than on exotic oscillators.
A low-pass filter lets low frequencies pass while reducing highs. Cutoff is the point where the filter starts reducing sound. Resonance boosts the area around that cutoff point, which can make the sound whistle, bite, or talk. An envelope is an automatic movement shape that happens every time you press a note.
The Pluck Formula
For a classic pluck, set a low-pass filter around 600 Hz to 2 kHz, then use a filter envelope with fast attack, short decay, medium sustain, and short release. Attack is how long the movement takes to start. Decay is how fast it falls. Sustain is where it stays while the note is held. Release is how long it fades after the note ends.
Try this in Serum: filter MG Low 12, cutoff 900 Hz, resonance 20 percent, envelope amount around 35 percent, decay 350 ms. That gives the note a small opening snap, like a camera shutter catching light for a fraction of a second.
Pads And Leads Need Slower Hands
For pads, slow the attack to 500 ms or more and let the filter open gradually. For leads, keep the amp envelope fast but move the filter with velocity. Velocity means how hard a MIDI note is played. Mapping velocity to filter cutoff makes louder notes brighter, which feels more human than every note hitting at the same brightness.
Many famous synth sounds are expressive because small controls move together. A mod wheel can open the filter, add vibrato, and raise reverb send at the same time. One gesture, three reactions.
- Use low-pass filters for plucks, basses, and warm pads.
- Use high-pass filters to remove low rumble from leads.
- Add resonance only until the tone speaks, then stop.
- Map velocity to cutoff for more natural phrasing.
- Use slow attack times for pads and fast attack times for stabs.
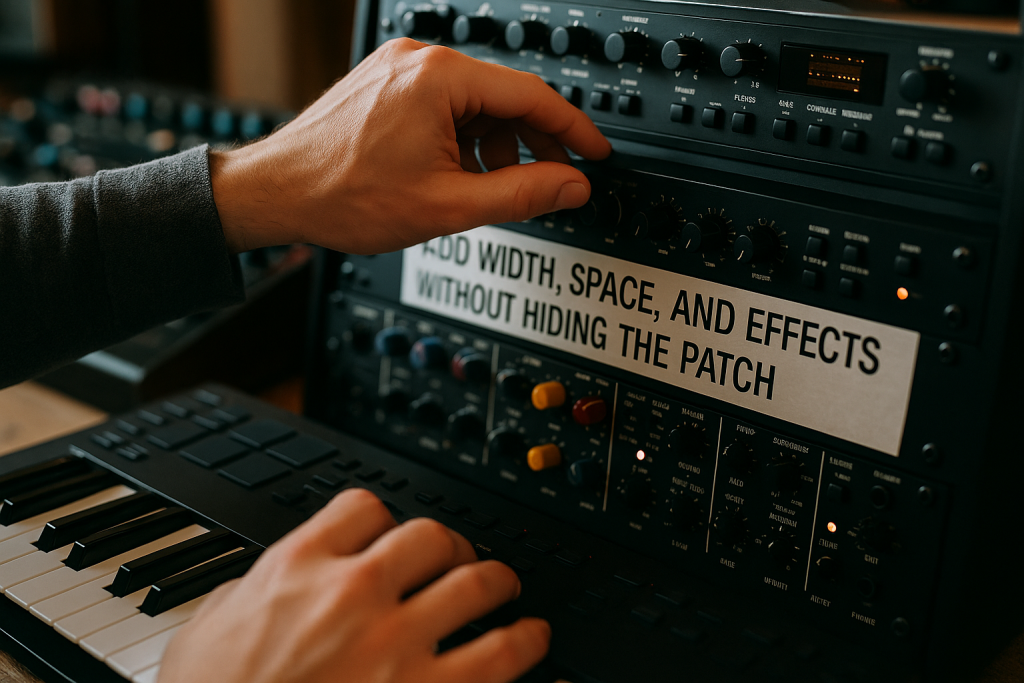
Add Width, Space, And Effects Without Hiding The Patch
Effects are the room, camera lens, and lighting after the actor is already cast. They can make famous synth sounds feel finished, but they cannot rescue a weak source. If the dry patch is dull, reverb will make a dull patch longer.
Chorus duplicates and slightly detunes the sound to create width. Delay repeats the sound after a set time. Reverb simulates space. Saturation adds harmonic distortion, which means extra overtones that make the sound feel warmer, rougher, or louder.
A Safe Effects Chain
For many leads and plucks, try this order: synth, EQ, light saturation, chorus or dimension effect, delay, reverb. EQ means equalization, a tool for turning frequency areas up or down. Put EQ before space effects if you need to clean the tone. Put EQ after reverb if the reverb tail gets boomy.
A good beginner chain in Ableton Live is Drift into EQ Eight, Saturator, Chorus-Ensemble, Echo, then Hybrid Reverb. Keep delay feedback below 35 percent at first. Cut reverb lows around 200 Hz so the space does not cover the kick and bass.
Width Has A Price
Wide sounds can disappear in mono. Mono means left and right speakers are combined into one signal, which still happens on phones, club corners, and some venue systems. Check mono before you print stems. If the lead loses half its body, reduce unison width or move the widest layer above 1 kHz.
For famous synth sounds that feel huge but stable, layer a mono center tone with a quieter wide layer. Keep the center doing the musical job. Let the sides add gloss.
- Clean the patch before adding long reverb.
- High-pass reverb returns around 180 to 250 Hz.
- Use tempo-synced delay, such as 1/8 or 1/4 notes.
- Check stereo width in mono before export.
- Keep one centered layer for musical strength.

Use Reference Tracks Like A Measuring Tape
A reference track is a measuring tape, not a prison. You hold it next to your work so you know if your synth is too bright, too small, too loud, or too dry. Famous synth sounds are much easier to rebuild when you compare against the record every few minutes.
Load the reference into your DAW, level-match it, and loop the section with the synth. Level matching means setting both sounds to similar loudness so your ear does not prefer the louder one by default. Loud usually feels better, even when the tone is worse.
Fast A/B Checking
A/B checking means switching between two sounds quickly. Put your patch and the reference on separate tracks. Turn the reference down until it feels similar in volume. If your synth is brighter, use a spectrum analyzer, but trust your ear first. Tools like Voxengo SPAN or Ableton Spectrum can show whether your sound has too much 3 kHz bite or not enough 8 kHz air.
Do not chase the full mastered record. The reference synth may be compressed, limited, and surrounded by drums. Your job is to match the character, then leave room for your own mix.
When To Stop Copying
Stop when the role is right. If the pluck cuts through the groove, the bass locks with the kick, or the pad creates the same emotional color, you are close enough. Exact cloning can waste the best part of a session: turning the reference into something personal.
This matters for artists commissioning custom music production too. A clear reference like bright Juno pad with 1/8 delay says more than vague words like expensive or professional. Specific sound language saves time on revisions.
- Loop the smallest useful section, often 2 to 4 bars.
- Match loudness before judging tone.
- Compare dry patch first, then compare with effects.
- Use a spectrum analyzer as a second opinion.
- Stop once the musical role matches the reference.
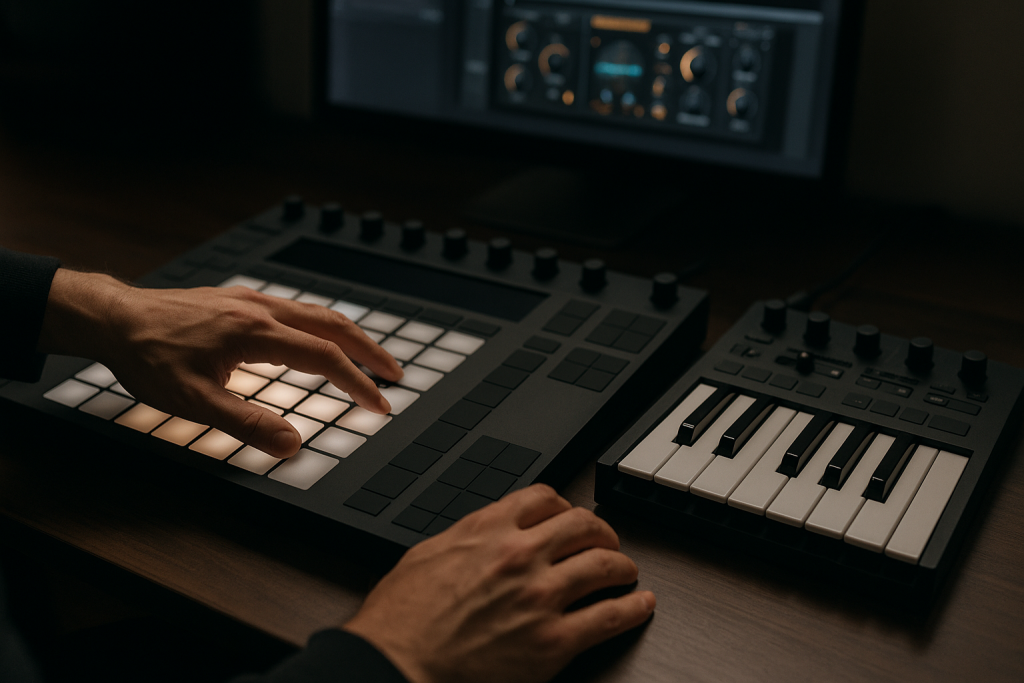
Recreate Three Classic Patch Types From Scratch
Patch types are like basic cooking techniques. Once you can fry, boil, and roast, thousands of meals become less intimidating. Once you can build bass, pluck, and pad patches, many famous synth sounds become variations instead of blank pages.
Use these as starting recipes. They are intentionally simple. Save each patch, then make one copy brighter, one darker, one wider, and one shorter. That tiny preset bank will teach you more than downloading another folder of sounds you do not understand.
Moog-Style Bass
Use Diva, Arturia Mini V, or Ableton Drift. Start with two saw oscillators, one at the played octave and one an octave lower. Add a 24 dB low-pass filter, cutoff around 180 Hz, resonance low. Amp envelope: fast attack, decay around 250 ms, sustain 70 percent, release short. Add light saturation, then cut mud around 220 Hz if needed.
For club tracks, sidechain ducking helps the kick speak. Sidechain ducking means the synth volume drops briefly when the kick hits. Think of it as two people talking: when the kick speaks, the bass steps back for a moment.
Supersaw Lead
Use Serum or Ableton Wavetable. Set Osc A to saw, unison 7, detune 0.08 to 0.14. Add a second saw an octave up at lower volume. Use a high-pass filter around 120 Hz so it does not fight the bass. Add chorus, 1/8 delay, and a plate reverb with lows cut at 250 Hz.
Many famous synth sounds in progressive house and trance are not one giant synth. They are three layers: center saw, wide saw, and a quiet attack layer. That attack layer can be a short noise tick or pluck that helps the lead read on small speakers.
Juno-Style Pad
Use Diva, Arturia Juno-60 V, TAL-U-NO-LX, or Ableton Drift. Start with a saw plus a little sub oscillator. Low-pass filter around 2.5 kHz, slow amp attack around 800 ms, release around 1.5 seconds. Add chorus, but keep it tasteful. The Juno chorus is famous because it widens without turning the whole chord into fog.
For space, use a reverb decay around 2 to 4 seconds and high-pass the return at 220 Hz. If the pad masks the vocal or lead, use mid/side EQ. Mid/side EQ lets you treat the center and sides separately, so you can leave width while clearing the middle.
- Bass: simple oscillators, low-pass filter, mono low end.
- Lead: saw unison, controlled width, timed delay.
- Pad: slow envelopes, chorus, filtered reverb.
- Pluck: short filter envelope and clean delay.
- Stab: fast attack, short release, strong chord voicing.
| Tool | Best Use | Beginner Setting | Watch Out For |
|---|---|---|---|
| Xfer Serum | EDM leads, plucks, basses, wavetable motion | Saw wave, unison 4, detune 0.08 | Too much unison can weaken mono playback |
| u-he Diva | Moog, Juno, Prophet-style analog tones | Two saws into a 24 dB low-pass filter | CPU use rises fast on high quality modes |
| Ableton Drift | Fast analog-style sketches inside Live | Single saw, low-pass filter, short envelope | Limited depth compared with larger synths |
| FabFilter Pro-Q 4 | Cleaning mud and shaping synth layers | Cut 220 Hz gently on cloudy leads | Over-EQ can make patches feel thin |
| Soundtoys EchoBoy | Character delay on leads and plucks | 1/8 delay, feedback under 35 percent | Delay can clutter busy arrangements |
Further reading
- Ableton Learning Synths — Ableton provides a clear, interactive explanation of oscillators, filters, envelopes, and modulation.
- Sound On Sound Synth Secrets — Sound On Sound is a long-running professional audio publication with a respected technical series on synthesis.
Frequently asked questions
How do I recreate famous synth sounds as a beginner?
Start by matching the raw waveform, octave, and note length before adding effects. Use a short reference loop, choose a close synth such as Serum or Diva, then shape brightness with a filter. Add delay, chorus, and reverb only after the dry patch sounds close.
What synth plugin is best for classic sounds?
For classic analog tones, u-he Diva, Arturia Mini V, Arturia Juno-60 V, and TAL-U-NO-LX are strong choices. For modern EDM leads, basses, and clean digital movement, Serum is faster. If you use Ableton Live, Drift and Wavetable are good starting points.
Can I recreate synth patches without knowing music theory?
Yes. Sound design and music theory are related, but they are not the same skill. You can learn patch building by listening for brightness, attack, movement, and width. Theory helps with chord voicing and melody, but the synth tone itself starts with waveform, filter, envelope, and effects.
Why does my recreated synth sound thin?
Thinness usually comes from the wrong octave, weak oscillator balance, too much high-pass filtering, or stereo width that collapses in mono. Add a lower oscillator quietly, reduce extreme EQ cuts, and check whether the main body sits around 150 to 600 Hz without masking the kick or vocal.
Should I use presets or build sounds from scratch?
Use both, but do not stay passive. Presets are useful for learning if you open them and inspect the oscillator, filter, envelope, and effects choices. Building from scratch teaches you control. The fastest path is editing presets with a clear reference track beside you.
How close should my synth sound be to the reference?
Close enough to serve the same role. If the bass carries the groove, the pluck has the right snap, or the pad creates the intended mood, stop cloning and make it yours. Exact copies can feel lifeless, and they may also raise obvious originality concerns.
Conclusion
famous synth sounds are not locked inside rare keyboards or secret preset folders. They are built from small decisions you can hear and repeat: pick the right waveform, set the octave, shape the filter, move it with envelopes, then add effects only when the dry patch already works.
The best practice session is simple. Choose one reference, loop 4 bars, and rebuild only one sound. Do not rebuild the whole track. Save the patch, duplicate it, and make three variations: darker, wider, and shorter. That exercise turns listening into a real production skill, and it will make your next original idea move faster.
Famous synth sounds — Quick Recap
The fastest way to lock in famous synth sounds is to internalise the workflow above and repeat it on every project. Start small: pick one technique from this famous synth sounds guide, apply it to your next session, and audit the result against a reference track.
- Most famous synth sounds come from simple waveform, filter, envelope, modulation, and effects choices.
- Match octave and raw tone before adding reverb, delay, chorus, or saturation.
- Serum suits clean modern sounds, while Diva and Juno-style plugins suit vintage analog character.
- Reference tracks work best when level-matched and looped in short 2 to 4 bar sections.
Treat famous synth sounds as a habit, not a one-off — the producers who consistently nail famous synth sounds are the ones who run the same checks on every track. That’s the difference between a clean, club-ready master and a track that sounds great at home but falls apart on a real system.
In a real studio session, famous synth sounds comes down to the order in which you make decisions: reference first, gain stage second, then the creative work. Producers who treat famous synth sounds as a checklist instead of a vibe end up shipping more tracks.
Most producers and DJs undervalue famous synth sounds because the wins are invisible until the track plays back on a real system. Bake famous synth sounds into your template and the next ten projects benefit automatically.
When you struggle with famous synth sounds, the fix is rarely a new plugin. Loop a problem section, A/B against a reference, and isolate which element is breaking your famous synth sounds.
Treat famous synth sounds as a craft, not a chore. The producers releasing on the biggest labels lock famous synth sounds in early so they can spend their energy on melody and arrangement instead of fighting the mix.
Document your famous synth sounds process — even a short note in the project file. Future-you will rebuild the same famous synth sounds win in half the time.
If famous synth sounds sounds great in headphones but bad in the car, you have a translation problem, not a creative one. The famous synth sounds tweaks above are designed to survive every system.
My Career makes videos from your own track and posts them for you, pitches your release to 34,000+ labels, playlists, radio stations, YouTube channels and blogs, puts it in every store and briefs you every morning. Free plan, no card, two minutes to set up.