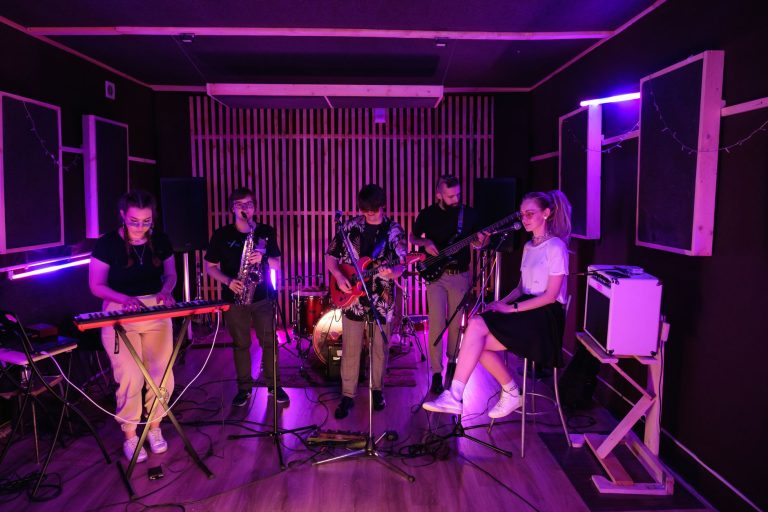
Creative reverb techniques can make an EDM (electronic dance music) mix feel huge without turning it into soup. The best creative reverb techniques behave like lighting in a club: bright where the crowd should look, dark where the kick and bass need space. Reverb is simulated room sound, the tail you hear after a clap in a hall. Used badly, it pushes everything backward. Used with a plan, it gives your drop size, your vocal lift, and your build-up tension.
Start with three questions. What needs to feel near? What needs to feel far? What needs to move? Once those answers are clear, sends, pre-delay, sidechain ducking, and automation stop feeling like random tricks. They become a clean routing system for depth.
Creative Reverb Techniques Start With One Shared Room
Think of your mix like a stage set. If every instrument stands in a different fake room, the listener feels the seams. One shared reverb gives the track a believable space before you add weird effects.
Set Up Sends Before Inserts
A send is a shared effects path. You send a little bit of a track to one reverb, instead of loading a separate reverb on every channel. An insert sits directly on one track. For beginners, sends are safer because one room glues the drums, synth stabs, vocals, and fills together.
Make one short room send first. Try a 0.6 to 1.0 second decay, low-cut at 180 Hz, high-cut around 8 kHz, and 100% wet on the reverb return. In Ableton Hybrid Reverb, start with a small room algorithm. In Valhalla VintageVerb, try Room or Ambience. Keep the send level low, around -18 to -12 dB, then mute it. If the track collapses, it was helping. If nothing changes, you may not need it.
- Use one short room send as the main glue reverb.
- Keep reverb returns 100% wet, with the dry sound on the original track.
- High-pass reverb below 150 to 250 Hz so the kick and bass stay clean.
- Use longer reverbs only on selected moments, not on every channel.
Pre-Delay Keeps Leads Close While Tails Feel Wide
Pre-delay is the gap between the dry sound and the start of the reverb. Picture a camera portrait: the face stays sharp, while the background blurs behind it. Pre-delay does that with sound.
Use Tempo Values, Not Guesswork
For EDM leads, vocals, and plucks, try 20 to 60 ms of pre-delay. Shorter values feel glued. Longer values keep the front edge of the sound punchy. On a 128 BPM track, a 1/64 note is about 29 ms and a 1/32 note is about 59 ms, so those settings often land musically.
The safest creative reverb techniques protect the transient, the first sharp hit of a sound. If your supersaw lead loses bite when you add reverb, raise pre-delay before you lower the reverb level. That keeps size without smearing the attack.
Match Decay To The Groove
Decay is how long the reverb tail lasts. A two-second tail can sound massive in a breakdown, but it can blur a busy drop. For drop leads, try 0.8 to 1.6 seconds. For breakdown vocals, 2.0 to 3.5 seconds can work if the low end is filtered.
- Short pluck: 25 ms pre-delay, 0.7 second decay.
- Festival lead: 40 ms pre-delay, 1.4 second decay.
- Breakdown vocal: 55 ms pre-delay, 2.8 second decay.
- Use 20 to 60 ms pre-delay on front-and-centre sounds.
- Shorter decays suit busy drops.
- Longer decays suit breaks, fills, and transition moments.
- If the lead goes dull, adjust pre-delay before adding more top end.
Sidechain Ducking Lets The Groove Speak First
Sidechain ducking is like a polite conversation. When the vocal or lead speaks, the reverb steps back. When the phrase ends, the space returns.
Creative reverb techniques: Ducking chain
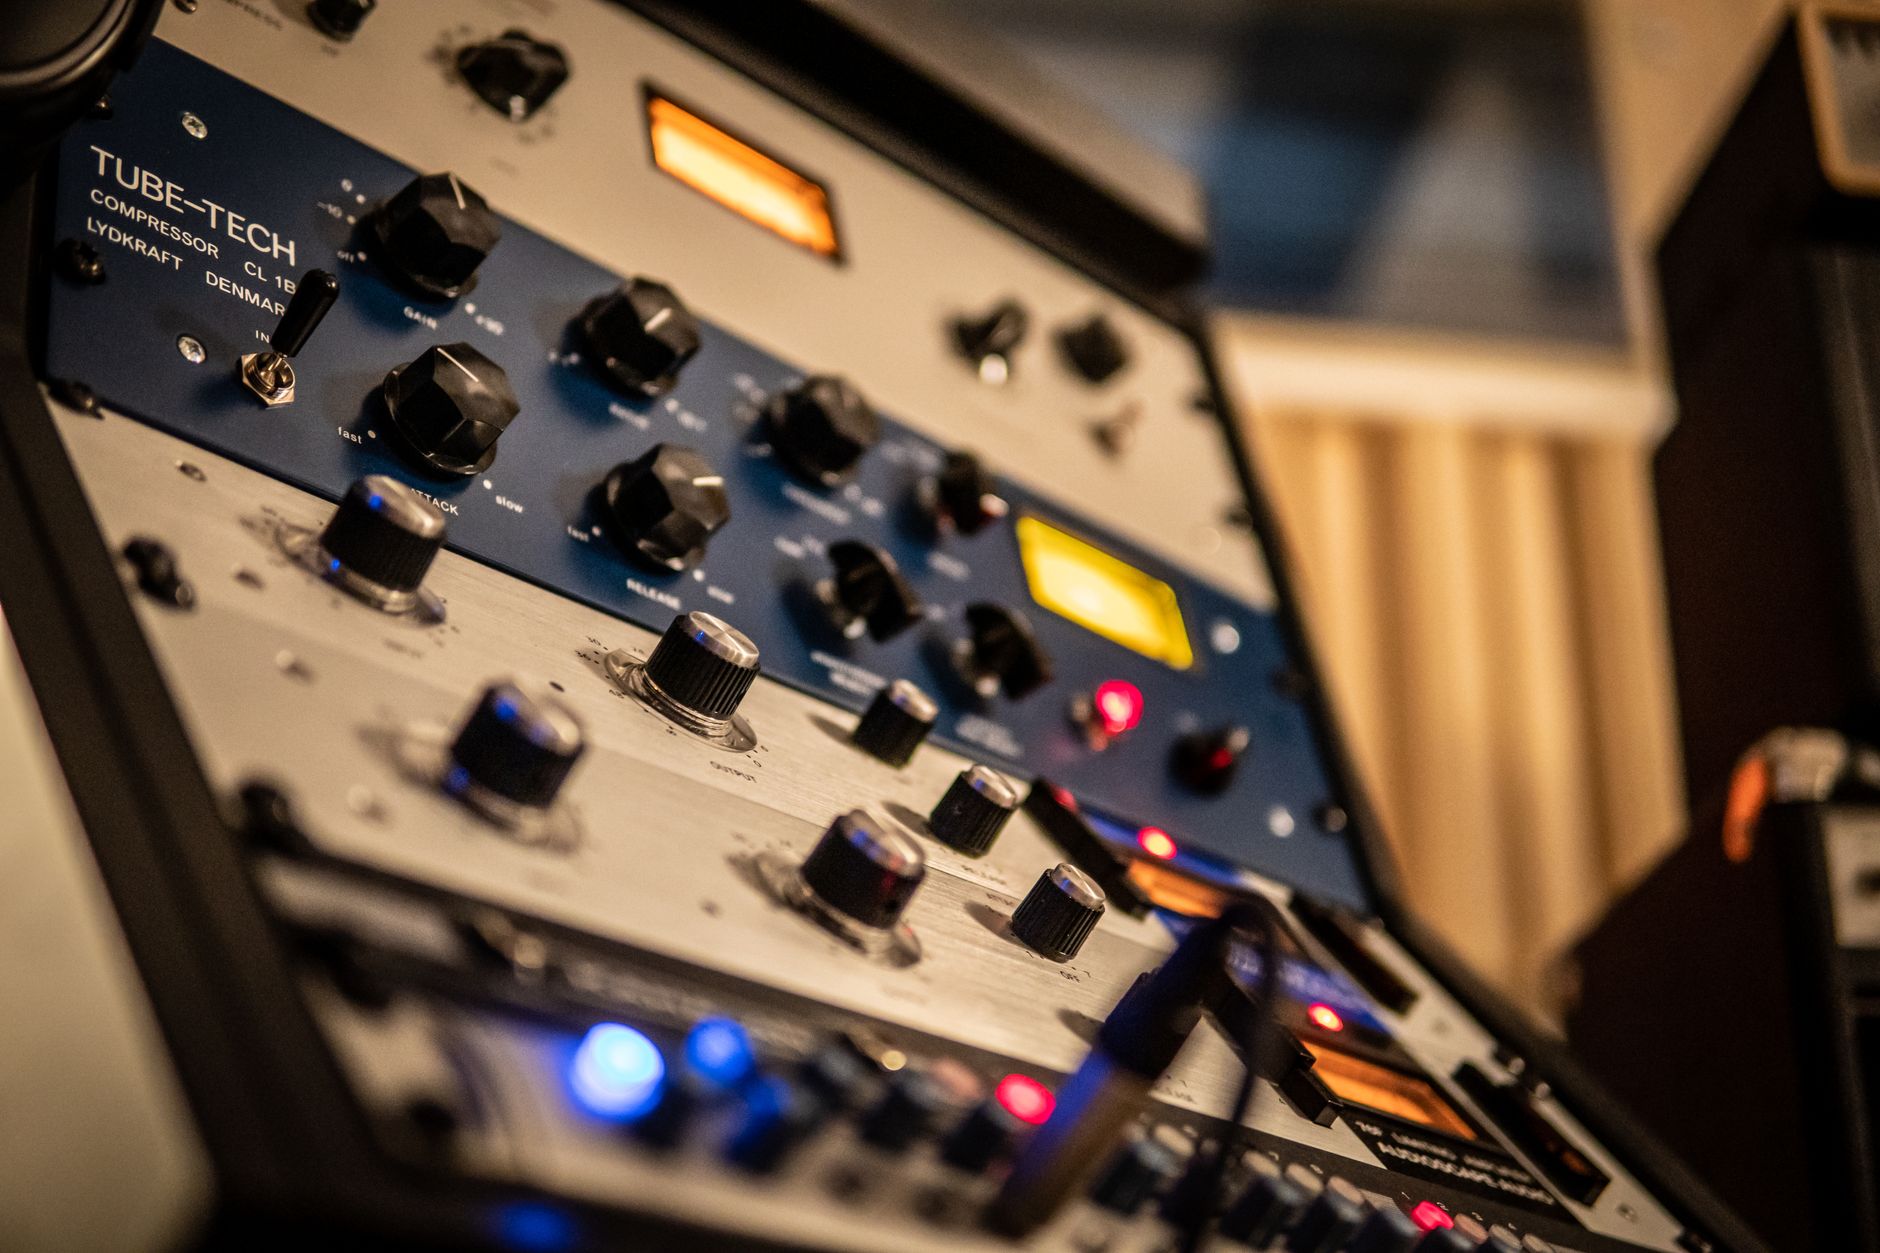
Sidechain ducking means one signal turns another signal down. Put a compressor after the reverb on the return channel. Feed the dry vocal, lead, or snare into the compressor sidechain input. Every time the dry sound hits, the reverb drops by a few dB, then swells back into the gaps.
Start with these settings: ratio 4:1, attack 1 to 5 ms, release 120 to 250 ms, and threshold low enough for 3 to 6 dB of gain reduction. If the pumping is obvious, lengthen the release or reduce the gain reduction. For a cleaner version, tools like FabFilter Pro-C 2 or Ableton Compressor work fine.
Duck Reverb From The Kick Too
Kick ducking is not only for bass. A big hall reverb on claps, impacts, or vocals can mask the kick punch. Put sidechain compression on the long reverb return and trigger it from the kick. Even 2 to 4 dB of ducking can make the drop hit harder.
- Put the compressor after the reverb, not before it.
- Trigger vocal reverb ducking from the dry vocal.
- Trigger long FX reverb ducking from the kick in drops.
- Aim for movement, not obvious volume wobble unless the track wants it.

Automate Reverb Like A Lighting Cue
Automation means changing a parameter over time. Treat it like club lighting: leave the main room stable, then make the big moves happen at obvious emotional moments.
Make Space Move In 4-Bar Phrases
Dance music usually breathes in 4, 8, and 16-bar phrases. Reverb should respect that grid. Push the vocal send up by 2 to 4 dB on the last word before a drop. Open the high-cut from 6 kHz to 10 kHz during a build. Pull the main lead reverb down 1 dB when the full drop lands.
creative reverb techniques get bigger when they are temporary. A huge wash for half a bar feels exciting. The same wash for 32 bars feels flat and small.
Automate The Return, Not Only The Send
Send automation controls how much sound enters the reverb. Return automation controls the reverb channel after the effect. Use both. For a clean drop transition, automate the send up on the final snare roll, then mute or fade the return on beat one so the kick lands dry and wide.
- Raise reverb sends on final words, fills, and snare rolls.
- Cut reverb returns on beat one of the drop when impact matters.
- Automate high-cut filters for brighter builds.
- Use 4-bar and 8-bar moves so the space follows the arrangement.

Turn Reverb Into Sound Design, Then Print It
Sound design reverb is less like room tone and more like photographing smoke. You capture a shape, then cut it into something musical.
Resample Long Tails
Resampling means recording an effected sound back into audio. Put a long reverb on a vocal chop, clap, or synth stab, then record the tail. Now reverse it, trim it to one bar, fade the front, and place it before the next phrase. That gives you a rising transition that belongs to the track because it came from the track.
Try a 4 to 8 second decay, 70% diffusion if the plugin has it, low-cut at 250 Hz, and high-cut around 7 kHz. If the tail gets harsh, Soothe2 can tame resonances around 2 to 5 kHz before you print it.
Freeze, Gate, And Chop The Tail
Freeze holds the reverb tail so it becomes a pad. Gating cuts the tail off when it falls below a set level. Chop a frozen tail into 1/8 notes, sidechain it to the kick, and it becomes a rhythmic atmosphere instead of a background blur.
- Reverse one-bar tails into drops.
- Gate clap reverb for tight 90s-style width.
- Layer frozen vocal reverb under a breakdown pad.
- Print long tails to audio so you can edit them tightly.
- Reverse reverb works best when it leads into the source sound.
- Gate reverb when the groove needs sharp stops.
- Use resonance control before printing if the tail whistles or rings.
Fix The Mistakes That Make Reverb Smaller
Bad reverb is like too many people talking in a small kitchen. Nothing feels large because everything is fighting for the same air.
Check The Low End First
Most muddy EDM mixes have too much low-mid reverb. Put an EQ after every reverb return. High-pass around 180 to 300 Hz. If the mix still feels cloudy, cut 2 to 4 dB around 250 to 500 Hz with a wide bell. Use mid/side EQ carefully: trim low mids from the sides if the stereo image feels bloated.
We see this constantly in support requests around music production and releases: producers add more reverb for size, when the real fix is removing reverb from the wrong frequency range.
Do A Dry Mute Test
Mute all reverb returns for one chorus, then bring them back one at a time. Each return must earn its place. If a reverb does not add depth, width, rhythm, or transition energy, remove it. Bigger EDM mixes are usually built from fewer reverbs used with more intent.
- High-pass reverb returns before judging their level.
- Do not put long stereo reverb on sub bass.
- Avoid different room sounds on every drum hit.
- Use mono-compatible checks if wide reverbs vanish in mono.
- Turn down reverb during drops if the groove loses punch.
| Technique | Best Use | Starter Setting | Watch Out For |
|---|---|---|---|
| Short room send | Glue drums, vocals, and synths | 0.6 to 1.0 sec decay, 180 Hz high-pass | Too much low-mid buildup |
| Pre-delay | Keep leads and vocals upfront | 20 to 60 ms before the tail | Detached reverb if set too long |
| Sidechain ducking | Clear space for vocals, leads, and kick | 3 to 6 dB gain reduction | Release time pumping against the groove |
| Automated long tail | Builds, impacts, and phrase endings | 2 to 4 dB send boost for one phrase | Leaving the wash on too long |
| Printed reverse reverb | Transitions into hooks or drops | 4 to 8 sec decay, reversed and trimmed | Harsh 2 to 5 kHz resonances |
Sources worth your time
- Mixing Reverb for a Polished Sound — slatedigital.com
- 6 Creative Reverb Techniques in Music Production — izotope.com
FAQ
What are creative reverb techniques in EDM mixing?
creative reverb techniques are controlled ways to use space as part of the arrangement, not just as background ambience. Common examples include shared reverb sends, pre-delay on leads, sidechain ducking on returns, automated reverb throws, reversed tails, gated rooms, and printed atmospheric textures.
Should I put reverb on every EDM track?
No. Start with one or two shared sends, then add special reverbs only where the arrangement needs movement or contrast. Kick and sub bass usually need little or no reverb. If every channel has its own space, the mix often feels smaller and less focused.
How much pre-delay should I use on EDM vocals?
Try 30 to 60 ms on lead vocals. That short gap lets the dry vocal stay clear before the reverb tail arrives. If the vocal sounds disconnected from the space, reduce the pre-delay. If the words smear, increase it slightly or duck the reverb return.
Why does reverb make my drop sound weak?
The usual causes are low-frequency buildup, long tails masking the kick, and reverb staying too loud when the drop starts. High-pass the return, sidechain it from the kick, shorten the decay, or automate the return down on beat one.
creative reverb techniques work best when they serve the groove first. Build one believable room, protect the attack with pre-delay, duck the tail when the main sound arrives, and automate the big moments so they feel intentional. The goal is not more reverb. The goal is clearer front-to-back depth, wider transitions, and drops that still punch.
Open your next session and make one reverb return folder: short room, long throw, sound-design tail. Mute everything else for ten minutes. Bring those three returns in slowly, EQ them hard, then automate only the moments that need size.
My Career makes videos from your own track and posts them for you, pitches your release to 34,000+ labels, playlists, radio stations, YouTube channels and blogs, puts it in every store and briefs you every morning. Free plan, no card, two minutes to set up.