 By Emma Carter · November 19, 2026
Key takeaways
- Compression controls level movement, not just loudness.
- Start with ratio, attack, release and threshold before touching presets.
- Sidechain ducking works best when you time the release to the groove.
- Parallel compression can add drum weight without killing transients.
- File compression and mix compression are separate jobs.
- Gain match your compressor before deciding it sounds better.
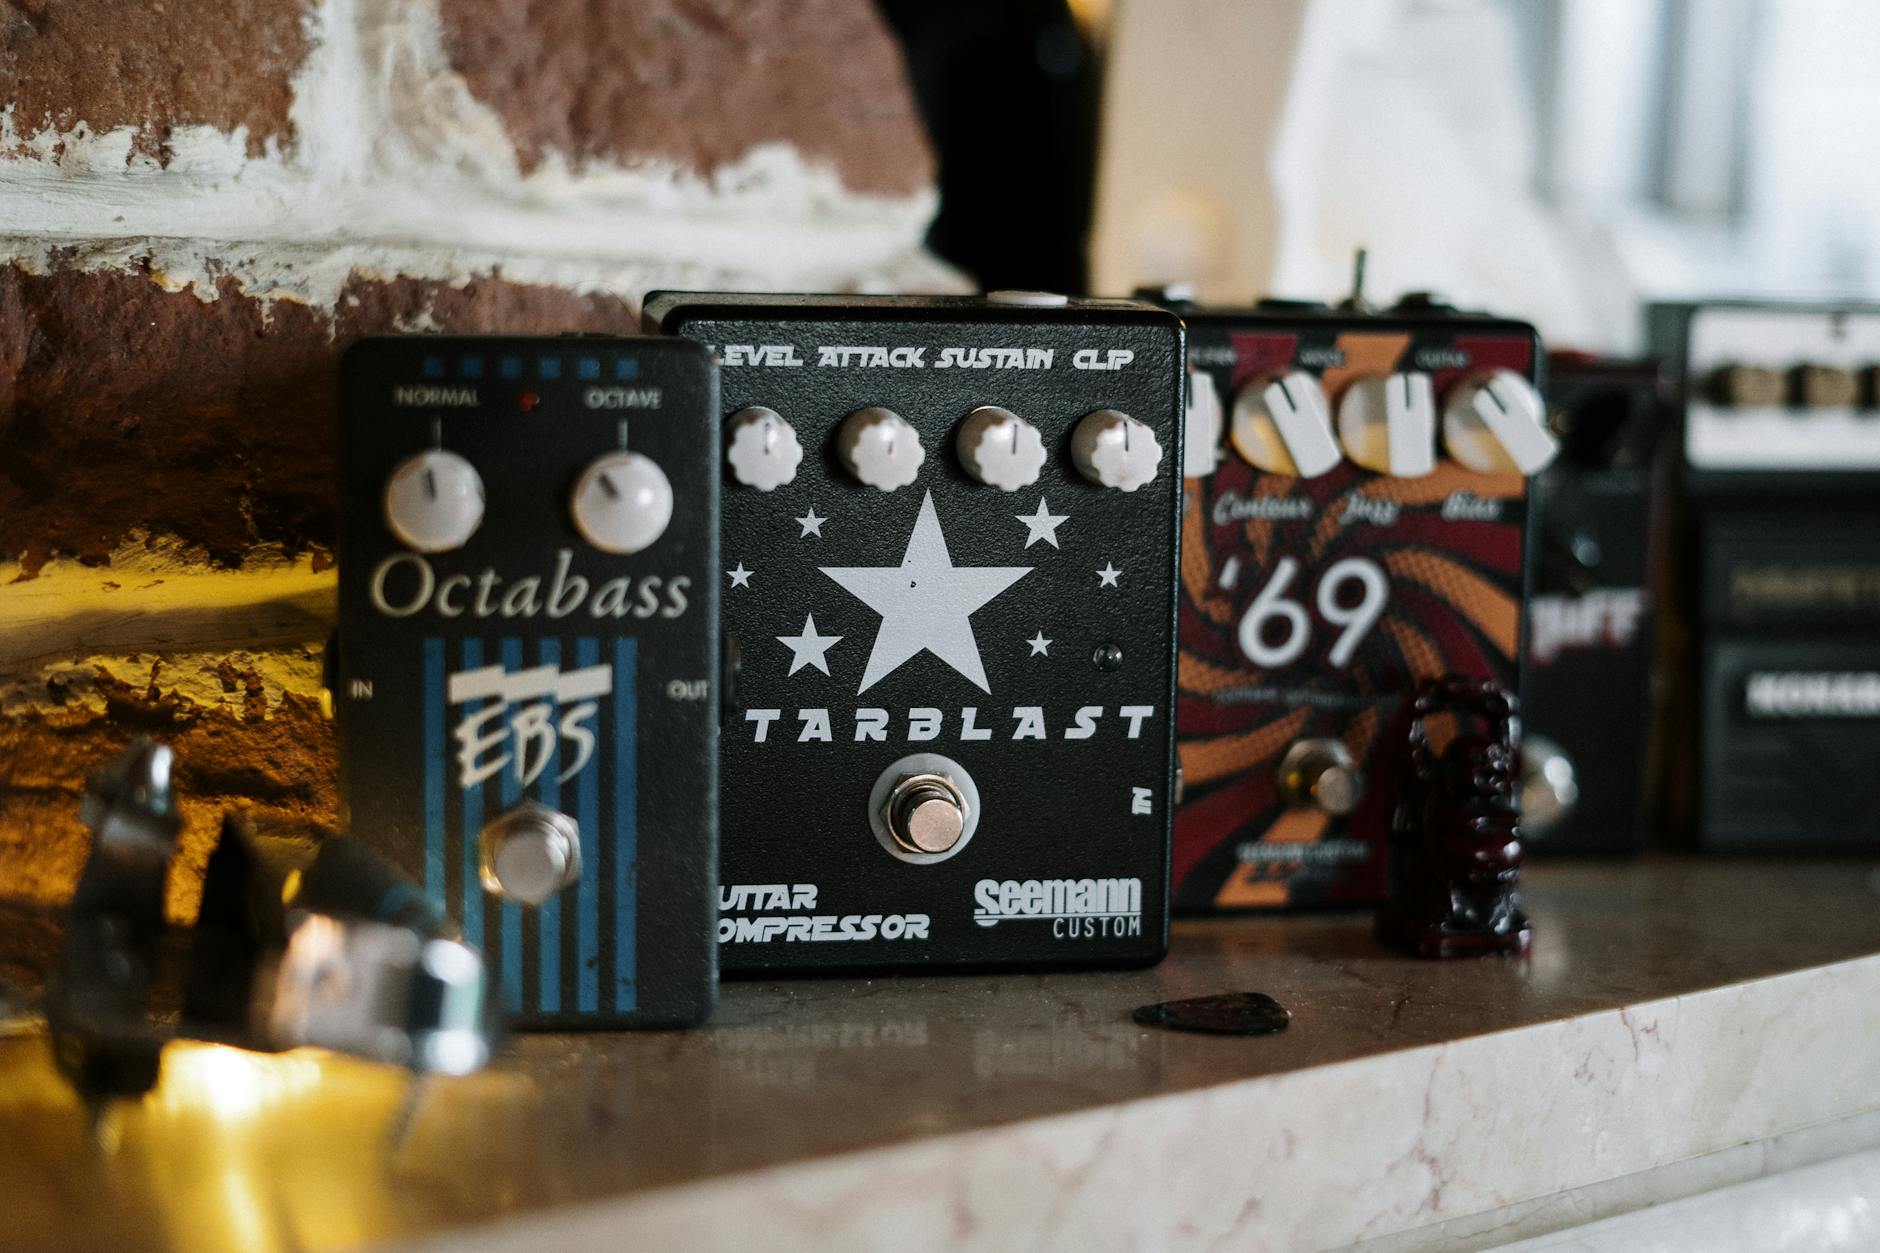
Audio compression is how you make a kick feel steady, a vocal sit up front, and a bass stop fighting the groove. audio compression is not magic loudness dust. It is gain control, triggered by level, shaped by attack, release, ratio and threshold.
Open a compressor on a loop you know well. Do not touch a preset yet. Pull the threshold down until you see 3 to 6 dB of gain reduction. Now move the attack from 1 ms to 30 ms. Hear the transient come back? That is the lesson. Compression changes the envelope, not just the volume.
We will keep this practical. Drums, bass, vocals, sidechain ducking, file size confusion, real numbers. Use Ableton Compressor, Logic Pro Compressor, FabFilter Pro-C 2, TDR Kotelnikov or whatever came with your DAW. The moves matter more than the logo.
What audio compression actually changes
A compressor turns down audio when it crosses a threshold. That is the plain version. The useful version is this: a compressor reshapes the gap between the loudest hit and the quieter body of the sound.
On a kick, it can let the click through and clamp the boom. On a vocal, it can hold quiet words near loud ones. On a synth bus, it can make stacked layers move like one part instead of three separate loops.
Audio compression is not ZIP compression
Two different jobs share the same word. Dynamic range compression changes level over time. File compression makes a file smaller. A compressor plug-in will not turn a WAV into a smaller file. A ZIP tool will not make your snare punchier.
Keep them separate in your head. In a mix session, we are usually talking about dynamic range. When you export for email, upload limits or client delivery, you are talking about data size.
The four controls you should touch first
- Threshold: lower it until compression starts. Watch gain reduction, then listen.
- Ratio: start at 2:1 for gentle control, 4:1 for obvious shaping, 8:1 for hard clamping.
- Attack: 1 to 5 ms catches transients, 15 to 30 ms lets punch through.
- Release: 50 to 120 ms works on many drums, 150 to 300 ms often feels smoother on vocals and pads.
- Use 2 to 4 dB gain reduction for transparent control.
- Use 6 to 10 dB only when you want the effect to be heard.
- Match output gain after compression before judging it.
- Bypass often. Louder will trick you.
Set the compressor by ear, not by preset
Presets are fine for learning where knobs can land. They are bad at knowing your source. Your vocal might be 12 dB quieter than the preset designer’s vocal. Your kick might already be clipped.
Do this instead. Make the compressor work too hard first. Then back it off until the sound breathes.
A reliable starting routine
Put FabFilter Pro-C 2, Ableton Compressor or Logic Pro Compressor after corrective EQ. Set ratio to 4:1. Set attack to 20 ms. Set release to 100 ms. Lower the threshold until you see around 6 dB of gain reduction on peaks.
Now slow the attack if the front of the sound feels dull. Speed the release if the groove feels late. If the compressor pumps between phrases, raise the threshold or lower the ratio.
Do the gain match test
Compression often sounds better only because the output is louder. Fix that. Turn makeup gain down until the compressed signal is the same perceived volume as bypassed.
Listen for shape, not level. Is the snare more consistent? Is the vocal easier to follow? Did the bass lose weight? Good compression answers those questions without needing an extra 2 dB of volume.
- Kick drum: 4:1 ratio, 15 to 30 ms attack, 60 to 120 ms release.
- Lead vocal: 3:1 ratio, 5 to 15 ms attack, 80 to 250 ms release.
- Bass: 4:1 ratio, 10 ms attack, 80 to 150 ms release.
- Mix bus: 2:1 ratio, 30 ms attack, auto release or 100 ms.

Step-by-step: Duck bass under the kick
Sidechain ducking is the club music move everyone hears, even when they do not know the name. The kick hits. The bass dips for a moment. The low end stops smearing.
We are not going for cheesy pumping unless the track asks for it. Start clean. Make space first.
Build the sidechain in six moves
- Put a compressor on the bass channel, not the kick.
- Enable external sidechain input and choose the kick as the trigger.
- Set ratio to 4:1.
- Set attack to 0.5 to 2 ms so the duck starts fast.
- Set release to 80 to 140 ms for house, 40 to 80 ms for faster techno or drum and bass.
- Lower threshold until the bass ducks 3 to 6 dB on each kick.
In Ableton Compressor, open the sidechain panel and use EQ mode to focus the detector around 60 to 120 Hz if the kick has noisy top end. In Pro-C 2, use the sidechain audition button. Listen to what is triggering the move.
Fix the timing
If the bass returns too late, the groove feels weak. Shorten the release. If the bass clicks or wobbles, lengthen it. For a 124 BPM house track, a release around 110 ms often lands nicely because the bass breathes before the next offbeat note.
Soloing lies here. Set it while the drums, bass and main hook play together. The right setting sounds a little boring in solo and obvious in the full groove.
- Use 3 dB ducking for subtle low-end cleanup.
- Use 6 dB ducking for obvious EDM movement.
- Use volume automation or LFO Tool-style shaping if the compressor clicks.
- Keep the kick clean below 120 Hz before blaming the sidechain.

Compression moves for drums, vocals and synths
Different sources want different timing. Do not copy one setting across the whole session. A plucky synth and a breathy vocal need different envelopes.
Think like this: drums need transient control, vocals need level control, synth groups need glue.
Drums: Punch first, weight second
On a drum bus, try 2:1 or 4:1. Set attack around 20 to 30 ms so the kick and snare crack through. Set release to 80 to 120 ms and aim for 2 to 4 dB of gain reduction.
If you want harder drums, use parallel compression. Duplicate the drum bus or use a send. Smash the parallel channel with an 1176-style compressor at 8:1, fast attack, fast release, 10 to 15 dB gain reduction. Blend it under the clean drums until the room tone and sustain appear.
Vocals: Catch peaks before tone shaping
For a vocal, use two compressors lightly instead of one compressor brutally. First, use a fast peak catcher, 4:1, 2 to 5 ms attack, 50 to 100 ms release, hitting 2 to 3 dB. Then use a slower leveler, 2:1, 15 ms attack, 150 to 250 ms release, hitting another 2 to 4 dB.
De-ess after the first compressor if S sounds jump forward. Compression can pull harsh consonants closer, and yes, that is why the vocal suddenly feels expensive but spitty.
Synths: Glue without flattening the hook
For stacked leads or pads, use TDR Kotelnikov or Pro-C 2 in a clean mode. Start at 2:1, 10 to 30 ms attack, 100 to 300 ms release. Aim for 1 to 3 dB reduction.
If the hook loses movement, back off. Synth compression is often about keeping layers together, not making them louder. Use automation for big phrase changes across 4-bar and 8-bar sections.
- Compress drum close mics harder than the full drum bus.
- Use serial compression on vocals for fewer artifacts.
- Leave transient-heavy plucks alone if they already cut through.
- Automate synth bus level before reaching for extreme ratios.

Gain staging: Loudness without smashing the mix
A compressor behaves better when you feed it sensible level. If your channel is clipping before the plug-in, the compressor is already reacting to a broken signal.
Keep your premaster clean. Leave headroom. You can make it loud later with limiting, clipping and proper export choices.
Set the session level before you compress
Pull your faders down if the master is peaking above -6 dBFS before mastering. On individual tracks, peaks around -12 to -6 dBFS are comfortable. Your plug-ins get room to work, and you stop chasing distortion that came from gain staging, not mixing.
Use Sonarworks SoundID if your room correction setup needs it, but do not let corrected monitoring make you mix too loud. Work around 75 to 82 dB SPL if you can measure it. If not, keep conversation possible in the room.
Do not compress what EQ should fix
If a vocal booms at 240 Hz, open the EQ. Cut 3 to 6 dB with a medium Q. Listen. If a kick masks the bass at 55 Hz, decide which one owns that range.
Compression controls movement. EQ controls tone. When you use a compressor to fix mud, you usually make the mud more consistent. That is not a win.
- Leave about -6 dBFS peak headroom on the premaster.
- Gain match every compressor before judging it.
- Cut resonances before heavy compression.
- Use automation for section jumps instead of crushing the whole track.

When to compress files, and when not to
Now switch meanings. File compression is about size, delivery and format. It does not make a mix tighter. It makes the file easier to send or stream.
For production work, keep a clean WAV or AIFF master. Use smaller formats only when the situation asks for them.
Choose the right export for the job
For mixing, mastering or ghost production handoff, export 24-bit WAV at the project sample rate, usually 44.1 kHz or 48 kHz. For preview emails, 320 kbps MP3 is fine. For social clips, AAC often survives platform conversion better than a low-bitrate MP3.
Can you zip an audio file? Yes, but ZIP barely shrinks WAV files compared with MP3 or AAC because audio data does not always contain easy repetitive patterns. ZIP is useful for folders of stems, not for serious size reduction.
Hit a 100 MB target without wrecking the audio
Use math. File size depends on duration, sample rate, bit depth and channels. A stereo 24-bit 48 kHz WAV is roughly 17 MB per minute. Six minutes lands around 102 MB.
If you need under 100 MB, shorten silence, export 16-bit WAV, or make a 320 kbps MP3 for preview. Do not send a low-bitrate MP3 for final mastering. That damage stays baked in.
- Final mix or master: 24-bit WAV or AIFF.
- Client preview: 320 kbps MP3 or high-quality AAC.
- Stem folder: ZIP the folder for organization, not major size savings.
- Upload limit problem: change format before lowering musical quality.
| Problem | Best move | Starting settings | Watch out for |
|---|---|---|---|
| Vocal jumps in level | Serial compression | 4:1 fast catcher, then 2:1 leveler | Harsh S sounds after gain reduction |
| Kick and bass collide | Sidechain ducking | 4:1, 1 ms attack, 80 to 140 ms release | Bass returning late and weakening groove |
| Drums feel small | Parallel compression | 8:1, fast attack, fast release, blend low | Phase smear or overhyped cymbals |
| Mix bus lacks glue | Gentle bus compression | 2:1, 30 ms attack, 1 to 2 dB reduction | Flattened chorus impact |
| File is too large | Data compression or format change | 320 kbps MP3 for previews | Using lossy files for final mastering |
Frequently asked questions
Why is compression used for audio files?
Compression is used for two reasons. Dynamic range compression controls level changes inside a mix, making vocals, drums and bass more consistent. File compression reduces storage size for sending or uploading audio. One changes sound behavior. The other changes data size. Do not treat them as the same tool.
Can I zip an audio file?
Yes, you can zip an audio file, and it is useful for sending organized stem folders. Do not expect huge savings on WAV or AIFF files. ZIP compression is lossless, so it will not damage the audio, but it usually shrinks audio much less than MP3, AAC or other audio-specific formats.
How can I compress audio to 100 MB?
First check the length and format. A stereo 24-bit 48 kHz WAV uses roughly 17 MB per minute. To stay under 100 MB, trim silence, export 16-bit WAV if acceptable, or create a 320 kbps MP3 for preview use. Keep a full-quality WAV for mastering and final delivery.
What is a compression ratio in audio compression?
Ratio controls how strongly a compressor turns down sound above the threshold. At 4:1, every 4 dB over the threshold becomes roughly 1 dB at the output. Lower ratios like 2:1 sound smoother. Higher ratios like 8:1 feel more aggressive and can start behaving like limiting.
Conclusion
audio compression gets useful when you stop treating it like a loudness button. Set the level first. Choose the job. Catch peaks, shape punch, glue a bus or make room for the kick. Use real numbers, then move the controls until the groove tells you they are right.
For your next session, pick one loop and run the sidechain exercise exactly as written. Then try the same habit on a vocal: 2 to 4 dB at a time, gain matched, bypassed often. Small moves stack up. That is how a bedroom mix starts behaving like a finished record.
My Career makes videos from your own track and posts them for you, pitches your release to 34,000+ labels, playlists, radio stations, YouTube channels and blogs, puts it in every store and briefs you every morning. Free plan, no card, two minutes to set up.