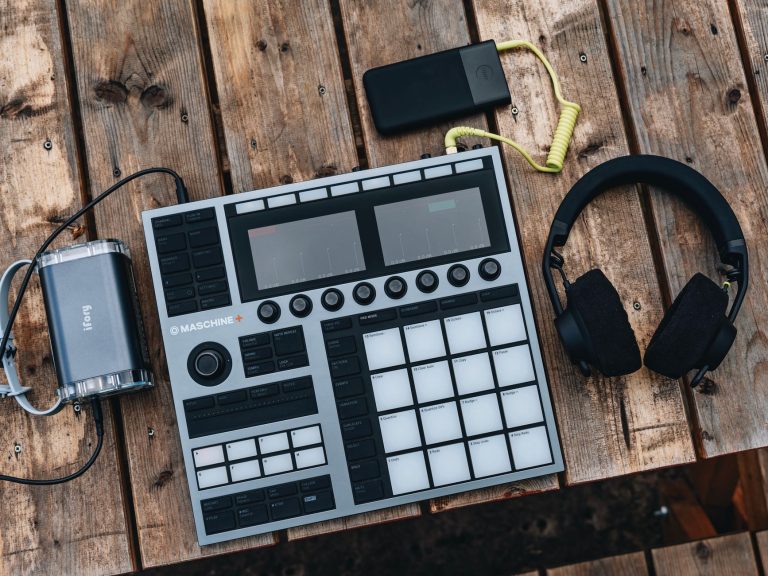
Key takeaways
- A simple default template is the foundation of a faster Ableton session.
- Push 3 and keyboard shortcuts help most when they reduce mouse work, not when they add browsing time.
- Small sound choices beat endless sample hunting, especially for beginners.
- EQ, Utility, and light compression solve many mix problems before the master chain matters.
- Locators, reference tracks, freezing, and clean stems help you finish and collaborate without chaos.
Your ableton workflow is the studio version of a prep table: if the knives, pans, and ingredients are already where they belong, cooking feels calm instead of messy. A clean ableton workflow does not make you more talented, it removes tiny delays that stop ideas before they become tracks.
For beginners, Ableton Live can look like a cockpit. Clips, tracks, returns, racks, warping, automation, and plug-ins all ask for attention at once. The fix is not buying every shiny tool. The fix is choosing a few tools that repeat well: a default template, a controller you actually touch, simple sound sources, clear EQ moves, basic compression, reference tracks, and reliable stem export habits.
I will keep the language plain. A DAW is a digital audio workstation, meaning the software where you record, arrange, and mix music. Everything below is built around Ableton Live, but the thinking works for DJs, bedroom producers, and artists sending files for custom music production.
Ableton workflow Tools: Set Up Live Like a Workbench
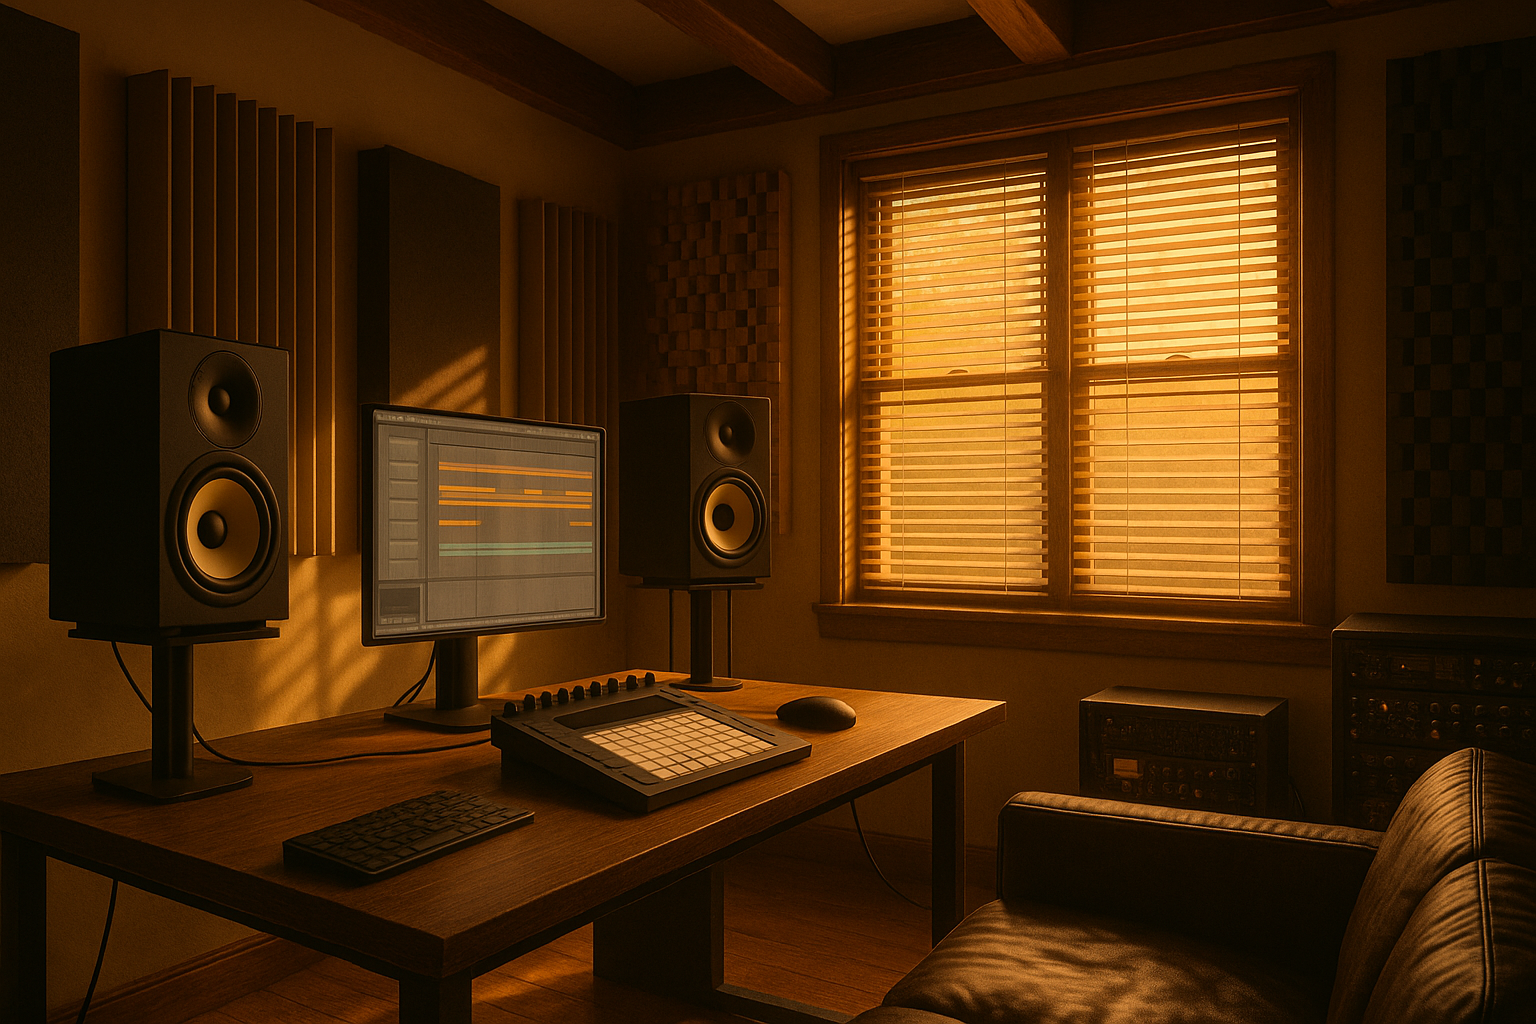
A good workbench has the screwdriver, tape, and spare screws in the same place every time. Your Ableton Live Set should feel like that. The first ableton workflow tool is not a plug-in, it is a default template that opens already organized.
A template is a saved starting session. Instead of creating drum tracks, return effects, and mix checks from scratch, you open Live and start with a useful skeleton. Keep it boring. Boring templates finish records.
The ableton workflow Template I Would Give a New Producer
Start with eight tracks: kick, drums, bass, music, vocal, FX, reference, and resample. Group the drum parts together. A group is a folder that lets several tracks share one volume fader and processing chain.
Add two return tracks. A return track is a shared effects channel, usually for reverb or delay. Put Ableton Hybrid Reverb on Return A and Echo on Return B. Set both returns quiet at first, around -18 dB, so you add space gently.
Headroom Before Loudness
Headroom means unused volume space before the master output clips, or distorts. Put Ableton Utility on the master and leave the session peaking around -6 dB. That gives a mastering engineer, ghost producer, or your future self room to work.
Color-code tracks too. Drums red, bass blue, music green, vocals yellow, FX purple. It sounds childish until you are tired at 1 a.m. and need to find the shaker without hunting.
- Save one default Live Set and stop rebuilding the same routing.
- Use one reverb return and one delay return before adding more.
- Keep a muted reference track inside the template.
- Leave the master peaking near -6 dB while producing.
- Name tracks clearly before the project gets crowded.
Push 3 and Shortcuts: Keep Your Hands Off the Mouse
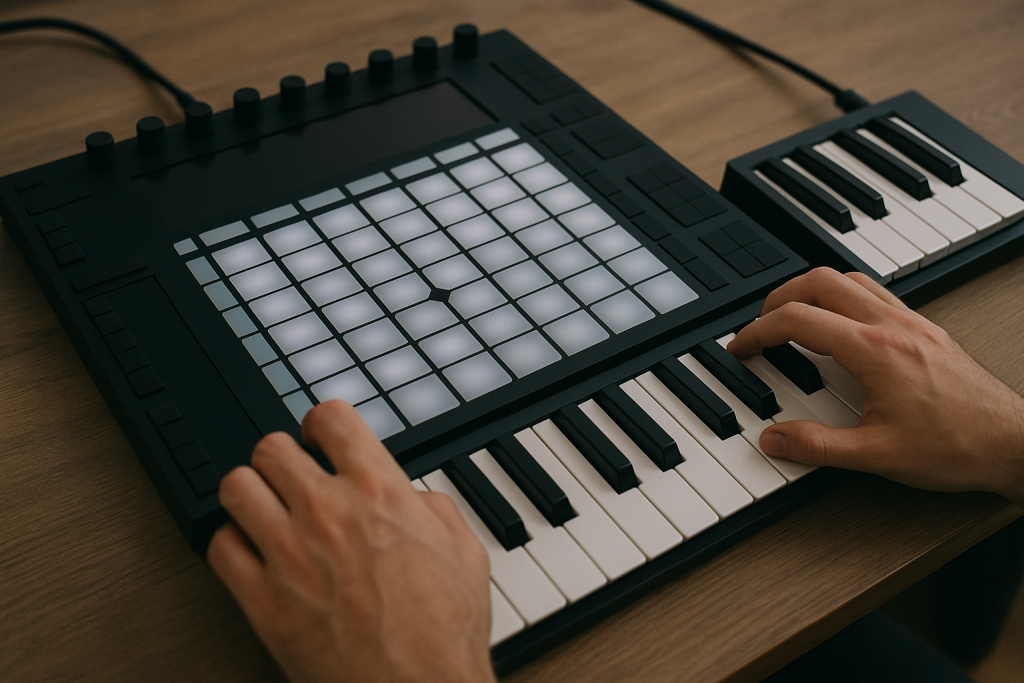
Think of a MIDI controller like the steering wheel in a car. MIDI means Musical Instrument Digital Interface, a control language that tells software what notes, knobs, and pads you touched. You can drive with menus, but you will move faster when your hands stay on the controls.
Ableton Push 3 is the cleanest hardware partner for Live, but it is not mandatory. A Novation Launchkey 49, Akai MPK Mini, or even the computer keyboard can improve your ableton workflow if you learn the core moves.
Use Push 3 for Ideas, Not Menu Browsing
Push 3 is best for playing drums, sketching chords, adjusting macros, and recording clips. Macros are assigned controls that move several settings from one knob. Map one macro to filter cutoff, another to reverb send, and another to distortion amount.
Do not spend the session scrolling presets from the controller. Pick a sound, record a rough part, then edit later. The mouse is good for detail work. The controller is good for performance.
Shortcuts That Actually Save Time
Shortcuts are keyboard commands. Learn a small set first: Cmd or Ctrl + T for a new audio track, Cmd or Ctrl + Shift + T for a MIDI track, Cmd or Ctrl + D to duplicate, and 0 to deactivate a clip or note.
That last one matters. Deactivating keeps an idea in place without hearing it. It is like muting a bad sentence in a draft instead of deleting the page. This single habit keeps ableton workflow decisions reversible.
- Use Push 3 or a small keyboard to record first, edit second.
- Map macros to controls you touch every session.
- Learn five shortcuts before memorizing twenty.
- Deactivate clips with 0 instead of deleting ideas too early.
- Record rough automation passes with knobs, then clean them by hand.
Drum Rack, Simpler and Splice: Keep Sound Choices Small
Sample libraries are like a supermarket aisle. If you shop hungry with no list, you come home with six sauces and no dinner. For music, the list is a tight sound palette: one kick folder, one drum rack, one bass source, and one place for loops.
A sample is a recorded sound file. A one-shot is a short sample, like a kick, clap, or vocal chop. Ableton Drum Rack lets you place one-shots on pads, while Simpler plays a sample like an instrument.
Build One Drum Rack Before Downloading More Packs
Make a Drum Rack with 16 pads: four kicks, four claps or snares, four hats, two percussion hits, one crash, and one weird texture. Save it as a preset named Starter Club Rack.
This helps ableton workflow because the first drum decision becomes playable. You can swap the kick later. You cannot edit a groove that never got recorded.
Use Splice Like a Crate, Not a Slot Machine
Splice and Loopcloud are useful when you search with limits. Try searches like “124 bpm dry percussion” or “minor vocal chop” instead of scrolling the homepage. Download ten sounds, then close the app.
If you are producing for DJs, label each loop by key and tempo. DJs care about mixability, and custom music production gets smoother when files arrive with useful names instead of “Audio 47.”
- Keep one starter Drum Rack for fast groove writing.
- Limit sample hunting to ten downloads per session.
- Use Simpler for vocal chops, bass hits, and tonal one-shots.
- Rename samples with tempo and key when you know them.
- Close sample apps once the loop is working.
EQ Eight, Pro-Q 4 and Utility: Clear Space Before You Mix
EQ is traffic control for sound. EQ, short for equalization, lets you turn frequency areas up or down so parts stop blocking each other. If every car tries to use the same lane, the road jams. If every synth, vocal, and bass lives in the same range, the mix feels cloudy.
Ableton EQ Eight is enough for most beginner decisions. FabFilter Pro-Q 4 is faster for detailed work because the display, dynamic EQ options, and mid/side view are clearer.
EQ Checks Inside an ableton workflow
Start with cleanup, not decoration. High-pass most non-bass parts around 80 to 120 Hz. High-pass means cutting low frequencies below a chosen point. On a vocal chop, try 120 Hz. On a pad, try 150 Hz. On the master, do not high-pass aggressively unless you know why.
If a loop feels boxy, make a small cut around 220 Hz. If hats hurt, check 7 to 10 kHz. Move slowly. A 2 dB cut can do more than a dramatic scoop.
Utility Is the Quiet Hero
Ableton Utility controls gain, width, phase, and mono. Gain is level before or after processing. Width is stereo spread. Mono means the same sound in both speakers.
Use Utility to make bass mono below the main bass track, or to trim a hot synth by -4 dB before it hits a compressor. This is cleaner than pulling random faders all day. Good ableton workflow keeps gain decisions visible.
- Use EQ Eight first, then Pro-Q 4 when detail matters.
- Try a 220 Hz cut when loops feel boxy.
- Keep sub and main bass elements controlled in mono.
- Use Utility for gain trims before compression.
- Avoid huge EQ moves until the arrangement is working.

Compressor, Glue Compressor and Duck: Make Parts Talk
Compression is a volume rider with fast hands. A compressor turns down a sound when it crosses a chosen level, called the threshold. It can smooth vocals, tighten drums, or make a bass move out of the way when the kick hits.
For beginners, use three tools: Ableton Compressor for clear sidechain routing, Glue Compressor for drum bus weight, and Duck by Devious Machines for easy sidechain ducking. Sidechain ducking means one sound, often the kick, tells another sound, often the bass, to dip briefly.
Sidechain as a Conversation
Imagine two people trying to speak at once. Sidechain ducking makes one person pause for half a second, so the main word lands clearly. In dance music, the kick is usually the speaker that needs priority.
Put Compressor on the bass track, open Sidechain, choose the kick as the input, and start with a ratio of 4:1. Ratio controls how hard the compressor turns down the signal. Adjust threshold until you see 2 to 5 dB of gain reduction.
Glue Compressor on Drums
Glue Compressor is modeled for bus compression. A bus is a shared channel where several sounds meet, like a drum group. On a drum group, try Attack at 10 ms, Release on Auto, Ratio at 2:1, and aim for 1 to 2 dB of gain reduction.
Do not crush the drums because the meter looks exciting. Your ableton workflow should make better decisions easier, not louder mistakes faster.
- Use Ableton Compressor when you need clear sidechain routing.
- Try Duck when you want a visual curve for pump timing.
- Keep drum bus compression light at first.
- Watch gain reduction, but trust the groove more than the meter.
- Match output level after compression so louder does not fool you.
Arrangement Locators and Reference Tracks: Finish the Map
An arrangement is a train route. The intro is the first station, the drop is the busy central stop, and the outro gets DJs out cleanly. If you do not mark the route, you keep looping the same eight bars and calling it “vibe.”
Locators are markers on Ableton’s timeline. Reference tracks are released songs you compare against for structure, energy, and balance. They are not there to copy. They are there to stop guessing.
Mark the Track Before You Fill It
Set locators before arranging: Intro, Groove, Break, Build, Drop, Second Break, Final Drop, Outro. For club music, work in 4-bar phrases. A phrase is a small musical sentence. DJs feel those blocks when mixing.
A simple house layout might use 16 bars of intro, 16 bars of groove, 16 bars of break and build, then 32 bars of drop. Your genre may differ, but the map makes the blank timeline less scary.
Reference Without Losing Your Taste
Drop one reference track into your template and turn it down so it roughly matches your project volume. Use it to check kick length, bass level, vocal brightness, and arrangement changes.
This ableton workflow habit is especially useful if you plan to send stems to another producer or engineer. A clear reference tells them the target faster than a paragraph of vague notes.
- Add locators before building the full arrangement.
- Think in 4-bar and 8-bar phrase blocks.
- Keep one reference track muted until you need it.
- Compare structure first, loudness last.
- Use reference notes like “shorter kick” or “brighter vocal,” not vague mood words.
Freezing, Resampling and Stems: Stop CPU Panic
Freezing audio is like printing a photo before moving it around the desk. The computer no longer has to calculate every synth, reverb, and modulation in real time. It plays back a rendered version, which saves CPU power.
CPU means central processing unit, the computer chip doing the heavy lifting. When your laptop fan screams and Live crackles, your ableton workflow needs printing habits, not another synth instance.
Freeze Before the Session Breaks
Right-click a heavy track and choose Freeze Track. If you need to edit the audio directly, choose Flatten after freezing. Flattening replaces the instrument and effects with audio, so duplicate the track first if you might need the MIDI later.
Resampling means recording the sound of your session or a track back into a new audio track. Use it for long effects throws, glitch edits, and transitions. Print the weird stuff once it works.
Export Stems Like Someone Else Has to Open Them
Stems are separate audio files for groups or tracks, such as drums, bass, vocals, and FX. Export them from bar 1, even if the part starts later, so every file lines up in any DAW.
Use 24-bit WAV files at the project sample rate, usually 44.1 kHz or 48 kHz. Name files clearly: 124bpm_Am_drums, 124bpm_Am_bass, 124bpm_Am_vocal. CDJ-3000 players will not care about your messy session, but collaborators will.
- Freeze heavy synths before CPU clicks ruin the take.
- Duplicate tracks before flattening if you may need MIDI.
- Resample transitions and special effects once they work.
- Export stems from bar 1 for clean alignment.
- Use 24-bit WAV for serious collaboration and custom production handoffs.
| Tool | Best For | Use When | Watch Out For |
|---|---|---|---|
| Ableton Live Template | Fast session starts | You keep rebuilding the same tracks and returns | Too many preset channels can slow decisions |
| Ableton Push 3 | Playing drums, chords, and macros | Mouse editing is killing the performance feel | Preset browsing can become another distraction |
| Drum Rack | Playable one-shot kits | You need a groove before detailed sound design | Huge racks make simple choices harder |
| FabFilter Pro-Q 4 | Detailed EQ and mid/side checks | EQ Eight feels too small for surgical cleanup | Visual displays can make you over-edit |
| Ableton Compressor | Sidechain ducking and basic control | Kick and bass fight for space | Heavy settings can drain groove from the track |
| Freeze and Flatten | CPU relief | The session crackles or lags | Flattening removes easy MIDI edits |
Further reading
- Ableton Live manual — Official Ableton documentation for Live concepts, devices, routing, and workflow features.
- Sound On Sound compression — Long-running professional audio publication with practical technical explanations of compression.
Frequently asked questions
What is the best way to improve ableton workflow?
The best way to improve ableton workflow is to remove repeated setup tasks. Build a default template with labeled tracks, returns, a reference channel, and Utility on the master. Then learn a small group of shortcuts and use one controller or keyboard setup consistently.
Is Ableton Live good for beginners making dance music?
Yes. Ableton Live is strong for beginners because Session View helps you test loops quickly, while Arrangement View lets you build a full song. The key is ignoring advanced features at first. Learn tracks, clips, Drum Rack, Simpler, EQ Eight, Compressor, and export settings before chasing complex racks.
Do I need Ableton Push 3 to work faster?
No, but Push 3 helps if you like playing ideas instead of drawing everything with a mouse. A cheaper MIDI keyboard can still cover notes, drums, and basic controls. The speed comes from consistent muscle memory, not the price of the controller.
How many tracks should a beginner use in Ableton?
Start with fewer than 20 tracks. A solid beginner session can use kick, drums, bass, chords, lead, vocal, FX, two returns, and a reference. If the idea does not work with that setup, adding 40 more layers usually hides the problem instead of fixing it.
What plugins help finish songs faster in Ableton?
Use Ableton’s stock devices first: Drum Rack, Simpler, EQ Eight, Utility, Compressor, Glue Compressor, Echo, and Hybrid Reverb. For paid tools, FabFilter Pro-Q 4 and Devious Machines Duck are useful because they solve specific problems quickly without forcing you into complicated routing.
How should I prepare stems for custom music production?
Export stems from bar 1 as 24-bit WAV files, grouped clearly as drums, bass, music, vocals, and FX. Include tempo and key in the file names when possible. Turn off master limiting unless requested, and send a rough mix plus one reference track for direction.
Conclusion
A better ableton workflow is mostly boring in the best possible way. The same template opens. The same drum rack gets ideas moving. The same EQ checks remove clutter. The same sidechain setup gives the kick and bass room. The same stem export habit makes collaboration painless.
None of this replaces taste. It protects taste from menu diving, CPU spikes, messy files, and half-finished loops. Start with one change, not seven. Save a default Live Set with eight labeled tracks, two returns, a reference channel, and -6 dB of headroom. Then use it for your next session before changing anything else.
Ableton workflow — Quick Recap
The fastest way to lock in ableton workflow is to internalise the workflow above and repeat it on every project. Start small: pick one technique from this ableton workflow guide, apply it to your next session, and audit the result against a reference track.
- A simple default template is the foundation of a faster Ableton session.
- Push 3 and keyboard shortcuts help most when they reduce mouse work, not when they add browsing time.
- Small sound choices beat endless sample hunting, especially for beginners.
- EQ, Utility, and light compression solve many mix problems before the master chain matters.
Treat ableton workflow as a habit, not a one-off — the producers who consistently nail ableton workflow are the ones who run the same checks on every track. That’s the difference between a clean, club-ready master and a track that sounds great at home but falls apart on a real system.
In a real studio session, ableton workflow comes down to the order in which you make decisions: reference first, gain stage second, then the creative work. Producers who treat ableton workflow as a checklist instead of a vibe end up shipping more tracks.
Most producers and DJs undervalue ableton workflow because the wins are invisible until the track plays back on a real system. Bake ableton workflow into your template and the next ten projects benefit automatically.
When you struggle with ableton workflow, the fix is rarely a new plugin. Loop a problem section, A/B against a reference, and isolate which element is breaking your ableton workflow.
Treat ableton workflow as a craft, not a chore. The producers releasing on the biggest labels lock ableton workflow in early so they can spend their energy on melody and arrangement instead of fighting the mix.
Document your ableton workflow process — even a short note in the project file. Future-you will rebuild the same ableton workflow win in half the time.
If ableton workflow sounds great in headphones but bad in the car, you have a translation problem, not a creative one. The ableton workflow tweaks above are designed to survive every system.
My Career makes videos from your own track and posts them for you, pitches your release to 34,000+ labels, playlists, radio stations, YouTube channels and blogs, puts it in every store and briefs you every morning. Free plan, no card, two minutes to set up.