Key takeaways
- A professional mix starts with source selection and arrangement, not master bus presets.
- Leave about -6 dBTP headroom before mastering unless a specific engineer asks otherwise.
- Keep sub information controlled, mostly mono below 100 to 120 Hz, and checked in phase.
- Use references at matched loudness or the comparison is useless.
- Arrangement mutes often solve problems that EQ and compression only disguise.
- Export clean 24-bit WAV files and aligned stems for reliable delivery.
A professional sounding track is mostly boring engineering: gain, timing, arrangement, translation, and sensible loudness. If the kick is 4 dB too loud, the bass is out of phase below 90 Hz, and the vocal has three resonances at 650 Hz, no limiter preset fixes it.
The professional sounding track test is not whether it feels loud on your laptop at 2 a.m. It is whether the mix survives quiet monitors, headphones, mono, a car, and a club PA without changing identity. Bedroom producers and DJs usually lose the record in predictable places: too much sub, weak midrange, random stereo, overcooked master bus, and arrangement clutter. Custom music production services and ghost producers solve the same list every day. The difference is not magic. It is repeatable checking.
What a Professional Sounding Track Has Before Mixing
A professional sounding track starts before the first EQ. Source choice matters more than rescue processing. A clean kick sample at the right length beats a weak kick with five processors on it. The textbook answer says record or design everything from scratch. In practice, that wastes time if the source is wrong for the job.
Work at 48 kHz and 24-bit if you are delivering for video or modern live playback. 44.1 kHz is still fine for music-only release. Do not upsample a bad session and expect a better record. That is paperwork, not engineering.
Professional Sounding Track Checks at the Start
Before mixing, play the rough loop at low volume. If the groove vanishes when the monitors are quiet, the balance is not stable. Fix the source. A professional sounding track should still identify itself at conversation level.
- Set the DAW project to 24-bit recording or 32-bit float export.
- Leave the master peaking around -6 dBFS before mastering.
- Keep the main kick and bass in tune within the key centre, not roughly nearby.
- Check the first 8 bars against a released reference at matched loudness.
Use Fewer Sounds, Chosen Better
The amateur move is stacking. Three claps, four hats, two bass layers, then Soothe2 trying to negotiate a ceasefire. Pick one main element per job. One kick owns 45 to 110 Hz. One bass owns the movement. One vocal or lead owns the hook range around 1 to 5 kHz.
Layer only when the layer has a measurable task: transient, body, stereo width, noise, or pitch. If you cannot name the job, mute it.
- Start with sounds that already fit the genre and tempo.
- Check tuning before compression or saturation.
- Match reference loudness before judging tone.
- Mute layers that do not survive low-volume listening.

Gain Staging and Headroom Are Not Optional
Gain staging is not vintage superstition. Many plug-ins still respond differently at different input levels. A modelled compressor or tape plug-in can sound fine at -18 dBFS RMS and ugly at -3 dBFS RMS. The meters tell you before your ears get tired.
A professional sounding track usually has boring levels inside the session. Kick peaks around -10 to -6 dBFS. Bass peaks a few dB lower. Group buses with 3 to 6 dB of room. Master bus with no red lights and no mystery gain from utility plug-ins hidden after the limiter.
The Numbers That Usually Work
On an Ableton Live or Logic session, set clip gain first. Do not fix every channel with faders at -28 dB because all the clips are too hot. Clip gain controls processor input. Faders control the mix. Confusing the two makes recalls miserable.
- Individual audio clips: peaks between -18 and -8 dBFS.
- Drum bus: peaks around -8 to -5 dBFS.
- Music bus: peaks around -10 to -6 dBFS.
- Master before limiting: true peak below -6 dBTP if sending to mastering.
When the Textbook Answer Is Wrong
The textbook answer says never clip. Club music often uses controlled clipping on drum transients because it sounds denser than compression. A StandardCLIP, KClip, or Ableton Saturator stage shaving 1 to 2 dB off a kick can work. Ten dB of clipping because the mix is not balanced does not.
Use clipping before the limiter only when it improves transient shape at matched loudness. If the snare gets smaller, remove it.
- Use clip gain before channel faders.
- Keep master bus processing off until the rough balance works.
- Avoid recording synths and vocals too close to 0 dBFS.
- Use true peak metering when printing final masters.

Low End, Phase and Mono Decide Translation
The low end is where most home mixes fail. A professional sounding track does not have more bass. It has bass that occupies defined space. On small monitors, sub mistakes hide. On a club PA, they become invoices.
For dance music, check the kick fundamental, bass fundamental, and their relationship every 4 bars. If the kick is strongest at 52 Hz and the bass sustains at 55 Hz, expect masking unless the envelope is arranged carefully. Sidechain ducking is not optional in many EDM, house, and techno records. It is traffic control.
Sub Range Rules That Survive Real Systems
High-pass non-bass elements with intent. Do not cut everything at 120 Hz because a forum said so. A piano may need body at 140 Hz. A reverb return usually does not need 80 Hz. Use FabFilter Pro-Q 4 or Pro-Q 3 in mid/side mode and look at the side channel below 120 Hz. If there is wide sub, ask why.
- Mono the sub below 100 to 120 Hz for most club records.
- Cut kick mud around 180 to 260 Hz only if the body is boxy.
- Check bass note length against the kick tail in milliseconds, not vibes.
- Use 2 to 5 dB sidechain gain reduction as a starting range.
Phase Is Not an Academic Problem
Flip polarity on bass layers and kick layers while listening in mono. If the low end gains 3 dB and tightens, the previous setting was wrong. If it loses weight, put it back. Use a correlation meter, but do not outsource the decision to it.
A professional sounding track should not collapse when summed to mono. Club subs are often effectively mono. Phone speakers are worse. Both are common listening systems, whether anyone likes that or not.
- Tune the kick and bass relationship before EQ.
- Remove unnecessary stereo information below 120 Hz.
- Check mono every few mix decisions, not once at export.
- Shape envelopes before adding more low-end plug-ins.
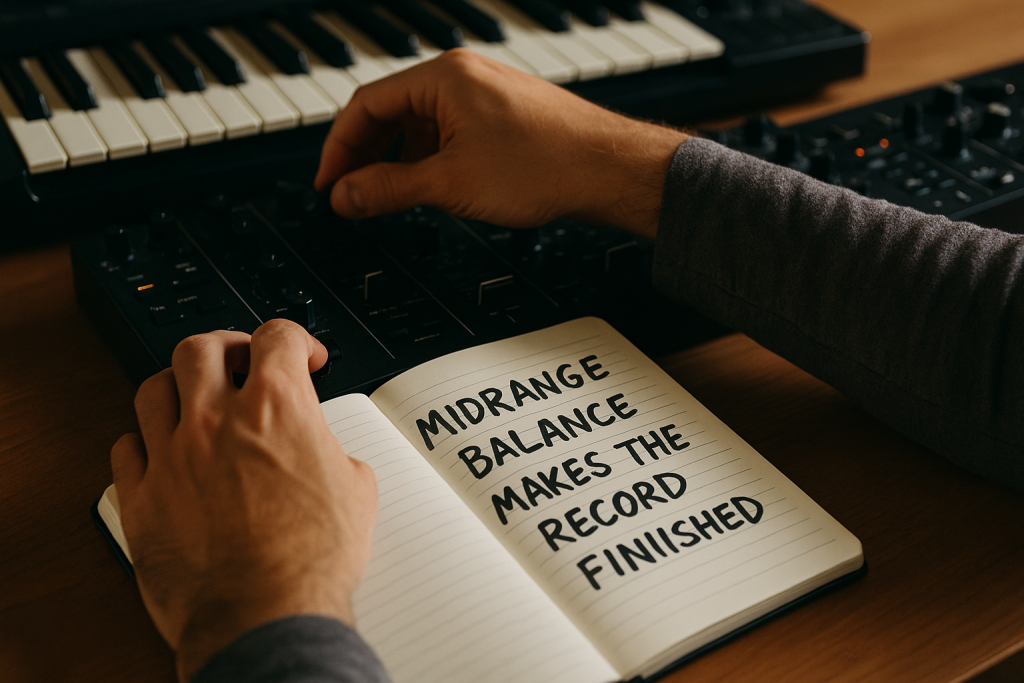
Midrange Balance Makes the Record Feel Finished
The listener recognises the record in the midrange. Phones, laptops, cars, bar speakers, CDJ booth monitors, all of them lean on 300 Hz to 5 kHz. A professional sounding track has a controlled midrange that does not stab, honk, or disappear.
Do not scoop the life out of everything to make room for the vocal. The old smiley-face EQ curve produces a loud demo and a weak release. If the hook is absent at 1.5 kHz, boosting 60 Hz and 12 kHz will not make the track expensive. It makes it hollow.
Fix Masking With Priority, Not Panic EQ
Pick the lead element in each section. Vocal, synth hook, piano stab, or percussion motif. Everything else gets arranged and EQ’d around that choice. Use narrow cuts only when a resonance is real: 450 Hz box, 700 Hz nasal tone, 2.8 kHz bite, 5.5 kHz harshness.
Soothe2 is useful on vocals, harsh synths, and cymbal buses. It is also easy to overuse. If a 4 dB depth setting makes the source dull, reduce it to 1.5 dB and fix the arrangement instead.
Compression Should Move for a Reason
Set attack and release times against tempo. At 124 BPM, a quarter note is about 484 ms, an eighth is 242 ms, and a sixteenth is 121 ms. A 30 ms attack on a snare lets transient through. A 1 ms attack can flatten it. Neither is correct by default.
- Vocals: 3 to 6 dB gain reduction across two compressors often beats 10 dB on one.
- Drum bus: 10 to 30 ms attack, auto or tempo-shaped release.
- Bass: faster attack if peaks jump, slower if groove dies.
- Choose one lead element per section.
- Cut resonances only after level and arrangement checks.
- Use dynamic EQ when masking changes over time.
- Keep presence between 2 and 5 kHz under control.
Arrangement Beats Plug-In Count
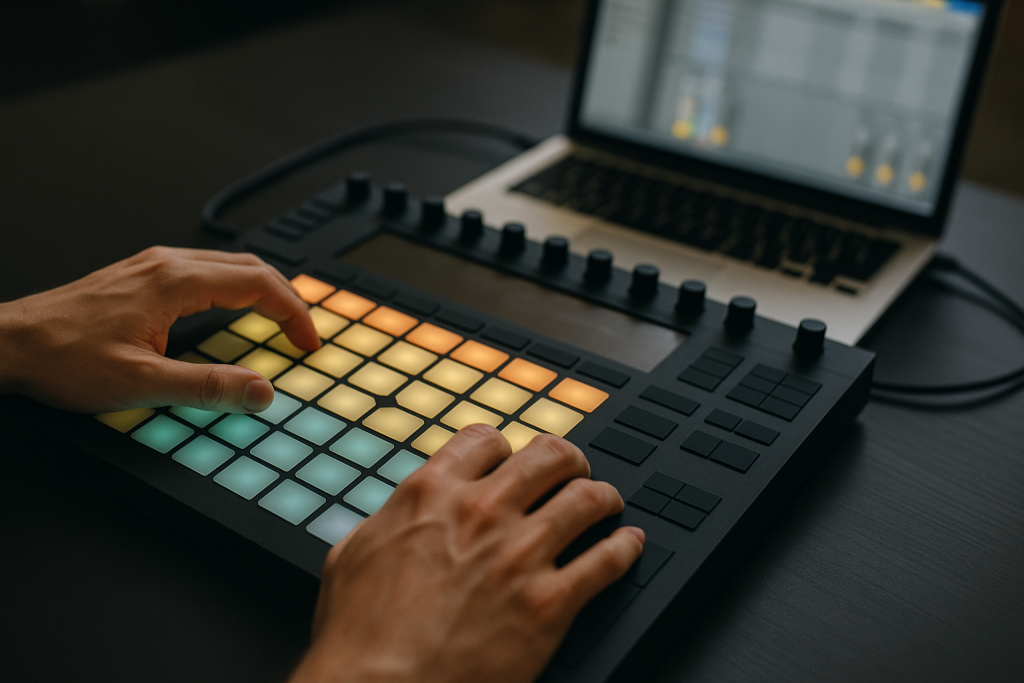
Arrangement is mixing with a calendar. If every part plays all the time, the mix engineer inherits a traffic jam. A professional sounding track creates contrast with entries, exits, density, and register. The plug-ins only polish those decisions.
Most dance records still breathe in 4-bar, 8-bar, and 16-bar phrases because DJs mix that way. The CDJ-3000 does not care about your clever 7-bar pre-drop if the floor loses the cue. Break rules after the groove works, not before.
Leave Space Where the Hook Needs It
Mute the pad under the vocal. Shorten the bass note before the kick. Remove the open hat for the first half of the drop so it has somewhere to go. These are not dramatic decisions. They are maintenance.
A custom production session often sounds more finished because the producer has already carved density by section. The rough mix is easier because the arrangement is not fighting itself.
Automation Is Part of the Mix
Static balances rarely pass. Automate reverb sends, filter cutoffs, vocal delays, and drum bus drive by section. A 1.5 dB lift into the last chorus can be enough. A 12 dB riser every 8 bars usually means the core loop is weak.
- Use 4-bar automation moves for transitions.
- Pull reverbs down during dense vocal lines.
- Open hats and rides gradually, not all at once.
- Print automation before final stem export if another engineer is mixing.
- Arrange in phrases a DJ can read.
- Use muting before corrective EQ.
- Automate density, not only filters.
- Create contrast before chasing loudness.

Reference Tracks, Loudness and the Master Bus
Reference tracks are useful only when level matched. Louder wins until the ears fatigue. A professional sounding track should be compared against two or three released records in the same tempo range, key area, and playback purpose.
Use Metric AB, ADPTR Audio, or a simple Ableton rack with gain compensation. Match references within about 0.5 dB perceived loudness. If your mix suddenly sounds thin after matching, the issue is tonal balance, not mastering volume.
Master Bus Processing Should Be Small
The master bus is not a landfill. A useful chain might be EQ, gentle glue compression, soft clipping, limiter, metering. That is enough. If the mix needs five dynamic EQs on the master, go back to the channels.
For club masters, -8 to -6 LUFS integrated can be normal, depending on genre and distortion tolerance. For streaming-first pop, -10 to -8 LUFS often holds up better. The number does not matter if the snare folds and the vocal spits.
Prints, Stems and Delivery Specs
Print a 24-bit WAV master at the session sample rate. Dither only when reducing to 16-bit. Leave MP3 conversion until the final distribution step. If sending stems for ghost production review or custom music production handoff, export from bar 1 with identical start points.
- Final mix for mastering: 24-bit WAV, no limiter unless requested.
- Preview master: limiter on, labelled clearly.
- Stems: same length, same sample rate, no normalisation.
- Reference: include two commercial tracks and notes, not a paragraph of adjectives.
- Level-match every reference before judging tone.
- Keep master bus gain changes visible and labelled.
- Use LUFS as a meter, not a target tattoo.
- Export clean stems with common start points.
| Area | Working Range | Useful Tool | Trade-off |
|---|---|---|---|
| Master headroom | -6 dBTP before mastering | Youlean Loudness Meter | Too much headroom is harmless; clipping the master is not. |
| Sub mono control | Below 100-120 Hz | FabFilter Pro-Q 4 mid/side EQ | Mono sub translates better, but over-narrowing can make bass feel detached. |
| Sidechain ducking | 2-5 dB gain reduction | Kickstart 2 or Ableton Compressor | More ducking adds pump; too much removes bass sustain. |
| Drum clipping | 1-2 dB shaved peaks | StandardCLIP or KClip | Adds density, but heavy clipping makes transients smaller. |
| Vocal compression | 3-6 dB across stages | 1176-style plus LA-2A-style chain | Stable vocal costs some transient detail. |
| Club loudness | -8 to -6 LUFS integrated | FabFilter Pro-L 2 | Louder can work, but distortion arrives before the meter complains. |
Further reading
- Ableton audio facts — Ableton's official manual gives reliable technical background on digital audio behaviour inside Live.
- Sound On Sound mixing — Sound On Sound is a long-running engineering publication with practical, editor-reviewed mixing education.
Frequently asked questions
How do I make a professional sounding track at home?
Start with clean sources, conservative gain, and a reference track at matched loudness. Keep the master peaking around -6 dBFS before limiting. Check mono below 120 Hz, remove unused arrangement layers, and export 24-bit WAV files. Room treatment and good headphones help, but decisions matter more than expensive furniture.
Why does my mix sound amateur even after mastering?
Mastering cannot repair a bad balance. Common causes are too much sub, harsh 2 to 5 kHz content, weak midrange hooks, phase cancellation, and overloaded drum transients. Remove problems at the channel and group level before the limiter. If the rough mix does not work quietly, the master will not save it.
Should I mix into a limiter?
Use a limiter for checking, not as a crutch. Keep a bypassed print without limiting for mastering. Mixing into 1 or 2 dB of gain reduction can show how the track reacts under pressure. Mixing into 6 dB from the first hour usually hides balance problems and makes every decision suspect.
What LUFS should my track be?
For club-focused dance music, -8 to -6 LUFS integrated is common if the mix can take it. For streaming-first releases, -10 to -8 LUFS often keeps more punch. LUFS is not quality. A cleaner -9 LUFS master usually beats a broken -6 LUFS master.
Do I need analog gear for a professional mix?
No. Good monitoring, source selection, gain structure, and decisions beat hardware ownership. A laptop with Ableton Live, FabFilter, Soothe2, and a reliable interface can produce release-ready work. Analog gear can add colour, but it also adds recall problems, noise, and cost.
When should I hire a ghost producer or custom production service?
Hire help when the idea is clear but the execution keeps failing: weak low end, poor arrangement, unfinished drops, or release deadlines. A good service should provide clean stems, mix notes, and project files when agreed. Ask for references in the target genre, not vague claims.
Conclusion
A professional sounding track is not built from one trick. It is the result of small technical decisions that do not fight each other: sane clip gain, stable low end, controlled midrange, useful arrangement, level-matched references, and a master bus that is not doing unpaid repair work.
The practical test is simple. Open your next session and spend 30 minutes on checks before adding another plug-in. Match a reference, mono the low end, remove two parts from the busiest section, and print a version with -6 dBTP headroom. Then listen quietly, in mono, and in the car. The faults will announce themselves.
Professional sounding track — Quick Recap
The fastest way to lock in professional sounding track is to internalise the workflow above and repeat it on every project. Start small: pick one technique from this professional sounding track guide, apply it to your next session, and audit the result against a reference track.
- A professional mix starts with source selection and arrangement, not master bus presets.
- Leave about -6 dBTP headroom before mastering unless a specific engineer asks otherwise.
- Keep sub information controlled, mostly mono below 100 to 120 Hz, and checked in phase.
- Use references at matched loudness or the comparison is useless.
Treat professional sounding track as a habit, not a one-off — the producers who consistently nail professional sounding track are the ones who run the same checks on every track. That’s the difference between a clean, club-ready master and a track that sounds great at home but falls apart on a real system.
In a real studio session, professional sounding track comes down to the order in which you make decisions: reference first, gain stage second, then the creative work. Producers who treat professional sounding track as a checklist instead of a vibe end up shipping more tracks.
Most producers and DJs undervalue professional sounding track because the wins are invisible until the track plays back on a real system. Bake professional sounding track into your template and the next ten projects benefit automatically.
When you struggle with professional sounding track, the fix is rarely a new plugin. Loop a problem section, A/B against a reference, and isolate which element is breaking your professional sounding track.
Treat professional sounding track as a craft, not a chore. The producers releasing on the biggest labels lock professional sounding track in early so they can spend their energy on melody and arrangement instead of fighting the mix.
Document your professional sounding track process — even a short note in the project file. Future-you will rebuild the same professional sounding track win in half the time.
If professional sounding track sounds great in headphones but bad in the car, you have a translation problem, not a creative one. The professional sounding track tweaks above are designed to survive every system.
My Career makes videos from your own track and posts them for you, pitches your release to 34,000+ labels, playlists, radio stations, YouTube channels and blogs, puts it in every store and briefs you every morning. Free plan, no card, two minutes to set up.