Key takeaways
- Stock Ableton devices are the best first workflow for most bedroom producers.
- FabFilter Pro-Q 4, Pro-C 2 and Pro-L 2 are worth it once you can hear specific problems.
- Push 3 helps with balance, automation and send rides, but not detailed repair work.
- Leave clean premaster headroom and watch group buses before blaming the master.
- Use shared reverb returns and sidechain ducking before chasing loudness.
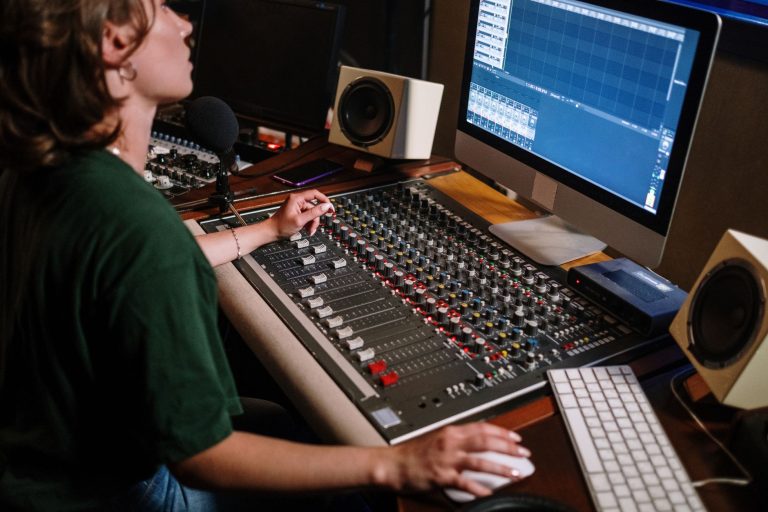
If you want to mix in ableton, stop treating every channel like it needs a shiny paid plugin. The real fight is workflow: Ableton Live stock devices, a paid surgical stack, or a controller-led setup built around Push 3 and DJ references.
To mix in ableton properly, you need fast gain decisions, EQ moves that do not wreck phase, compression that moves with the groove, and space that survives a club system. I am putting three options against each other: Ableton Live 12 stock tools, FabFilter/Oeksound/iZotope-style plugin chains, and hands-on controller workflow using Ableton Push 3 with reference checks on CDJ-3000 or Pioneer DDJ-FLX10. One of them wins for most bedroom producers. One is best when money is on the line. One gets docked hard if you use it as a shortcut.
Mix in Ableton Shootout: Stock, Plugin Stack, or Controller Workflow?
The best way to mix in ableton depends less on genre and more on how you make decisions. Stock Live is fast and honest. Paid plugins are sharper and easier to read. Controller workflow keeps your hands moving, but it can hide bad judgment if the room is lying to you.
How stock Live helps you mix in ableton fast
Ableton Live 12 stock tools win the first round on speed. EQ Eight, Glue Compressor, Compressor, Saturator, Drum Buss, Utility, and Hybrid Reverb cover 90 percent of an EDM mixdown without drama.
The big advantage is commitment. You can cut a bass layer at 220 Hz, pull a harsh lead around 3.2 kHz, trim Utility by -4 dB, and move on. No plugin browser tourism. That matters when the drop still needs arrangement work.
How the paid plugin stack handles the same job
FabFilter Pro-Q 4, Pro-C 2, Pro-L 2, Oeksound Soothe2, and iZotope Ozone 11 feel better once the production is already strong. The visual feedback is cleaner. Dynamic EQ is faster. Mid/side moves are less clunky.
I would not start here as a beginner. Paid tools make bad choices look professional. A 6 dB cut is still a 6 dB cut, even if the analyzer is gorgeous.
How Push 3 and DJ reference workflow fits
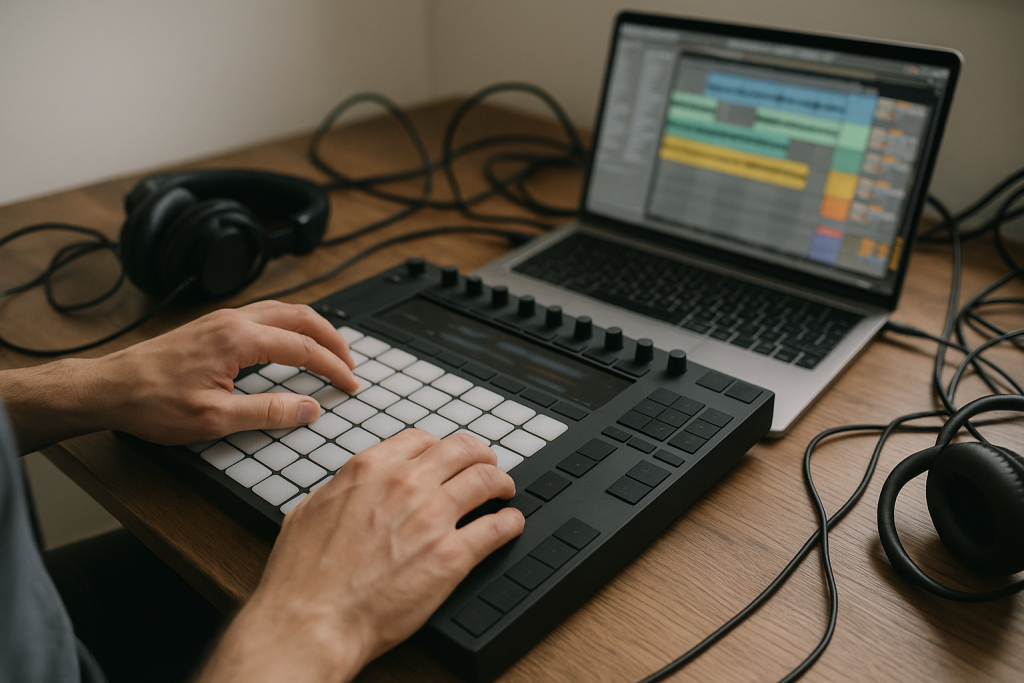
Ableton Push 3 is brilliant for balancing drums, muting groups, riding send levels, and checking energy without staring at a screen. Pair that with a CDJ-3000 or Pioneer DDJ-FLX10 reference pass and you get useful club context.
Still, this workflow loses points for surgical mixing. You do not fix a 180 Hz kick-bass fight by touching pads. You fix it by listening, cutting, sidechaining, and checking the low end in mono.
- Pick stock Live if you finish ideas slowly and need fewer distractions.
- Pick paid plugins if you already hear problems before seeing them.
- Use Push 3 for balances, mutes and send rides, not tiny EQ surgery.
- Reference on DJ gear only after the mix has clean headroom.
Gain Staging: Utility Metering vs Fancy Meters
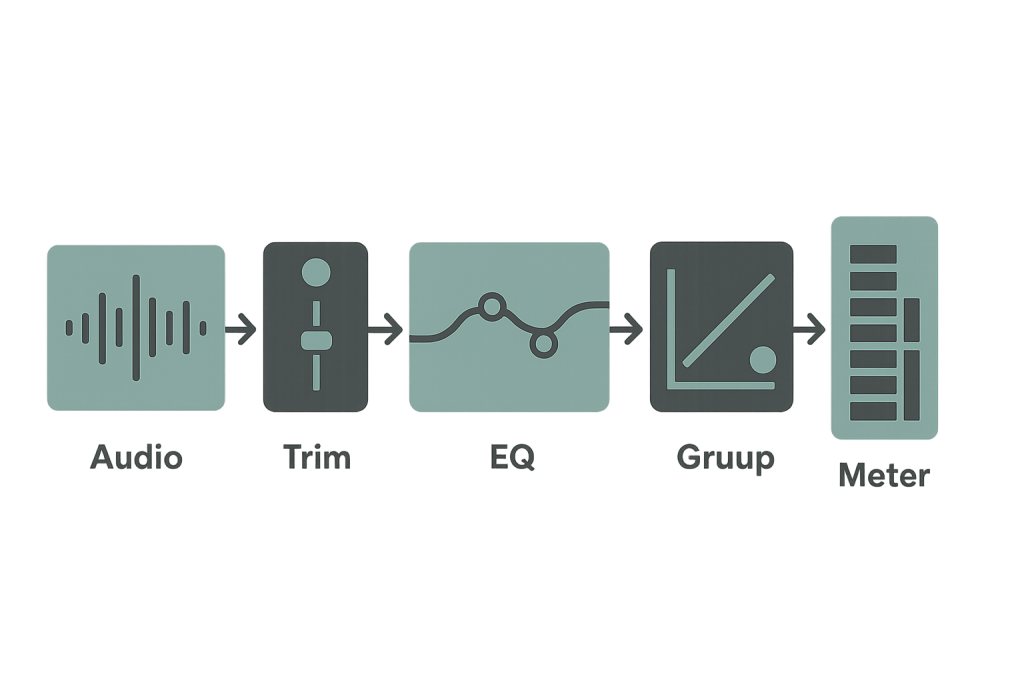
Bad gain staging makes every later decision worse. If you mix in ableton with channels clipping into groups, the compressor reacts wrong, the reverb gets cloudy, and the master chain starts lying.
Stock Ableton: Utility before everything
Ableton Utility is boring, which is why it works. Put it first on messy channels and trim before EQ or compression. I like drums peaking around -10 dBFS on individual hits, synth groups around -8 dBFS, and the premaster sitting near -6 dB headroom before limiting.
Live’s mixer meters are enough if you stop obsessing over decimals. Watch the group buses. Red lights on one hidden return can wreck the whole bounce.
Paid stack: Insight, Pro-L 2 and better visual policing
IZotope Insight 2 or FabFilter Pro-L 2 gives better loudness context than Ableton’s basic meters. For client work, I want LUFS, true peak, short-term loudness, and stereo balance visible without guessing.
For a producer learning to mix in ableton, that extra data can slow you down. If your kick is 5 dB too loud, you do not need a premium meter to hear it.
Controller workflow: faders feel good, meters still decide
Push 3 makes level balancing feel musical. Eight macros under your fingers beat mouse-dragging 40 tiny faders. This is where controller workflow earns a point.
The catch is recall. Hardware-style moves can become random if you do not label groups and keep a clean session. Use color-coded buses: Drums, Bass, Music, FX, Vocals, Returns. Then your hands actually help.
- Leave roughly -6 dB headroom on the premaster before mastering.
- Trim loud samples with Utility before hitting compressors.
- Check return tracks for hidden clipping.
- Do one static balance pass before adding new plugins.
EQ Decisions: EQ Eight vs FabFilter Pro-Q 4
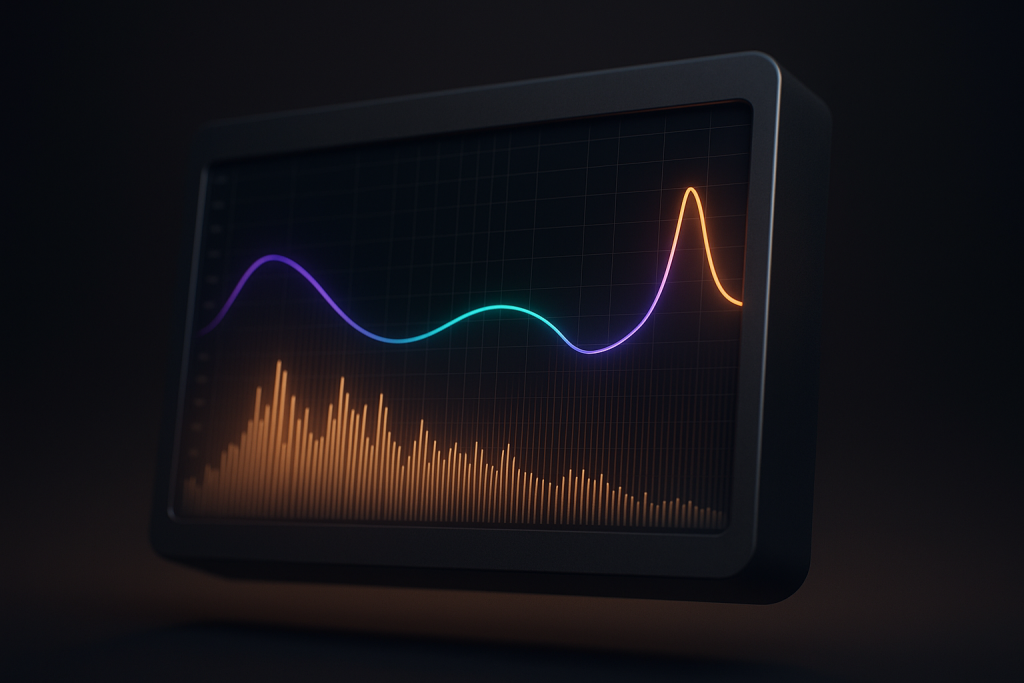
EQ is where most Ableton mixes either get tighter or get thin. The winner here depends on the job: broad shaping, surgical repair, or fast arrangement cleanup.
Stock Ableton: EQ Eight is enough until it is not
EQ Eight handles normal mix moves well. High-pass a vocal chop at 120 Hz. Cut a muddy pad around 300 Hz. Add a small 8 kHz shelf to percussion. For most house, techno, trap, pop, and melodic bass work, this is fine.
Where EQ Eight feels weaker is dynamic control. If one synth note jumps at 480 Hz only on certain chords, static EQ either misses the problem or overcuts the whole sound.
Paid stack: Pro-Q 4 wins the surgical round
FabFilter Pro-Q 4 is my pick when the mix is crowded. Dynamic bands, external sidechain, mid/side EQ, and clean analyzer behavior make it faster to solve real conflicts. Kick masking the bass at 65 Hz? Sidechain a dynamic cut on the bass instead of carving it dead.
This is the first category where paid plugins clearly beat stock. If you mix in ableton for released records, Pro-Q 4 saves time.
Controller workflow: great for broad tone, poor for detail
Mapping EQ gain and frequency to Push 3 macros feels good for broad moves. You can sweep a riser, darken a break, or open a top loop during arrangement.
For precision, no. I do not want to hunt a narrow 2.7 kHz whistle with encoders. Use the controller for musical movement, then grab the mouse for the ugly repair work.
- Use EQ Eight for broad shaping and simple cleanup.
- Use Pro-Q 4 when dynamic EQ or mid/side control saves the sound.
- Do not high-pass everything by habit; bass needs friends, not enemies.
- Check low-end EQ moves in mono before trusting headphones.
Compression and Movement: Glue, Pro-C 2, and Sidechain Tools
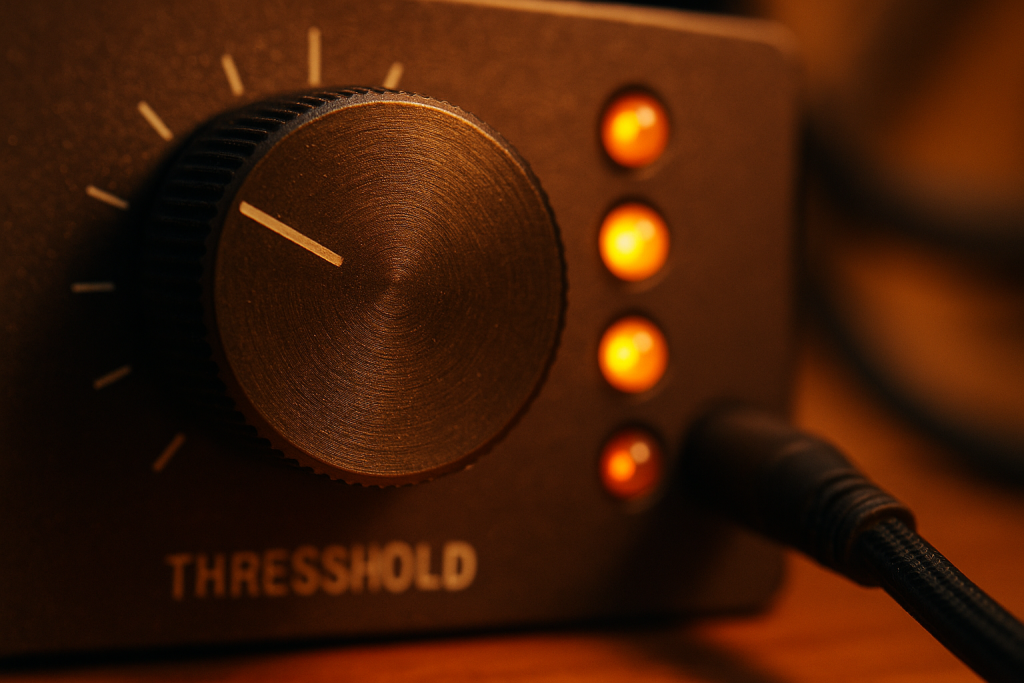
Compression in EDM is not only about control. It is groove design. When you mix in ableton, the compressor either makes the track breathe or makes every transient feel photocopied.
Stock Ableton: Glue Compressor still punches
Glue Compressor on a drum bus is still reliable. Set attack around 10 ms, release on Auto, ratio 2:1, and aim for 1 to 3 dB gain reduction. If the snare loses its front edge, the attack is too fast or the threshold is too low.
For sidechain ducking, Ableton Compressor is clear and quick. Route the kick into the bass compressor, use Peak mode, and start with 4 to 6 dB of gain reduction on a 4-bar loop.
Paid stack: Pro-C 2 and Soothe2 clean the hard cases
FabFilter Pro-C 2 wins for detailed behavior. You can see the knee, timing, gain reduction and sidechain filter in one place. On vocals or dense synth buses, it is easier to avoid over-compression.
Soothe2 is not a compressor, but it handles harsh resonant buildup better than static EQ. I use it carefully. More than 3 or 4 dB of reduction can make a lead sound expensive and dead at the same time.
Controller workflow: best for parallel compression rides
Push 3 shines when you set up parallel compression on returns. Send drums to a smashed return, then ride the return level under the clean bus. You get density without deleting transients.
This is one of the few times hands-on mixing beats mouse-only work. You hear the groove change while moving. That matters on garage, Afro house, drum and bass, and festival EDM.
- Use Glue Compressor for drum bus cohesion, not loudness chasing.
- Sidechain bass from the kick before blaming the synth patch.
- Keep Soothe2 subtle unless the source is genuinely painful.
- Try parallel compression on a return instead of crushing the main drum bus.

Space and Width: Hybrid Reverb vs Return-Track Discipline
Reverb and width expose amateur mixes fast. A wide synth is not impressive if the kick disappears and the vocal sounds ten rows behind the track.
Stock Ableton: sends beat insert reverb
Hybrid Reverb, Echo, Delay and Utility can build a serious space setup. I prefer two main returns: a short room around 0.6 to 0.9 seconds and a longer plate or hall around 1.8 to 2.8 seconds. EQ the returns. Always.
If you mix in ableton with insert reverbs on every channel, the track usually turns foggy. Sends make depth easier to control, and automation becomes cleaner.
Paid stack: Valhalla and Pro-R 2 sound better faster
Valhalla VintageVerb and FabFilter Pro-R 2 beat Ableton’s stock reverb for tone. They sit in a mix with less fighting. On vocals, plucks, and cinematic breakdowns, the difference is not subtle.
Still, the tool is not the discipline. A great reverb with no high-pass around 180 Hz and no low-pass around 8 to 10 kHz can still smear the record.
Controller workflow: send rides are the secret weapon
Push 3 wins this small round. Riding delay throws and reverb sends by hand feels natural, especially on 4-bar phrase endings. Map one encoder to delay send, one to long reverb, and one to filter cutoff on the return.
Do it after the static mix works. Automation cannot rescue a bad balance, but it can make a good mix feel performed.
- Use shared reverb returns for a more coherent room.
- High-pass reverb returns around 150 to 250 Hz in dense club tracks.
- Keep sub bass mono with Utility below the musical low end.
- Automate throws on phrase endings instead of leaving delays on all the time.
Who Should Pick Which Ableton Mixing Workflow?
Here is the straight call. Most producers should start stock, serious mixers should add a small paid stack, and controller workflow should support the session rather than lead it.
Bedroom producers: pick stock Ableton first
If you are still finishing fewer than two tracks a month, stock Live wins. Learn EQ Eight, Utility, Glue Compressor, Saturator, Hybrid Reverb, and Compressor until you can mix in ableton without opening a plugin store tab.
Your weak link is probably arrangement, gain balance, or sound selection. Paid plugins will not fix a kick and bass that were never chosen to work together.
Artists and ghost production clients: pick the hybrid stack
If the track is heading to labels, playlist pitching, vocal release, or custom production delivery, the hybrid stack wins. Ableton for routing and speed, FabFilter for surgical EQ and limiting, Soothe2 for harshness, and Ozone only for final checking.
This is how I would build a lean professional template: stock devices everywhere, paid tools only on problem channels, groups, vocals, and the premaster.
DJs crossing into production: use controllers carefully
DJs understand energy better than most new producers. That helps. A DDJ-FLX10 or CDJ-3000 reference check can reveal whether the drop has club weight, whether the intro mixes cleanly, and whether the breakdown drags.
But do not mix like you are performing a set. A record needs boring repair work too. Zoom in. Fix the click. Clean the low mids. Print a version, then test it loud.
- Best beginner choice: Ableton stock devices.
- Best professional choice: stock Live plus FabFilter Pro-Q 4, Pro-C 2 and Pro-L 2.
- Best performance support: Push 3 for balancing, automation and send rides.
- Worst habit: buying plugins before fixing gain, arrangement and monitoring.
| Mixing Task | Ableton Stock Workflow | Paid Plugin Stack | Controller Workflow |
|---|---|---|---|
| Gain staging | Utility first, simple meters, fast -6 dB premaster headroom | Insight 2 or Pro-L 2 gives louder, clearer metering context | Good fader feel, but easy to miss hidden clipping |
| EQ cleanup | EQ Eight is strong for broad cuts and shelves | Pro-Q 4 wins for dynamic EQ, mid/side work and masking fixes | Useful for sweeps, poor for narrow resonance hunting |
| Compression | Glue Compressor and Compressor handle buses and sidechain ducking well | Pro-C 2 is cleaner for vocals, synth buses and detailed timing | Excellent for parallel compression rides on returns |
| Reverb and delay | Hybrid Reverb and Echo work best on disciplined sends | Valhalla and Pro-R 2 give richer tone faster | Best for delay throws and phrase-end automation |
| Speed | Fastest for finishing drafts and learning mix discipline | Fast only if you already know what problem you are solving | Fast for balances, slow for exact repairs |
| Cost | Included with Live Suite, no extra spend | Can cost more than the DAW if you buy carelessly | Hardware cost is high, value depends on how often you perform |
| Final verdict | Best first choice for most producers | Best choice for release-level and client-level mixdowns | Support tool, not the main mixing brain |
Further reading
- Ableton audio effects — Ableton's official manual documents the stock devices discussed in the workflow comparison.
- gain staging advice — Sound On Sound is a long-running production publication with practical DAW gain staging guidance.
Frequently asked questions
What is the best way to mix in ableton as a beginner?
Start with stock devices: Utility, EQ Eight, Glue Compressor, Compressor, Saturator and Hybrid Reverb. Build a static balance first, leave around -6 dB headroom on the premaster, then fix the loudest problems one at a time. Do not buy plugins until you can hear why stock tools are falling short.
Are Ableton stock plugins good enough for professional mixes?
Yes, Ableton stock plugins are good enough for professional mixes if the production, arrangement and monitoring are solid. Paid plugins can speed up surgical work, especially dynamic EQ and limiting, but stock Live can absolutely deliver a clean club mix when used with restraint.
Should I mix in Session View or Arrangement View?
Use Session View for sketching balances and testing groups, then do serious mix automation in Arrangement View. Arrangement View makes phrase-by-phrase decisions clearer, especially delay throws, vocal rides, breakdown transitions and final energy checks across the full track.
How much headroom should I leave before mastering in Ableton?
Aim for roughly -6 dB peak headroom on the premaster before mastering. The exact number is less important than avoiding clipped groups, overloaded returns and a limiter doing secret damage. If your mix sounds small without a limiter, fix the mix rather than pushing the master harder.
Is FabFilter better than Ableton EQ Eight?
FabFilter Pro-Q 4 is better for surgical and dynamic EQ work. EQ Eight is still fast, clean and more than capable for broad shaping. My rule is simple: use EQ Eight for normal cleanup, use Pro-Q 4 when masking, mid/side control or dynamic bands save real time.
Can DJs use CDJ or controller references while mixing?
Yes. DJs should reference bounces on CDJ-3000, club-style headphones or a controller setup like DDJ-FLX10 to judge intro length, drop weight and transition energy. Just do not use DJ gear as a replacement for proper mix decisions inside Ableton.
Conclusion
If you want to mix in ableton without wasting months, start with stock Live and get ruthless about gain, EQ, compression and sends. That is the winning route for most aspiring DJs and bedroom producers. Add FabFilter, Soothe2 or Ozone only when the track is strong enough to deserve surgery. Use Push 3 or DJ reference gear for feel, phrase energy and automation, not as a magic fix.
My final pick is clear: stock Ableton first, hybrid plugin stack for release-level work, controller workflow as support. Open your next session, set a clean static balance, leave -6 dB headroom, then compare one stock chain against one paid chain on the same 8-bar drop.
Mix in ableton — Quick Recap
The fastest way to lock in mix in ableton is to internalise the workflow above and repeat it on every project. Start small: pick one technique from this mix in ableton guide, apply it to your next session, and audit the result against a reference track.
- Stock Ableton devices are the best first workflow for most bedroom producers.
- FabFilter Pro-Q 4, Pro-C 2 and Pro-L 2 are worth it once you can hear specific problems.
- Push 3 helps with balance, automation and send rides, but not detailed repair work.
- Leave clean premaster headroom and watch group buses before blaming the master.
Treat mix in ableton as a habit, not a one-off — the producers who consistently nail mix in ableton are the ones who run the same checks on every track. That’s the difference between a clean, club-ready master and a track that sounds great at home but falls apart on a real system.
In a real studio session, mix in ableton comes down to the order in which you make decisions: reference first, gain stage second, then the creative work. Producers who treat mix in ableton as a checklist instead of a vibe end up shipping more tracks.
Most producers and DJs undervalue mix in ableton because the wins are invisible until the track plays back on a real system. Bake mix in ableton into your template and the next ten projects benefit automatically.
When you struggle with mix in ableton, the fix is rarely a new plugin. Loop a problem section, A/B against a reference, and isolate which element is breaking your mix in ableton.
Treat mix in ableton as a craft, not a chore. The producers releasing on the biggest labels lock mix in ableton in early so they can spend their energy on melody and arrangement instead of fighting the mix.
Document your mix in ableton process — even a short note in the project file. Future-you will rebuild the same mix in ableton win in half the time.
If mix in ableton sounds great in headphones but bad in the car, you have a translation problem, not a creative one. The mix in ableton tweaks above are designed to survive every system.
Schedule a recurring mix in ableton pass on every project: same checklist, same reference tracks. Repeating mix in ableton drills is what separates a consistent producer from a lucky one.
Ultimately, mix in ableton is a craft you compound. Every project you finish raises the floor of your next attempt at mix in ableton, which is why shipping consistently matters more than chasing perfection.
My Career makes videos from your own track and posts them for you, pitches your release to 34,000+ labels, playlists, radio stations, YouTube channels and blogs, puts it in every store and briefs you every morning. Free plan, no card, two minutes to set up.