 By Emma Carter · August 19, 2026
Microphones for recording looked simple on the shopping page, then the room told the truth. I spent the last run of sessions cutting vocals for dance demos, scratch hooks for toplines, guitar stems for custom tracks, and a couple of YouTube voiceovers from the same small room. The same microphones for recording did not win every time.
A bright condenser made one singer sound expensive and made another sound like teeth on foil. A dynamic mic saved a bad room. A wireless kit was handy, then noisy when the jacket rubbed the capsule. The pattern stayed boring but useful: the best mic is the one that gives you a clean source before plugins start pretending to be engineering. I kept notes on distance, gain, noise, and what actually survived the mix.
I Stopped Judging Mics Before Hearing the Room
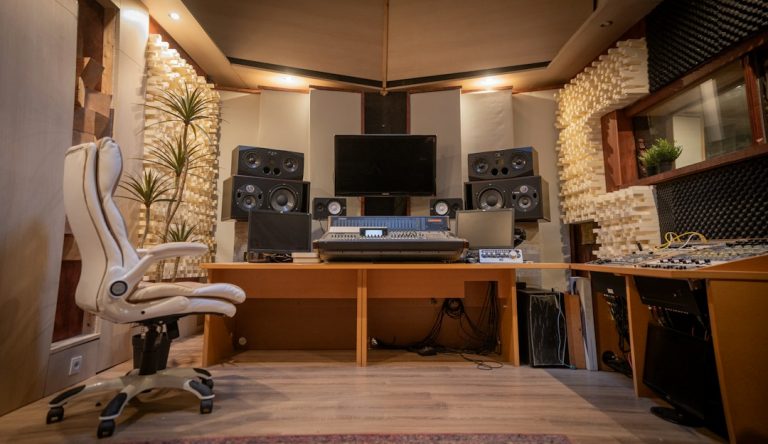
The room beat the spec sheet again. I had a singer three inches from a large-diaphragm condenser in a boxy bedroom, foam tiles on one wall, glass wardrobe on the other. The mic was not bad. The take was bad. Reflections came back around 120 to 180 ms, enough to smear consonants before I even touched compression.
When I swapped to a dynamic mic and moved the singer slightly off the centre of the room, the vocal sat closer. Less shine, yes. Less room, too. For most home sessions, that trade is worth taking.
The first test was not the price tag
I started each session with a 20-second spoken take, then a loud chorus line. No beat. No reverb. Just the raw mic through the interface at 24-bit, peaking around -12 dBFS. If the room sounded papery on speech, it got worse once the vocal was doubled and compressed.
My rough rule held up: untreated rooms like cardioid dynamic mics. Treated corners and dead rear walls let condensers breathe. If you cannot clap without hearing a bright slap, do not spend your whole budget on sensitivity.
Microphones for recording need one boring gain check
I aimed for vocal peaks between -12 and -6 dBFS, with the average sitting much lower. On quiet singers using a Shure SM7B, the interface gain often ran near the top. With an Audient iD14, that was usable. With weaker preamps, a Cloudlifter CL-1 helped, but it did not fix bad placement.
Condensers like the Rode NT1 5th Gen and Lewitt LCT 440 PURE needed less gain, so the room became more obvious. That was the pattern. More detail is not always more useful detail.
- Record a dry speech take before singing or playing.
- Keep peaks around -12 to -6 dBFS at 24-bit.
- Move away from walls before swapping microphones.
- Use headphones while moving the mic, not after the take.
- If the room rings, try a cardioid dynamic first.

The Best Microphone for Recording Vocals Was Usually the Least Exciting One
The best microphone for recording vocals in my recent sessions was not always the prettiest one. The SM7B won on two rough male vocals because it took compression without spitting out the room. The Rode NT1 won on a soft female pop vocal because the noise floor was low and the top end stayed smooth. The Audio-Technica AT2020 did fine when the singer stayed disciplined at six inches.
I would rather print a slightly dark vocal than fight a harsh one for four hours. Brightness can be added. Spitty room tone and brittle esses are harder to remove without making the vocal smaller.
Best microphone for recording vocals at home, my current split
For untreated bedrooms, I keep reaching for a dynamic first: Shure SM7B, sE Electronics V7, or Electro-Voice RE20 if the voice has enough weight. For treated home rooms, the Rode NT1 5th Gen, Aston Origin, and Lewitt LCT 440 PURE make more sense. They catch breath, tone, and air better, but they also catch the laptop fan.
Distance mattered more than brand. Four to six inches with a pop filter gave me the most repeatable vocal balance. Closer than that brought up proximity effect around 120 Hz. Farther away brought the room back.
The pop filter position told on the singer
I placed the pop filter about two inches from the mic, then told the vocalist to keep lips two to four inches from the filter. That made the take consistent. When singers drifted, the low end wandered. Compression then grabbed the wrong moments.
For sharp esses, I tilted the mic 10 to 20 degrees off-axis instead of reaching straight for a de-esser. That one move saved a few takes. Less surgery later.
- Use a dynamic mic first if the room is live.
- Use a condenser when the room is controlled and quiet.
- Start vocals four to six inches from the capsule.
- Angle the mic slightly off-axis for harsh esses.
- High-pass after recording, not while guessing at the source.
Cheap Condensers Were Fine Until the Mix Got Loud
Budget condensers can sound impressive soloed. Big top end. Fast detail. Instant studio feeling. Then the beat comes in, the vocal chain hits 6 dB of compression, and the cheap brightness turns into a fight around 5 to 9 kHz.
I heard this most on dance-pop vocals over bright hats and supersaws. A mic that felt open at low volume became scratchy when pushed into Pro-L 2 on the rough master. Not broken. Just exposed.
Microphones for recording Reddit arguments missed one detail
The microphones for recording Reddit threads I checked were useful for spotting common failures, but they often stopped at brand battles. AT2020 versus NT1. USB versus XLR. Dynamic versus condenser. The missing detail was usually the room and the final genre.
A condenser that works for intimate acoustic vocals may not suit a hard EDM hook that needs to survive sidechained synths, clap stacks, and a loud limiter. I tested mics inside the rough production, not on isolated takes only.
The loud mix test
I made a quick chain: high-pass around 80 Hz, 3 dB of compression with a medium attack, a de-esser catching 6.5 kHz, then the vocal inside the track at rough demo loudness. If the mic still sounded natural there, it stayed on the stand.
If I had to cut 8 kHz by 5 dB just to stop pain, I changed the mic or the angle. EQ should shape the vocal, not apologise for it.
- Solo tone can lie, so test the mic inside the beat.
- Watch 5 to 9 kHz on budget condensers.
- Do not judge a vocal mic from whispered takes only.
- A darker mic can win when the production is bright.
Instrument Mics Needed Less Magic and More Distance
A good microphone for recording instruments did not need to be exotic in my room. It needed sane placement. Acoustic guitar got worse when I pointed a condenser straight at the soundhole. Percussion got better when I backed the mic off. Amp captures changed completely after moving one inch across the speaker cone.
Instrument recording punished lazy placement faster than vocals. The source has less forgiveness because there is no lyric pulling the ear forward.
Acoustic guitar, no soundhole heroics
For acoustic guitar, I started with a condenser at the 12th fret, 8 to 12 inches away, angled slightly toward the body. That gave enough pick definition without the woolly boom around 180 to 250 Hz. On a bright guitar, I moved closer to the neck joint. On a dull one, I aimed a little more toward the bridge.
When the player hit hard, I backed off before touching EQ. Distance softened the pick spike better than a narrow cut.
Amp and percussion notes
On guitar amp, the Shure SM57 still earned its rent. Start halfway between dust cap and cone edge, one inch from the grille. Move toward the centre for bite, toward the edge for warmth. A Sennheiser MD 421-II gave a thicker midrange when the part needed body under synths.
For shakers and small percussion, I did not close-mic unless I wanted hype. Eighteen to twenty-four inches away sounded more like a player and less like sandpaper.
- Acoustic guitar: 12th fret, 8 to 12 inches away.
- Guitar amp: start halfway across the speaker cone.
- Percussion: back off to 18 to 24 inches for natural tone.
- Cut 220 Hz only after moving the mic first.
- Print a short test and listen in mono.
USB, XLR, and Wireless Each Had a Job
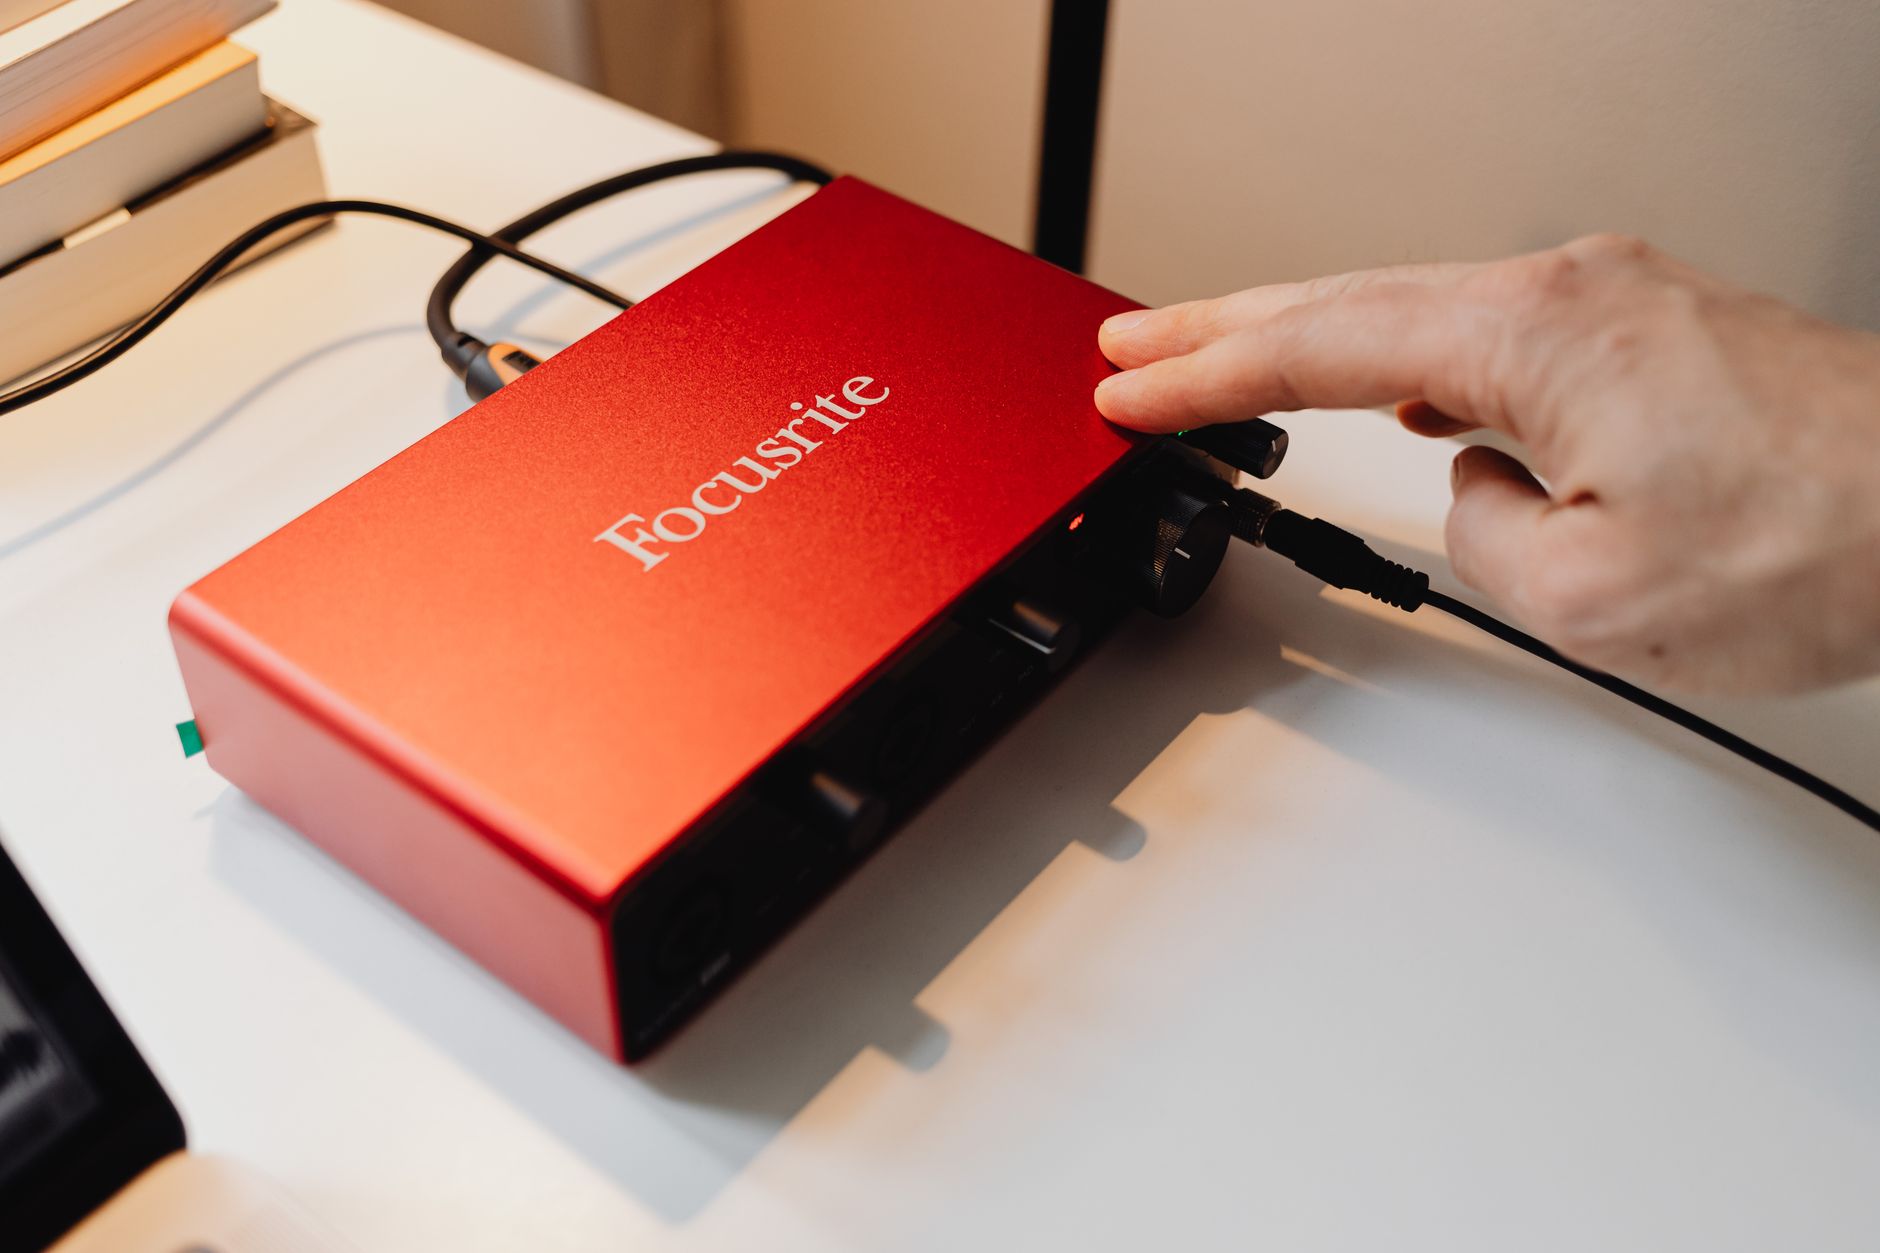
I used to be harsher on USB mics. That softened after a few remote writing sessions where speed mattered more than perfect tone. A decent USB mic beats a phone memo when the artist can place it properly, kill the fan, and record in a closet full of clothes.
XLR still wins for flexible music work. Wireless microphones for recording are useful for video, movement, and scratch ideas, but I do not trust most tiny capsules for final lead vocals unless the brief wants that close, modern lav sound.
Best microphone for recording YouTube videos was about handling noise
For YouTube videos, I liked the Rode Wireless Pro and DJI Mic 2 when the speaker moved around. The problem was never just tone. It was clothing rustle, necklace taps, and sudden level jumps. I set safety tracks when available and kept the capsule away from jacket seams.
For desk videos, a USB mic on a boom arm usually sounded better than a wireless pack clipped badly. The mic being closer to the mouth and away from the desk mattered more than the format.
Best microphone for recording music still leans XLR
For final vocals, guitars, amps, and percussion, XLR keeps the chain open. You can change preamps, add a clean booster, use longer cables, and upgrade the interface later. With USB, the converter and preamp are baked into the mic.
That does not make USB useless. It makes it a lane. Podcasts, guide vocals, remote toplines, and content work can sound solid when the room is controlled.
- Choose USB for simple remote sessions and spoken content.
- Choose XLR for final vocals, instruments, and upgrade paths.
- Choose wireless for movement, video, and location scratch audio.
- Avoid clothing contact when using lav-style transmitters.
- Record a backup track when the wireless kit supports it.

I Kept a Small Setup That Covered Most Sessions
The best microphones for recording are not a giant locker if the room is small and the budget is real. My useful home setup would be one dynamic, one condenser, one cheap handheld backup, and a way to check noise before the artist arrives.
If I had to build from zero for dance vocals, hooks, guitar layers, and content, I would not buy five similar condensers. I would buy contrast.
The two-mic home rig
One dynamic handles bad rooms and loud voices. One condenser handles detail when the room behaves. That pair covers more ground than two condensers with slightly different hype curves. For example, an SM7B plus Rode NT1 5th Gen gives real contrast. So does an sE V7 plus Lewitt LCT 440 PURE on a tighter budget.
I also keep an SM58 around because it tells the truth. If a vocal idea works through that, the song is probably doing something right.
Noise checks before the take
I recorded 10 seconds of room tone before every serious pass. No talking. No chair movement. Just the room. If the noise floor sat higher than about -60 dBFS in a quiet section, I looked for the source: laptop fan, street, interface gain, air conditioning, LED hum.
Noise reduction can help, but it leaves fingerprints. Better to turn off the fan for three minutes.
- Buy contrast, not three mics with the same tone.
- Keep one rugged handheld mic for rough sessions.
- Record room tone before every keeper take.
- Check cables before blaming the microphone.
- Save a session template with input gain notes.

The Mic Chain Was Shorter Than Expected
The cleaner takes needed fewer plugins. That sounds obvious until you spend a night trying to rescue a vocal recorded too far from the capsule. My keeper chain was boring: clean gain, pop filter, stable distance, light compression, careful de-essing, and a room that was not shouting back.
Valhalla VintageVerb sounded better when the dry vocal had body. Youlean Loudness Meter helped me keep rough references honest, but it did not tell me whether the mic suited the singer. My ears did that part.
The chain I trusted
For most demo vocals, I used a high-pass filter around 70 to 100 Hz, depending on the voice. Compression landed around 3 to 5 dB of gain reduction, with attack slow enough to leave consonants alive. De-essing usually caught 5.5 to 8 kHz. Reverb was a send, not a blanket.
If the mic sounded thin, I did not boost 150 Hz blindly. I checked distance first. Moving the singer one inch closer often sounded more natural than EQ.
Where I would spend first
I would fix monitoring and room habits before chasing boutique microphones for recording. A singer who can hear pitch comfortably performs better. Closed-back headphones that do not bleed into the mic matter. A heavy stand matters. A quiet laptop position matters.
The mic is the capture point, not the whole record. Treat it like the start of the decision chain.
- High-pass only as high as the voice allows.
- Use 3 to 5 dB compression before heavy vocal effects.
- De-ess after hearing the vocal in the track.
- Move the singer before stacking corrective EQ.
- Keep reverb on a send for easier control.
| Mic type | Best use | Watch out for | My starting move |
|---|---|---|---|
| Dynamic cardioid | Untreated rooms, loud vocals, guitar amps | Needs more clean gain and can sound dark | Four inches from vocal, slight off-axis angle |
| Large condenser | Controlled rooms, detailed vocals, acoustic guitar | Captures room reflections and fan noise | Six inches from vocal with pop filter |
| USB microphone | Remote writing, podcasts, guide vocals | Limited upgrade path and desk vibration | Boom arm, mouth height, gain below clipping |
| Wireless lav or clip-on | YouTube, movement, location scratch audio | Clothing rustle and sudden level jumps | Use safety track and isolate from fabric |
| Small diaphragm condenser pair | Stereo acoustic guitar, percussion, room capture | Phase problems if placement is rushed | Measure distance and check mono before tracking |
Worth a deeper read: Best microphones for recording 2026: My top studio mics.
Frequently asked questions
What are the best microphones for recording at home?
For most home rooms, start with one dynamic and one condenser. A Shure SM7B or sE V7 handles rough rooms and loud vocals. A Rode NT1 5th Gen or Lewitt LCT 440 PURE adds detail when the room is quiet. Placement and room control matter more than owning a long mic list.
Is a condenser or dynamic mic better for vocals?
A condenser is better when the room is treated and the singer has good control. A dynamic is better when the room is reflective, noisy, or the vocal is aggressive. I would pick a slightly darker dynamic over a bright condenser in an untreated bedroom almost every time.
Can I use wireless microphones for recording music?
You can, but I would reserve wireless mics for video, movement, and scratch ideas unless the sound fits the track. Tiny clip-on capsules can be noisy, bright, and sensitive to clothing rustle. For final vocals or instruments, an XLR mic is usually cleaner and easier to mix.
What is the best microphone for recording YouTube videos?
If you move around, a Rode Wireless Pro or DJI Mic 2 can work well with careful placement and a safety track. For desk videos, a USB or XLR mic on a boom arm often sounds better because it stays close to your mouth and away from clothing noise.
How close should I be to the microphone when recording vocals?
Start four to six inches from the capsule with a pop filter between you and the mic. Move closer for more warmth, but expect extra low end and plosives. Move farther back for openness, but only if the room sounds good. Small distance changes beat heavy EQ fixes.
Do expensive microphones make vocals sound professional?
Not by themselves. An expensive condenser in a bad room can sound worse than a cheaper dynamic placed well. Professional vocal sound starts with the singer, room, distance, gain, and performance. The mic matters, but it cannot hide reflections, clipping, mouth noise, or a weak take.
The short version
- Pick the microphone around the room first, not the spec sheet.
- Dynamic mics often beat condensers in untreated bedrooms.
- For vocals, start four to six inches away with a pop filter.
- Test every mic inside the production, not only in solo.
- XLR is still the safest format for final music recording.
- Placement fixes more problems than corrective EQ.
Where to go from here
The best session notes were not dramatic. The right microphones for recording gave me fewer problems before the mix even started. A dynamic mic saved reflective rooms. A condenser paid off when the space was quiet. Wireless helped content work, but I still wanted XLR for final music takes. The common thread was placement: four to six inches for vocals, 12th fret for acoustic guitar, careful movement across an amp cone, and gain that left headroom.
Before buying another mic, record a dry test in your actual room. Clap, speak, sing the loudest chorus, then drop it into the track. If it still feels honest there, keep going in your next session.
My Career makes videos from your own track and posts them for you, pitches your release to 34,000+ labels, playlists, radio stations, YouTube channels and blogs, puts it in every store and briefs you every morning. Free plan, no card, two minutes to set up.