 By TGP DJ Desk · November 4, 2026
Line in nearly killed a 124 BPM vocal-house bounce I was finishing at 2 a.m. in a rented writing room above a small bar. The topline was right, the bass was tucked, the sidechain breathed nicely, then the reference vocal we had grabbed from a phone came back thin, buzzy and weirdly crushed. I had treated the line in like any spare hole on the computer. Bad move.
The blue socket on a PC, the RCA pair on a DJ mixer, the 3.5 mm AUX on a speaker and the combo input on an interface can all look harmless until the wrong signal hits them. A mic plugged into the wrong place sounds tiny. A mixer output run too hot clips before the DAW meter even warns you. That night taught me to stop guessing and trace the signal like a boring engineer.
What line in Means Before Any Cable Gets Plugged In
The cleanest explanation I know came from an old live-sound tech who watched me patch a sampler into a laptop and said, “That socket wants a finished signal, not a whisper.” That is the line in meaning in plain English. It expects a signal that has already been brought up to line level by a mixer, synth, DJ player, phone output or audio interface.
Line level is much stronger than a raw microphone signal. It is also different from a guitar pickup, which needs a high-impedance instrument input. If the source and input are mismatched, the recording does not just get quieter. The noise floor changes, the tone shifts and clipping can happen in places your DAW meter cannot repair.
Line in vs mic in: The level mismatch I hear instantly
A mic input is built for a very quiet source. It adds a lot of gain, often 30 to 60 dB, and may supply phantom power for condenser microphones. A line input expects a hotter feed, usually around -10 dBV for consumer kit or +4 dBu for pro gear.
Plug a mixer output into a mic input and it can distort even with the gain knob barely open. Plug a dynamic microphone into a line input and you will raise the noise floor chasing volume. That hiss is not “vibe”. It is a patching mistake.
Where line in music work shows up
I use this input when recording hardware synths, DJ mixers, phones, grooveboxes, samplers and playback devices into a DAW. It is also how a lot of bedroom producers capture an older keyboard or a club mixer feed without using a microphone in front of the speakers.
- DJ mixer record out into an interface input.
- Synth left and right outputs into two line inputs.
- Phone headphone output into a stereo input for a rough reference.
- External sampler output into Ableton Live or Logic Pro.
- Line input wants a pre-amplified signal, not a raw mic.
- Consumer level is usually -10 dBV; pro level is usually +4 dBu.
- Instrument inputs are for guitar-style pickups, not mixer outputs.
- The wrong input can clip before the DAW shows an obvious problem.

PC line in audio: The Blue Socket Can Lie
The first time I recorded a DJ mix through a desktop PC, I trusted the blue 3.5 mm input and watched the Windows meter bounce politely around the middle. The file still came back crunchy. The problem was not the software. The onboard sound chip was being hit too hard by a mixer output before the recording app ever had a fair shot.
PC line in audio is useful for sketches, samples and rough transfers, but it is not magic. Many built-in inputs share cheap converters, noisy grounding and vague driver controls. If the take matters, I would rather use a basic audio interface with proper gain knobs and meters.
Set the input like a recorder, not a loudness knob
When I have to use the PC socket, I set the source lower than instinct says. In Windows Sound settings, I start the recording level around 70 percent, play the loudest section, then aim for peaks around -12 dBFS to -6 dBFS in the recording app. Never aim for zero. Digital zero is a wall.
Record at 24-bit if the software allows it. That gives enough room to leave headroom without printing a tiny waveform. A quiet 24-bit capture turned up later is usually cleaner than a clipped 16-bit one that looked exciting while recording.
When the built-in input is the wrong tool
If a vocal chop, vinyl rip or DJ set is going into a release, I skip the motherboard input. A Focusrite Scarlett 2i2, Audient iD14 or SSL 2 gives proper line inputs, better conversion and usable metering. The difference is not subtle when the source has low-end weight.
- If the waveform has flat tops, lower the source output.
- If there is constant buzz, check grounding and cable routing.
- If one side is missing, you may be using a mono adapter by mistake.
- If the sound is thin, check whether a mic input or enhancement mode is active.
- Start with the source turned down, then raise it slowly.
- Peak between -12 dBFS and -6 dBFS while recording.
- Turn off automatic gain control and audio enhancements.
- Use an interface when the recording is for a track, set or paid session.
AUX, line in and Line Out Are Not the Same Job
At a warehouse afterparty, I once watched a DJ run a booth output into a speaker’s AUX input, then wonder why the speaker clipped while the mixer meters looked calm. That was the night’s entire lesson in signal direction. Inputs receive. Outputs send. Names on consumer gear make this messier than it should be.
AUX often describes the connector or the convenience input, not a guaranteed electrical standard. A 3.5 mm AUX socket on a speaker may accept a line-level stereo feed. A mixer AUX send is an output. A car AUX port is an input. Same word, different job.
Line out feeds the next device
Line out is the sending side. It might be the main outputs of a synth, the record output of a DJ mixer or the output of an audio interface. Its job is to feed another device without needing microphone preamp gain.
For recording a DJ set, I prefer a dedicated record out from the mixer if it is available. On an Allen & Heath Xone:96, the record output is more predictable than grabbing a booth feed that might move during the night.
AUX can be fine, but read the direction
AUX in on a speaker usually works for a phone, small mixer or laptop headphone output. AUX send on a mixer usually routes signal out to effects, monitors or another destination. That one word has caused more bad patching than any other label on cheap gear.
If the label says “in”, send audio to it. If the label says “out” or “send”, it is leaving that box. Simple, but in dark booths and messy bedrooms, simple saves takes.
- Line input receives audio from another device.
- Line output sends audio to another device.
- AUX in often behaves like a consumer stereo input.
- AUX send on a mixer is an output, not an input.
Cables, Impedance and the Hum That Ruins the First Take
The ugliest noise I ever printed was not from a cheap synth. It was from a beautiful pad running through the wrong cable path, draped across a laptop charger and a power strip. The patch looked tidy from the chair. The recording had a 50 Hz hum with little harmonics stacked above it like bad neon.
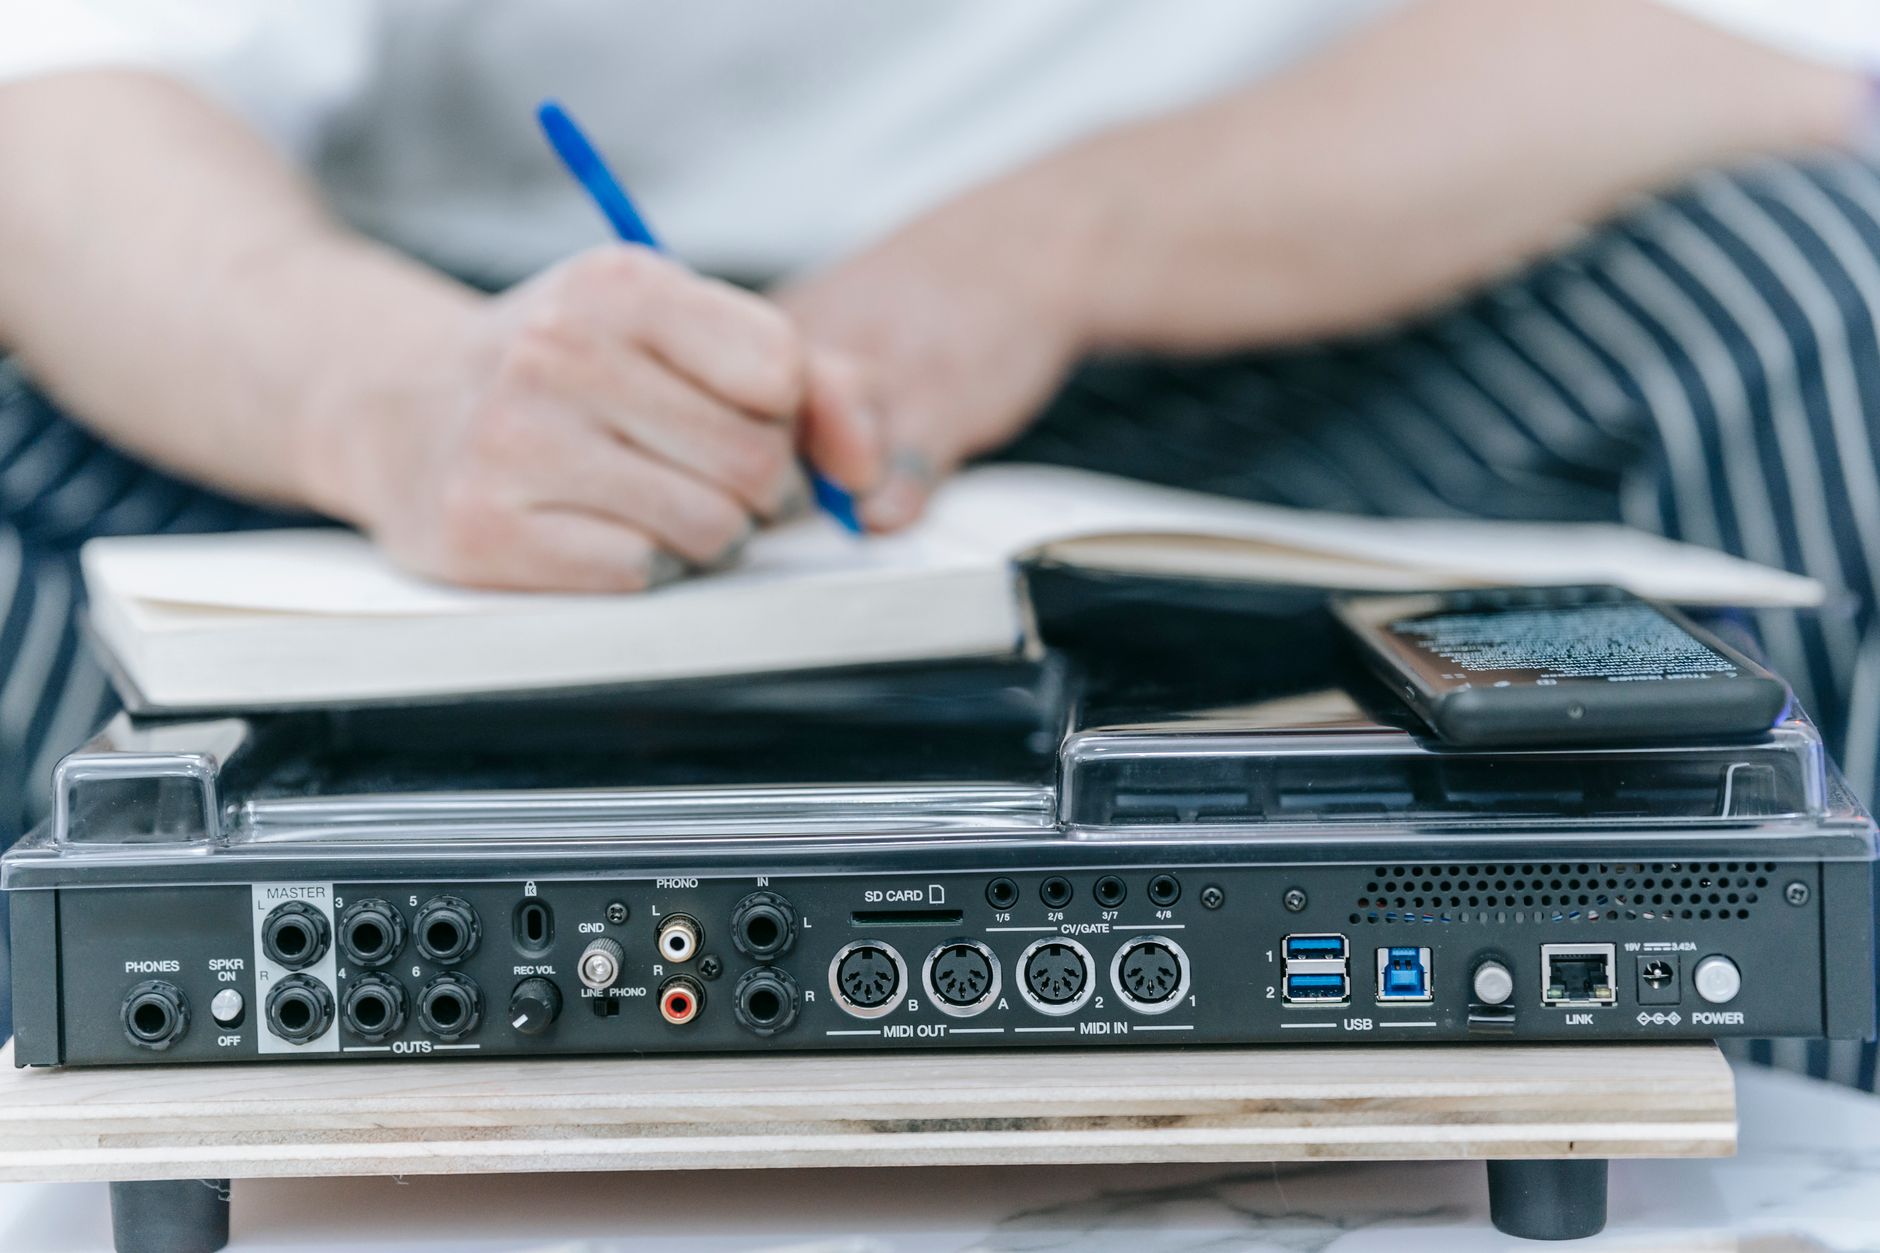
A line in cable is not always one specific cable. The connector depends on the gear. The level and wiring matter more than the shape of the plug. A 3.5 mm stereo jack, dual RCA, TS jack and TRS jack can all carry line-level audio in different setups.
The cable I reach for first
For short consumer runs, a decent 3.5 mm TRS to dual RCA cable is fine. For studio gear, I use balanced TRS cables where the hardware supports them. Balanced lines reject noise better over longer runs, especially when power supplies, USB hubs and monitors are all sharing the same desk.
Keep unbalanced cables short. Under 10 feet is a good habit. If a hum appears, move audio cables away from power bricks before reaching for plugins. Physical noise printed into a sample is harder to remove than people think.
Ground loops and the boring fix that works
If the buzz changes when you unplug a laptop charger, you may have a ground loop. I test with the laptop on battery for a minute. If the noise drops, I add a proper stereo isolation transformer or reroute the signal through an interface with balanced inputs.
- Do not lift safety earth on mains plugs.
- Keep power and audio cables separated where possible.
- Use balanced connections for longer studio runs.
- Check the cable before blaming the synth.
- TRS can mean stereo unbalanced or mono balanced, depending on the gear.
- RCA is usually unbalanced and should stay short.
- Hum often comes from power, grounding or cable routing.
- Fix noise before recording instead of trusting cleanup tools later.
Recording DJ Gear and Synths Without Clipping the Input
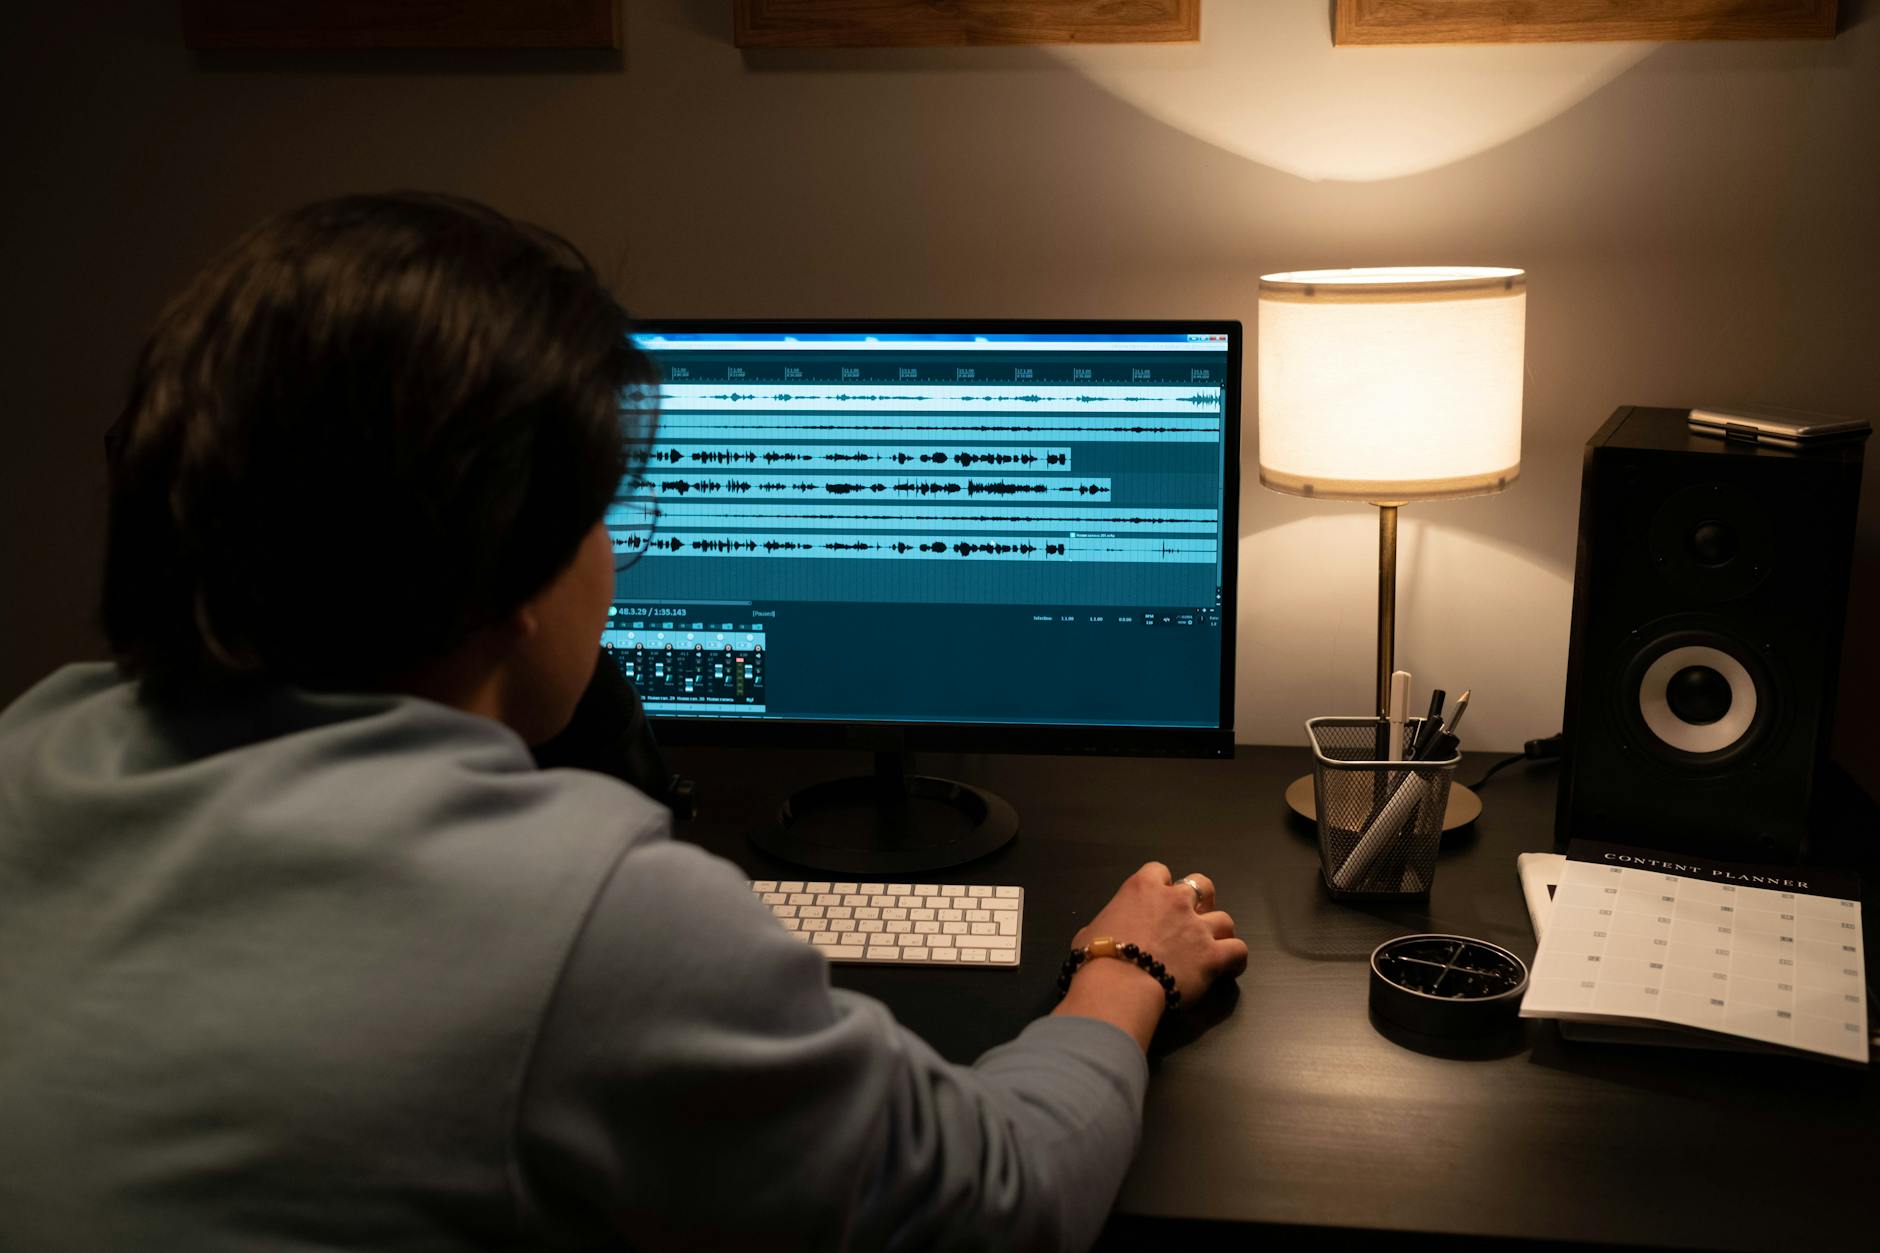
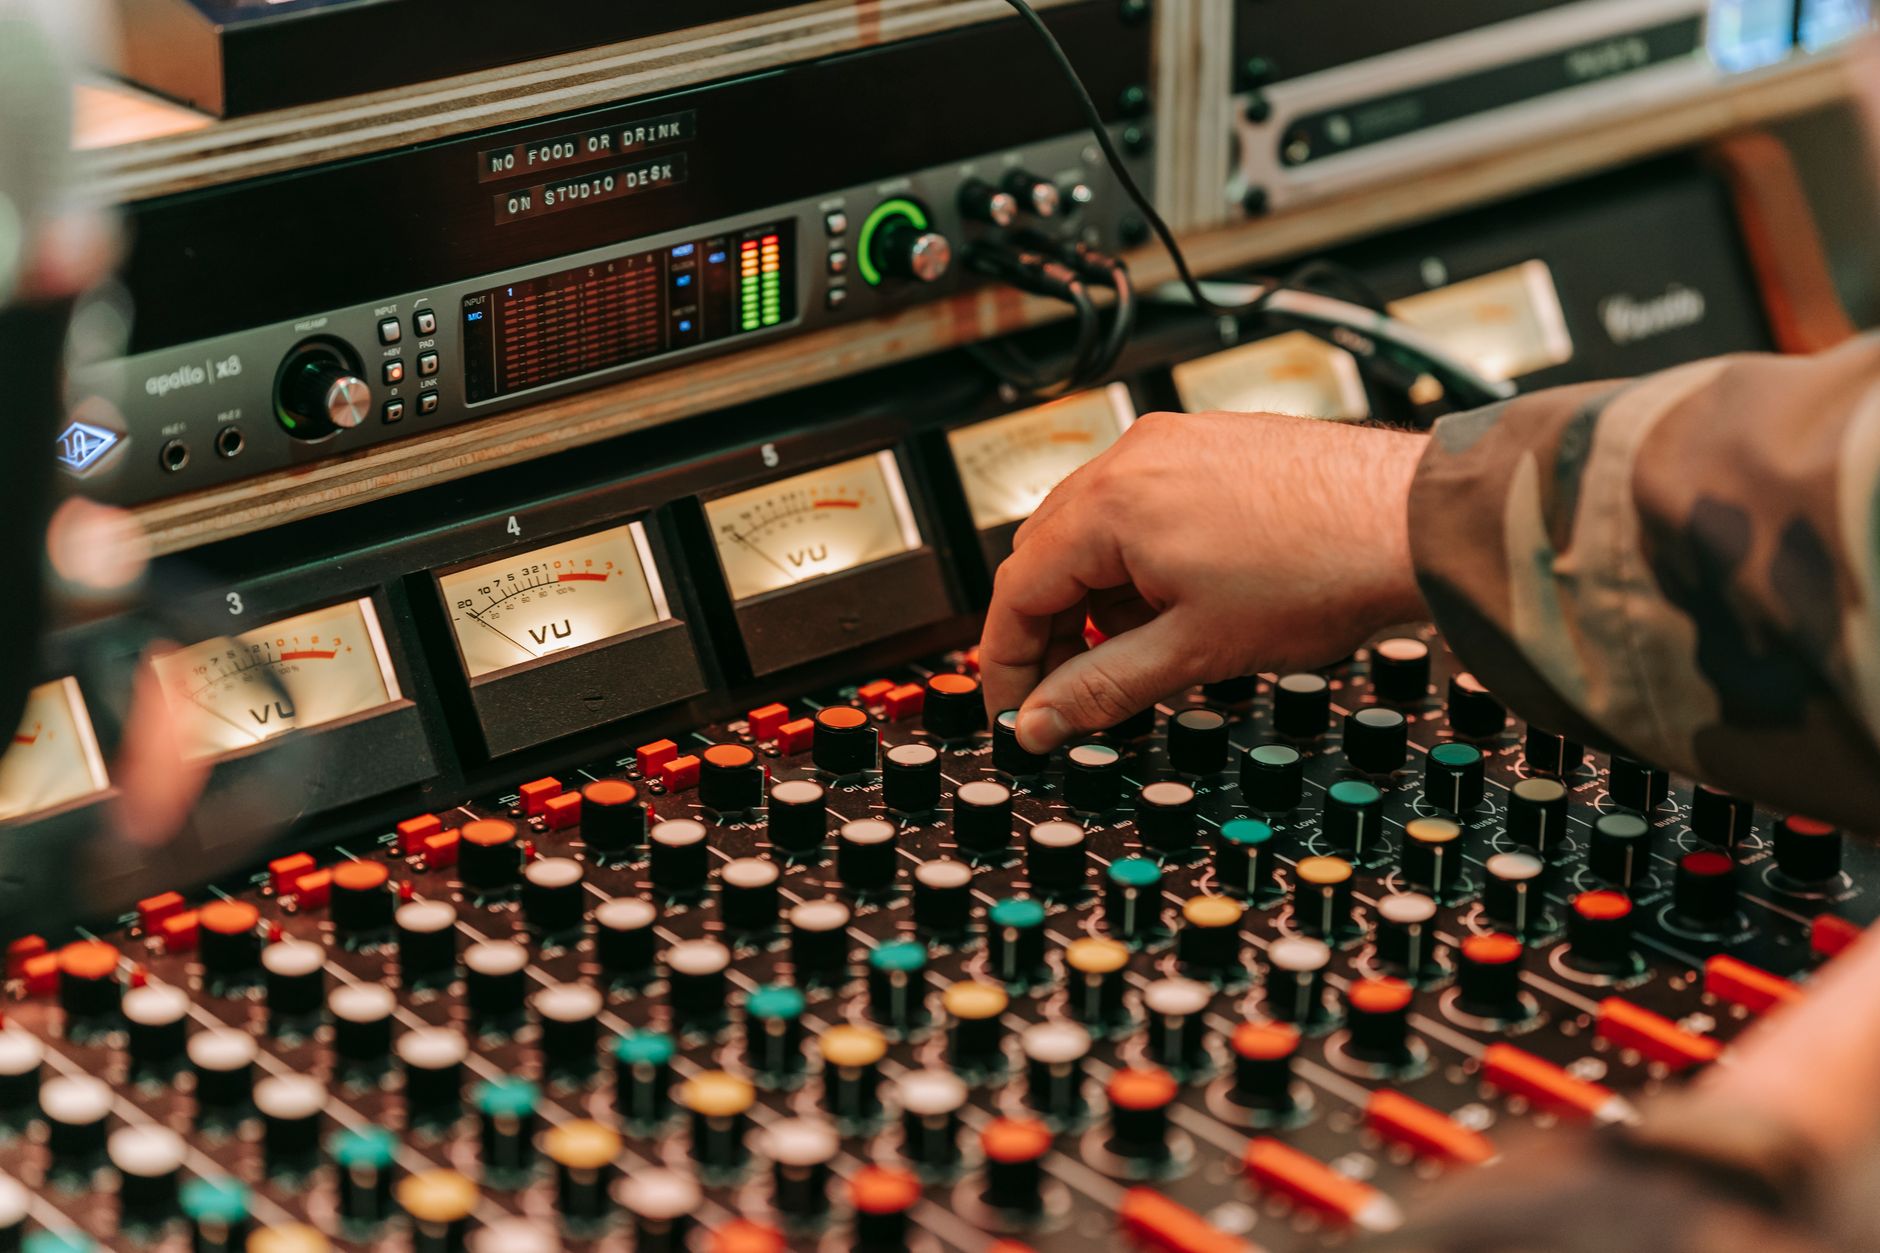
A club mixer can make a polite home interface panic. I learned that recording a CDJ-3000 pair through a DJ mixer into a small interface after a private party. The room sounded clean. The WAV looked like a haircut. Every kick transient had been squared off before Ableton Live could show me a sensible warning.
The fix was gain staging, not a better limiter. I stopped setting the mixer by vibe and started treating the capture chain as its own instrument. The source output, interface gain and DAW headroom all have a job.
My recording level target
I play the loudest part of the set or pattern first. Kick, bass, ride cymbal, all of it. Then I set the interface so the DAW peaks around -10 dBFS, with occasional hits no hotter than -6 dBFS. If the mixer has a record output, I use that before the master output.
For synths, I print stereo if the patch earns it. A wide u-he Diva pad from a hardware-style chain gets two inputs. A mono bass gets one. Stereo is not better when the low end needs to sit dead center.
A simple DAW check before record
In Ableton Live, I arm the audio track, set monitoring to Off while recording external playback, and watch the pre-fader meter. In Logic Pro, I do the same check on the channel strip before adding compressors, EQ or tape plugins. Plugins can hide a bad capture by turning the monitoring down while the input is still clipping.
- Disable master bus limiters while setting recording level.
- Record a 20-second test before the full pass.
- Zoom into transients and check for flat tops.
- Leave at least 6 dB of headroom on the way in.
- Set levels from the loudest passage, not the intro.
- Use record outputs when the mixer provides them.
- Check pre-fader meters before plugins alter the view.
- Do a short test recording and inspect the waveform.

The Repair Pass: Clean a Bad Capture Without Fooling Yourself
Sometimes the take is already printed. The singer has left, the DJ set was a one-off, the synth patch vanished because someone bumped the preset knob. I have rescued plenty of flawed captures, but I do not pretend a repair pass equals a clean recording.
There are two kinds of damage. Tone problems can often be shaped. Clipping and heavy buzz are different. You can make them less annoying, but you cannot rebuild the transient detail that never made it into the file.
What EQ can actually fix
If a capture is muddy, I start with a high-pass filter around 30 to 40 Hz for full mixes, or 80 to 120 Hz for non-bass parts. For boxiness, I sweep gently between 180 and 350 Hz and cut 2 to 4 dB with a medium Q. Harsh cheap-input fizz often sits around 3 to 6 kHz.
Mid/side EQ helps when a stereo recording has noisy edges. I may trim low-end from the sides below 120 Hz and keep the center stable. That is correction, not magic.
Compression after a noisy input
A compressor raises quiet details, including hiss. If I use Waves CLA-2A on a repaired capture, I keep gain reduction light, usually 1 to 3 dB. Heavy compression on a noisy transfer makes the room tone pump between kicks.
For serious noise, I reach for spectral repair before compression. Even then, I compare against the raw file every few minutes. Over-cleaning leaves watery artifacts that sound worse than a little honest hiss.
- EQ can reduce mud, fizz and low-end rumble.
- Clipped transients cannot be fully restored.
- Compress noisy captures gently or the hiss comes forward.
- Spectral cleanup should be checked against the raw file often.
My Final line in Checklist Before a Session Ships
Before I print a take now, I do the same small ritual. It feels slow for about three minutes, then it saves hours. The point is not being fussy. The point is catching the boring faults before they become part of the music.
This is the checklist I wish I had used on that late-night vocal-house session. It works for a phone sample, DJ mix, synth part, sampler output or a rough capture from a speaker feed.
The 60-second patch check
I name the source, name the destination and say the direction out loud if the room is chaotic: “Mixer record out into interface input one and two.” That tiny sentence catches more mistakes than staring at the sockets.
- Source output is turned down before plugging in.
- Correct input type is selected on the interface or PC.
- Left and right channels arrive where expected.
- Peak level sits below -6 dBFS.
- No buzz changes when the cable is touched.
The bounce test I trust
I record 20 seconds, bounce or save it, then play it back through the same monitors at normal session volume. Monitoring live through software can fool you because buffer settings, plugins and direct monitoring all change the picture.
If the test file survives playback without hum, clipped kicks or missing stereo information, I record the real pass. If not, I fix the physical chain first. The computer only records what you feed it.
- Say the signal path out loud before recording.
- Test both channels with a short file.
- Leave headroom instead of chasing loudness.
- Fix cables and routing before opening repair plugins.
| Connection | Best use | Common mistake | Safe starting level |
|---|---|---|---|
| Line input | Recording mixers, synths, DJ gear and phone outputs | Feeding it with a raw microphone and adding noise later | Peaks around -12 to -6 dBFS |
| Mic input | Recording microphones that need preamp gain | Plugging in a hot mixer output and clipping the preamp | Gain low first, then raise slowly |
| Instrument input | Guitar, bass and high-impedance pickups | Using it for a stereo mixer or deck output | Set for clean peaks below -6 dBFS |
| AUX input | Consumer stereo sources such as phones and laptops | Confusing AUX in with AUX send on a mixer | Start source volume around 50 percent |
| Line out | Sending audio from one device to the next | Treating it like an input or turning it up into distortion | Use the receiving device to set final record level |
Worth a deeper read: Line.
Questions producers actually ask
What is line in for on PC?
On a PC, line in is usually the blue 3.5 mm audio input for recording an already-amplified source, such as a mixer, phone, synth or media player. It is not ideal for microphones. Set recording peaks around -12 to -6 dBFS, and use an audio interface if the recording needs release-quality sound.
What does line in mean?
It means an audio input designed for line-level signal. That signal is stronger than a raw microphone and usually comes from another device’s output. In practical studio terms, it is where you connect synths, DJ mixers, samplers, phones or playback devices when you want to record or monitor them.
Are line in and AUX the same?
Sometimes they behave similarly, but they are not the same label. Line input describes the level and job of the connection. AUX can mean an auxiliary input on a speaker, or an auxiliary send on a mixer. Always check whether the socket is marked in, out or send before plugging anything in.
What are line in and line out?
Line input receives audio from another device. Line output sends audio to another device. A synth line out can feed an interface line input. A DJ mixer record out can feed a recorder. Getting the direction right prevents weak recordings, clipping and confusing signal paths.
Can I plug a microphone into a line input?
You can physically do it with the right adapter, but it is usually the wrong move. A microphone signal is much quieter than line level and needs a mic preamp. Into a line input, the mic will sound weak and noisy unless another device has already boosted it properly.
Why does my line input sound distorted?
The source is probably too hot, or you are feeding a mic preamp instead of a true line input. Turn down the mixer, synth or phone output, record a short test, and aim for peaks below -6 dBFS. If the waveform has flat tops, the clipping happened before the file was recorded.
What to remember
- Line-level inputs are for already-amplified sources, not raw microphones.
- PC onboard inputs can work for sketches, but interfaces give cleaner gain and metering.
- AUX labels describe different jobs depending on the device, so check signal direction.
- Record with headroom, usually peaking between -12 and -6 dBFS.
- Balanced cables and short unbalanced runs prevent many hum problems.
- Fix the physical signal chain before trying to repair audio with plugins.
Wrapping up
The mistake is treating line in like a generic socket instead of a specific part of the signal chain. Once I stopped doing that, my recordings got cleaner before I touched an EQ, compressor or noise tool. The fix is not glamorous: match the source to the input, keep cables sensible, leave headroom and test the file before committing the full pass.
Next time you record a synth, DJ mix, phone sample or mixer output, take one minute to trace the path from output to input. Record 20 seconds, check the waveform, listen back at normal volume, then print the take. That small habit catches the ugly stuff while it is still easy to fix.
My Career makes videos from your own track and posts them for you, pitches your release to 34,000+ labels, playlists, radio stations, YouTube channels and blogs, puts it in every store and briefs you every morning. Free plan, no card, two minutes to set up.