 By TGP Production Desk · September 29, 2026
TL;DR
- Finish a small EDM demo instead of memorizing Ableton Live features in isolation.
- Use a limited practice folder so sound browsing does not kill momentum.
- Build drums, bass, chords, and lead with stock devices before adding third-party tools.
- Sidechain the bass from the kick with clear settings, then adjust by ear.
- Arrange early, mix after the timeline works, and export a version you can revise.
- Leave headroom and use light limiting for a cleaner beginner demo.
Learn Ableton by finishing one ugly-but-real EDM demo, not by collecting shortcuts you never use. Open a blank Live Set. We’re going to build a 128 BPM club sketch with drums, bass, chords, lead, effects, arrangement, rough mix, and export. Nothing fancy. Finished beats half-polished loops every time.
The trap is treating Ableton Live like a menu you need to memorize before you make music. Bad move. You learn Ableton faster when every button solves a problem in front of you: Drum Rack for the beat, Simpler for the vocal chop, EQ Eight for mud, Compressor for sidechain ducking, Utility for gain and mono checks. Keep this project simple enough to finish tonight, but structured enough that you can reuse the workflow on the next track.
The Real Mistake: Trying to Learn Ableton Before Making Music
Most beginners open Ableton Live, click every browser category, load six synths, then wonder why the track feels dead. Stop auditioning the whole library. Pick one job per tool and move.
For this workshop, work in Arrangement View first. Session View is brilliant for live triggering and idea capture, but Arrangement View teaches time. EDM is time: 8-bar phrases, 16-bar sections, tension before the drop, impact after silence.
Set the Session Before You Touch a Sound
Set tempo to 128 BPM. Set the grid to 1/16. Create seven tracks: Kick, Drums, Bass, Chords, Lead, FX, Reference. Color them. Yes, color them now. A messy Live Set makes beginner decisions slower.
Save the project as first-edm-demo-128bpm. Use Collect All and Save once you add samples. That single habit saves you from the classic missing kick sample disaster when you move the project to another drive.
Your Milestones for This Project
Do not judge the track every 30 seconds. Judge it at milestones. The first pass should sound basic. That is normal. You are building the road before painting the lines.
- 20 minutes: kick, clap, hats, and a bass rhythm.
- 45 minutes: chords, lead hook, and one riser.
- 75 minutes: full arrangement with intro, breakdown, drop, and outro.
- 100 minutes: rough mix peaking around -6 dB on the master.
- 110 minutes: exported WAV and MP3 demo.
Learn Ableton by Finishing Small
Use only stock devices until the export is done. Drum Rack, Simpler, Wavetable, EQ Eight, Compressor, Glue Compressor, Reverb, Delay, Utility, and Limiter are enough. If you own FabFilter Pro-Q 4, keep it closed for now. You are learning decisions, not shopping for a rescue plug-in.
- Use Arrangement View so you see the song timeline.
- Set 128 BPM before writing any MIDI.
- Limit the project to seven tracks at first.
- Save the Live Set before adding samples.
- Judge progress only at clear milestones.

Build the Practice Session and Load the Right Files
Use a tight practice folder. Do not drag in a random 4 GB sample pack and call it inspiration. That is browsing with a beat underneath.
Your downloadable practice files should be boring on purpose: one kick, one clap, two hats, one top loop, one bass MIDI clip, one chord MIDI clip, one vocal one-shot, one noise riser, and one reference track placeholder. Ten files. Plenty.
Practice Folder Layout
Create a folder named ableton-first-edm-practice. Inside it, make three folders: Samples, MIDI, and Exports. Put your kick, clap, hats, top loop, vocal chop, and riser in Samples. Put the bass and chord MIDI clips in MIDI.
Drag the full practice folder into Ableton’s browser under Places. Now you can work from one folder without losing momentum.
Shortcuts That Actually Save Time
Memorize these now because you will use them every five minutes: Cmd/Ctrl + T for audio track, Cmd/Ctrl + Shift + T for MIDI track, Cmd/Ctrl + D to duplicate, Cmd/Ctrl + E to split, 0 to deactivate a clip, and Z to zoom to selection.
Use A to show automation. Use B to toggle Draw Mode. These two keys turn arrangement editing from a mouse fight into music work.
- Keep all practice files inside one project folder.
- Add the folder to Places in Ableton’s browser.
- Use Cmd/Ctrl + D instead of copying by mouse.
- Use 0 to mute clips without deleting ideas.
- Export test bounces into the project’s Exports folder.
Program Drums That Teach the Grid Instead of Fighting It
Start with the kick. Always. EDM drums are not decoration, they are the frame that tells every other part where to land.
Create a MIDI track. Drop in Drum Rack. Load your kick on C1, clap on D1, closed hat on F#1, open hat on A#1. Make a 4-bar MIDI clip. We are not chasing a masterpiece here. We are teaching your hands where the grid lives.
Kick, Clap, Hats
Place the kick on every beat: 1, 2, 3, 4. Put the clap on beats 2 and 4. Add closed hats on offbeats, the “ands” between each kick. Add an open hat on the offbeat before beat 3 if the groove feels empty.
Set kick velocity to 110, clap to 95, closed hats around 65 to 80. Lower hat velocity matters. If every hat hits at 127, the groove sounds like a printer.
Fix the Beginner Drum Loop Problem
The first mistake is filling every 16th note. Leave holes. EDM groove comes from contrast, not constant typing. Add a short snare fill only at the end of bar 4, then duplicate the clip to 8 bars and change the final beat.
Open the groove pool and try MPC 16 Swing 54 at about 20%. Apply it only to hats and percussion. Keep the kick straight. Club systems like a steady kick.
- Kick on every quarter note for the first pass.
- Clap on beats 2 and 4.
- Offbeat hats carry the basic EDM pulse.
- Keep kick velocity steady.
- Use swing lightly on hats, not on the main kick.

Write Bass, Chords, and a Lead Without Opening Ten Synths
Now add the musical parts. Keep them blunt. A beginner EDM track usually fails because the producer stacks too many unfinished ideas, not because the chord progression lacks jazz theory.
Create three MIDI tracks: Bass, Chords, Lead. Load Wavetable on Bass, Instrument Rack with a simple saw pad on Chords, and Wavetable again on Lead. If you have Ableton Live Intro and no Wavetable, use Analog or a stock preset from the Sounds category.
Bass: Follow the Kick, Then Move
Write in A minor to avoid black-key hesitation. Put bass notes on A, G, F, G across four bars. Use eighth notes, then delete the notes that fight the kick. Leave a tiny gap before each kick. That gap helps the sidechain later.
On the Bass track, add EQ Eight. High-cut around 6 kHz if the patch is fizzy. Add Utility and set Bass Mono below 120 Hz if your Live version has it. Low end should not wobble around in stereo.
Chords: Make the Drop Wider, Not Busier
Use the same root movement: A minor, G major, F major, G major. Hold each chord for one bar. Add Auto Filter before the drop and automate the cutoff from about 400 Hz to 8 kHz over 8 bars.
Pan is not width by itself. Use a simple wide pad, then keep the lead more centered. When every part screams from the sides, the drop gets smaller.
Lead: One Hook, Four Bars
Write a four-bar lead melody using A, C, D, E, and G. Repeat the first bar in bar 3. Change bar 4. That tiny structure makes the hook memorable without turning the piano roll into homework.
Add Delay set to 1/8 dotted, feedback around 22%, dry/wet around 12%. Add Reverb with decay under 2.2 seconds. Big wash feels good alone and wrecks the drop with the drums in.
- Use one key for the whole beginner project.
- Let the bass leave space around the kick.
- Automate chord filter cutoff into the drop.
- Keep the lead hook to four bars first.
- Use delay and reverb as seasoning, not fog.
Step-by-Step: Sidechain the Bass So the Kick Wins
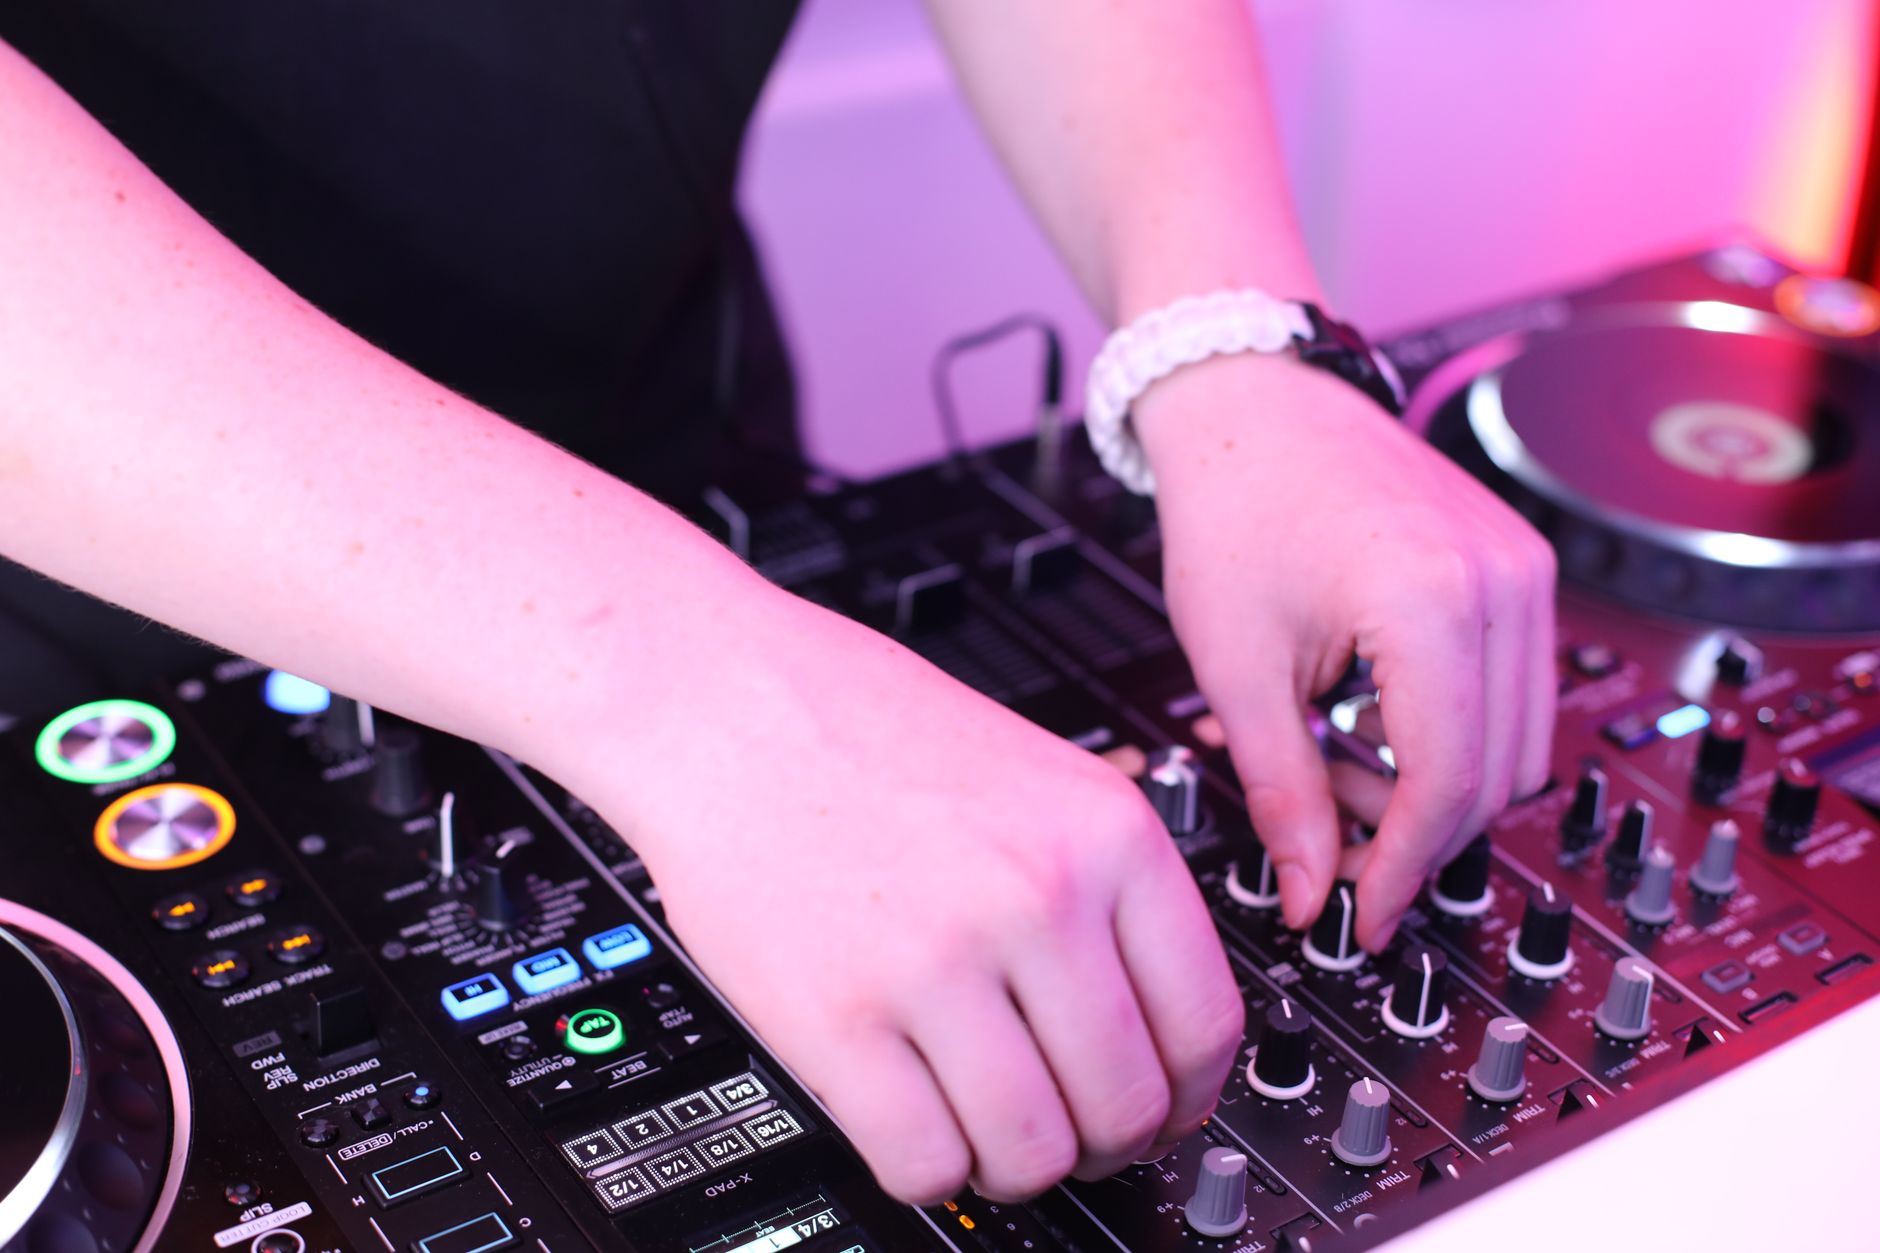
This is the technique beginners hear in EDM before they can name it. Sidechain compression ducks the bass when the kick hits. Done right, it gives the drop movement and clears low-end collisions.
Do this manually once. Do not reach for a one-knob pumping preset yet. You need to hear what the compressor is doing.
The Exact Sidechain Setup
1. Drop Compressor on the Bass track. Open the sidechain panel. Turn Sidechain on. Set Audio From to Kick. If your kick is inside Drum Rack, choose the kick chain from the second dropdown.
2. Set Ratio to 4:1. Set Attack to 1 ms. Set Release to 90 ms. Pull Threshold down until the gain reduction meter shows about 4 to 6 dB on each kick.
3. Press play. Listen to the bass, not the meter. If it gasps too obviously, raise the threshold or shorten the release. If the kick still feels buried, lower the threshold or set release closer to 120 ms.
Common Sidechain Mistakes
Do not sidechain everything at 10 dB just because you like the pump. Bass needs it. Chords may need less. Leads often need only a small volume automation dip in the drop.
If the bass loses weight, the compressor may be clamping too long. Shorten release first. If the click of the kick disappears, the bass is probably still masking it around 80 to 140 Hz. Open EQ Eight. Cut the bass 2 to 4 dB around the kick’s main thump.
- Use the kick as the sidechain input.
- Start with 4:1 ratio, 1 ms attack, 90 ms release.
- Aim for 4 to 6 dB of gain reduction on bass.
- Shorten release if the groove feels lazy.
- EQ the bass if compression alone does not clear space.
Arrange the Demo Before You Start Mixing Tiny Details
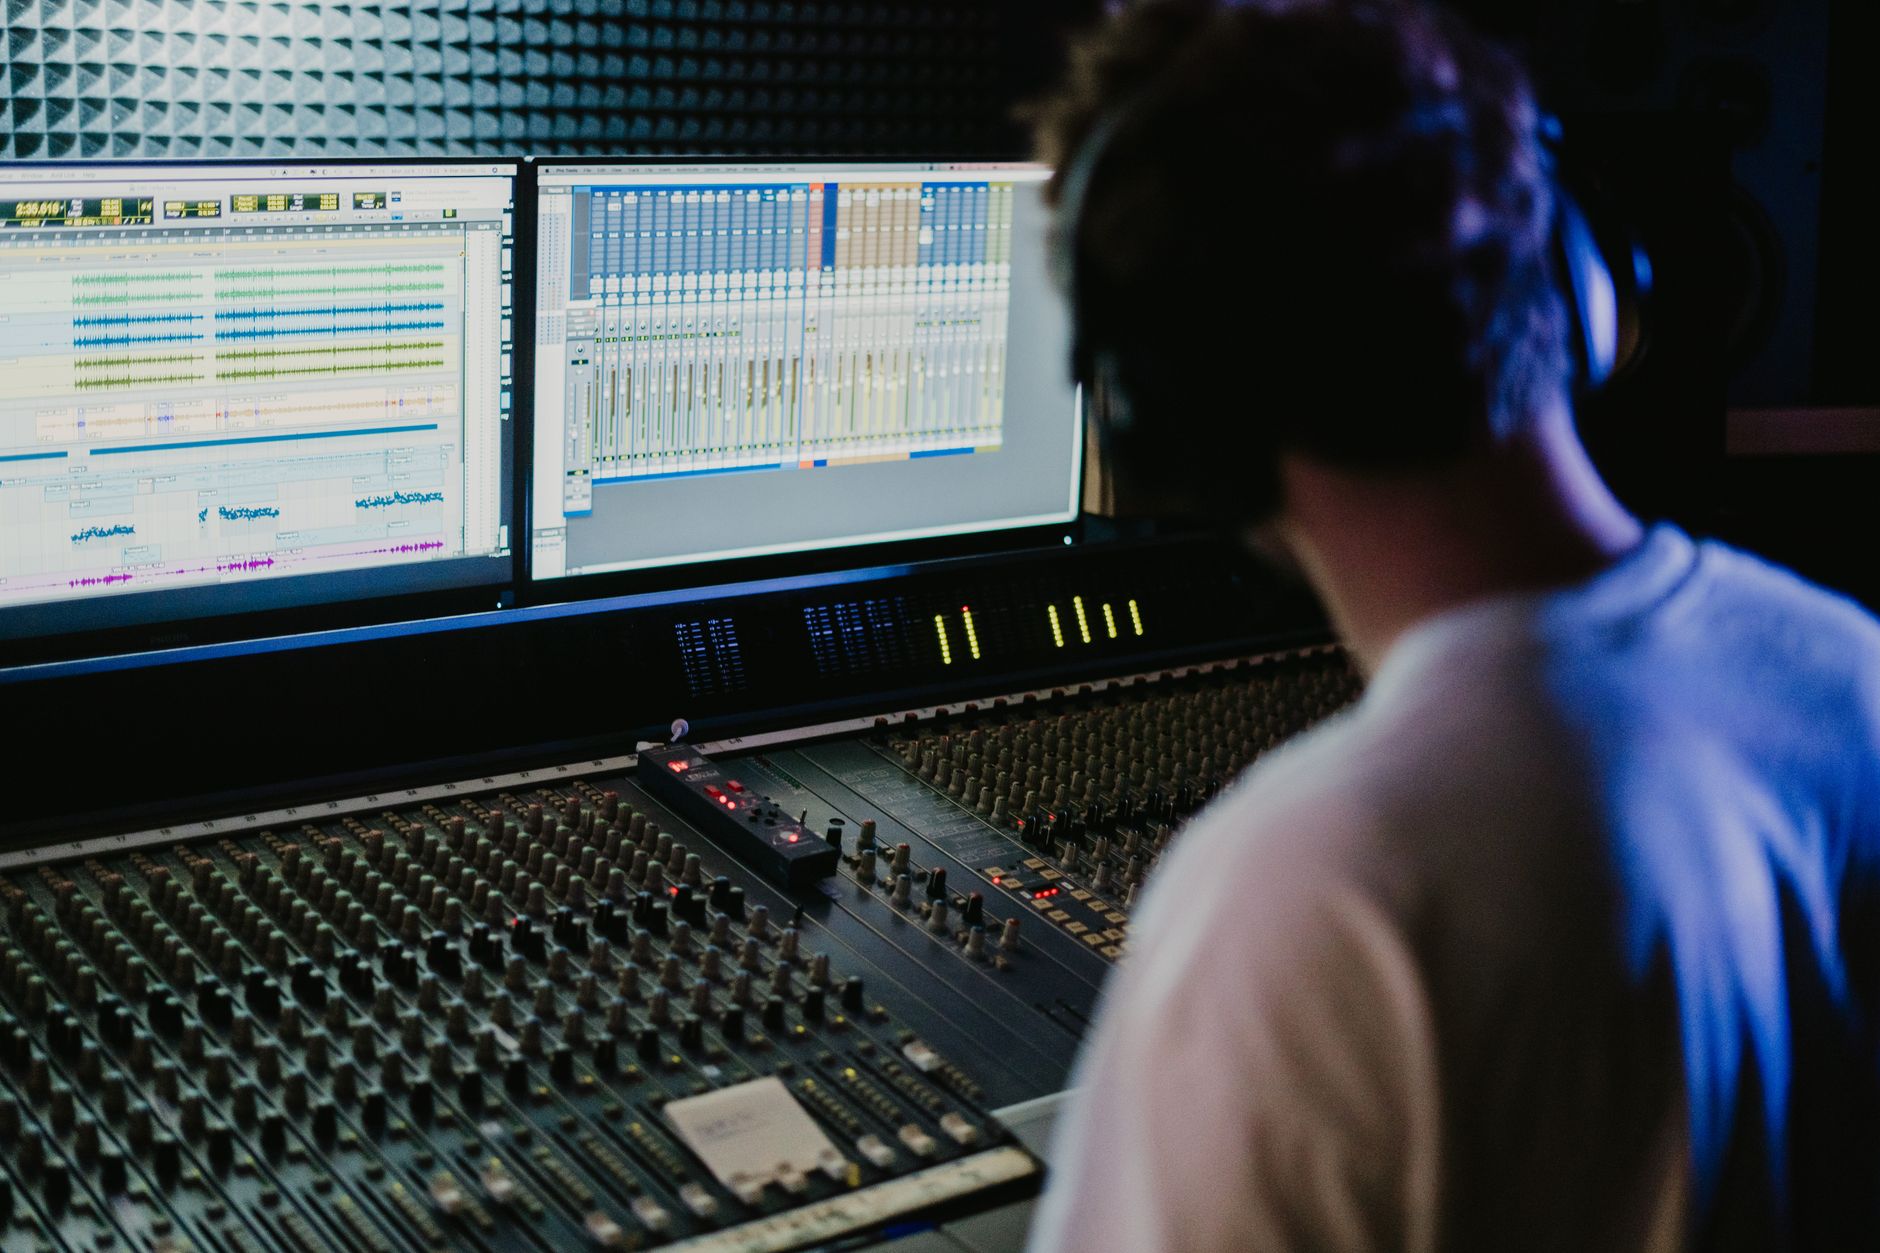
A perfect 8-bar loop is still a loop. Arrange early. You can fix the snare tail later. First, make the track move from start to finish.
Select your strongest 8-bar drop loop. Duplicate it across the timeline, then remove parts to create sections. This feels backwards, but it works. You are sculpting an arrangement from the busiest version.
Use This Beginner EDM Arrangement Map
Make the intro 16 bars. Bring in drums and filtered chords. Breakdown at bar 17. Remove the kick. Let chords and lead breathe. Build from bar 25 with a noise riser, snare lift, and filter automation.
Drop at bar 33. Run the full drums, bass, chords, and lead for 16 bars. Create a small variation at bar 41 by muting the kick for half a bar before it returns. Outro starts around bar 49. Remove the lead first, then bass, then drums.
Use Locators Like a Producer
Right-click the timeline and add locators named Intro, Breakdown, Build, Drop, Variation, Outro. Locators keep you honest. If every section is called “new part maybe,” you will waste time.
Use automation lanes for chord filter, riser volume, and reverb sends. Keep automation moves broad: 8 bars up, 1 beat down. EDM tension usually reads better when the listener can feel it coming.
- Build the arrangement from the full drop loop.
- Use 16-bar chunks for the first version.
- Remove elements to create contrast.
- Add locators before detailed editing.
- Automate filters and effects across whole phrases.
Rough Mix Fixes for the Problems Beginners Always Hear Late
Now mix, but do not turn this into a fake mastering session. Your job is balance, headroom, and translation. If the song idea is weak, a limiter will not make it confident.
Pull all faders down. Bring up the kick first. Set it around -10 dB on the channel meter. Bring in bass until the low end feels strong but not swollen. Add drums, chords, lead, and FX around them.
Fix Mud at the Source
Open EQ Eight on Chords. High-pass around 150 Hz. On Lead, high-pass around 180 Hz. On FX and risers, high-pass around 250 Hz. Do not high-pass the kick and bass blindly. Those parts own the bottom.
If the mix feels boxy, sweep a bell cut on the chord track between 220 and 400 Hz. Cut 2 to 5 dB, medium Q. Listen in context. Solo EQ decisions lie.
Check Gain Staging and Stereo
Put Utility on the master. Click mono for ten seconds. If the lead vanishes, it is too wide or phasey. If the bass gets smaller, check stereo low-end content. Turn mono off after the check.
Your master should peak around -6 dB before limiting. If it hits red, do not lower only the master fader and pretend it is fixed. Select all tracks except the reference and pull them down together by 3 to 6 dB.
Limiter Is for Catching, Not Crushing
Add Ableton’s Limiter last. Set ceiling to -1 dB. Raise gain until the loudest drop gets 1 to 3 dB of reduction. That is enough for a demo.
If you smash it to 8 dB of reduction, the kick will fold and the drop will feel smaller. Loud is not the same as finished.
- Balance from kick and bass outward.
- High-pass chords, leads, and FX, not everything.
- Check mono with Utility for translation.
- Leave about -6 dB master headroom before limiting.
- Use only light limiting on the demo export.

Export the Demo and Keep a Version You Can Improve
Exporting is part of learning. If you only listen inside Ableton Live, you miss car speakers, earbuds, laptop speakers, and the brutal truth of a phone.
Before export, save a new version: first-edm-demo-v01-mix. Never keep overwriting one file. Versioning lets you make bold fixes without fearing the old version is gone.
Export Settings for a First EDM Demo
Select the full song length in Arrangement View. Go to File > Export Audio/Video. Choose Master as the rendered track. Set sample rate to 44.1 kHz or 48 kHz, whichever your project already uses. Set bit depth to 24-bit.
Turn Normalize off. Use WAV for the main export. Make an MP3 only for sharing. If dithering is available and you export 24-bit, leave it off for this demo.
The Three-Listen Fix Pass
Listen once on headphones and write only arrangement notes. Listen once on small speakers and write balance notes. Listen once quietly and write hook notes. Do not fix while listening. Write first. Fix after.
Your first notes might look like this: kick too loud in intro, bass disappears on phone, build too long by 4 bars, lead too wet in drop. Good. Those are fixable. Vague notes like “make it better” are useless.
- Save a new version before exporting.
- Export the master as 24-bit WAV.
- Turn Normalize off for honest level checking.
- Make MP3 copies only for easy sharing.
- Listen on three systems before revising.
| Task | Use This First | Avoid This Trap | Target Setting |
|---|---|---|---|
| Writing drums | Drum Rack with kick, clap, hats | Auditioning hundreds of drum kits | 4-bar loop, 1/16 grid |
| Writing bass | Wavetable or Analog simple bass | Layering three bass patches too early | Mono below 120 Hz |
| Creating movement | Filter automation and risers | Adding random new melodies | 8-bar build into drop |
| Clearing kick space | Compressor sidechain from kick | Over-ducking every track | 4 to 6 dB reduction |
| Rough loudness | Limiter catching peaks | Crushing the master bus | 1 to 3 dB reduction |
Go deeper
- Ableton Learn — learn.ableton.com
- Learn Live 12 Videos — help.ableton.com
FAQ
What is the fastest way to learn ableton as a beginner?
Finish one small project instead of studying every feature. Build drums, bass, chords, lead, arrangement, rough mix, and export in the same Live Set. You will remember shortcuts and devices faster when each one solves a real production problem.
Should I use Session View or Arrangement View first?
Use Arrangement View first if your goal is a finished EDM demo. It teaches song length, section changes, and energy flow. Session View is great for launching ideas, but beginners often get stuck looping clips there without turning them into a track.
Can I make EDM in Ableton Live Intro?
Yes. Live Intro has enough tracks and devices for a beginner EDM demo. Use Drum Rack, Simpler, audio effects, MIDI clips, and stock sounds. You may hit limits later with larger arrangements, but your first project does not need a huge track count.
Why does my Ableton drop sound weaker than my loop?
The drop usually feels weak because the build is too busy, the kick and bass fight, or everything is wide and loud before the drop arrives. Remove elements before the drop, sidechain the bass, and save the widest, brightest layers for the impact section.
What level should my Ableton master peak at before export?
For a rough demo, aim for peaks around -6 dB before the limiter. After light limiting, set the ceiling to -1 dB and avoid heavy gain reduction. This leaves space for later mastering and stops the kick from collapsing.
How long should my first EDM track be?
A first EDM demo can be two to three minutes. Use a 16-bar intro, breakdown, build, drop, variation, and short outro. The goal is not radio structure perfection. The goal is learning how sections connect across a full timeline.
The bottom line
The best way to learn Ableton is to finish a track simple enough that you can hear every decision. Set the tempo. Build the drum frame. Write bass that leaves room for the kick. Add one chord idea, one lead hook, one build, one drop, then export the demo before you start polishing forever.
Your first EDM project will not sound like a festival record. Good. It should sound like a map you can improve. Open the exported WAV tomorrow, write five specific fixes, then make version two. Try this same session structure in your next Ableton project and keep the track count low until the arrangement works.
My Career makes videos from your own track and posts them for you, pitches your release to 34,000+ labels, playlists, radio stations, YouTube channels and blogs, puts it in every store and briefs you every morning. Free plan, no card, two minutes to set up.