 By TGP DJ Desk · September 22, 2026
Key takeaways
- Start with one memorable hook before adding glitch edits.
- Use clipped, short drums instead of huge EDM drum tails.
- Tune vocals fast, then shape doubles and formants for character.
- Keep the sub bass simple while the mids carry the distortion.
- Use sidechain ducking, EQ cuts, and loudness checks to keep the mix readable.
Hyperpop production starts with one loud idea, not with a folder full of random chaos. A beginner hyperpop production session works best when you treat the track like a cartoon version of pop music: the kick is exaggerated, the vocal is too shiny, the synths are almost plastic, and the transitions snap like jump cuts.
The trick is not “break every rule.” That usually turns into a messy loop. The trick is choosing which rules to bend. You still need timing, contrast, headroom (unused volume space before clipping), and a hook people can remember after one play. This walkthrough gives you a practical first build: drums, vocals, synths, distortion, arrangement, and a rough mix that survives laptop speakers and club monitors.
Hyperpop Production Starts With One Loud Idea
Think of the first loop like a neon sign. If every tube flashes at once, nobody reads the word. Start with one main shape: a vocal phrase, a synth riff, a chopped sample, or a four-chord loop.
Set your session between 150 and 180 BPM (beats per minute, the track’s speed). If that feels frantic, write at 75 to 90 BPM and use double-time drums, where the drums feel twice as fast over a slower grid.
A Beginner Hyperpop Production Starter Stack
Open Ableton Live, FL Studio, Logic Pro, or whatever DAW (digital audio workstation) you already know. Do not switch platforms for this style. The sound comes from decisions, not from a magic template.
- Chord bed: bright saw chords from Vital, Serum, or Phase Plant.
- Lead: a square wave or vocal chop playing a simple two-bar hook.
- Drums: tight kick, short snare or clap, hats with 1/16-note bursts.
- Vocal: tuned, doubled, and pushed forward.
Keep the first hyperpop production sketch to eight bars. If it does not feel exciting as an eight-bar loop, adding a huge drop will not save it.
- Start with one hook before adding glitch edits.
- Use 150 to 180 BPM for obvious energy.
- Leave at least -6 dB headroom on the master while writing.
- Write an eight-bar loop before building a full arrangement.
Build Drums Like a Pinball Machine
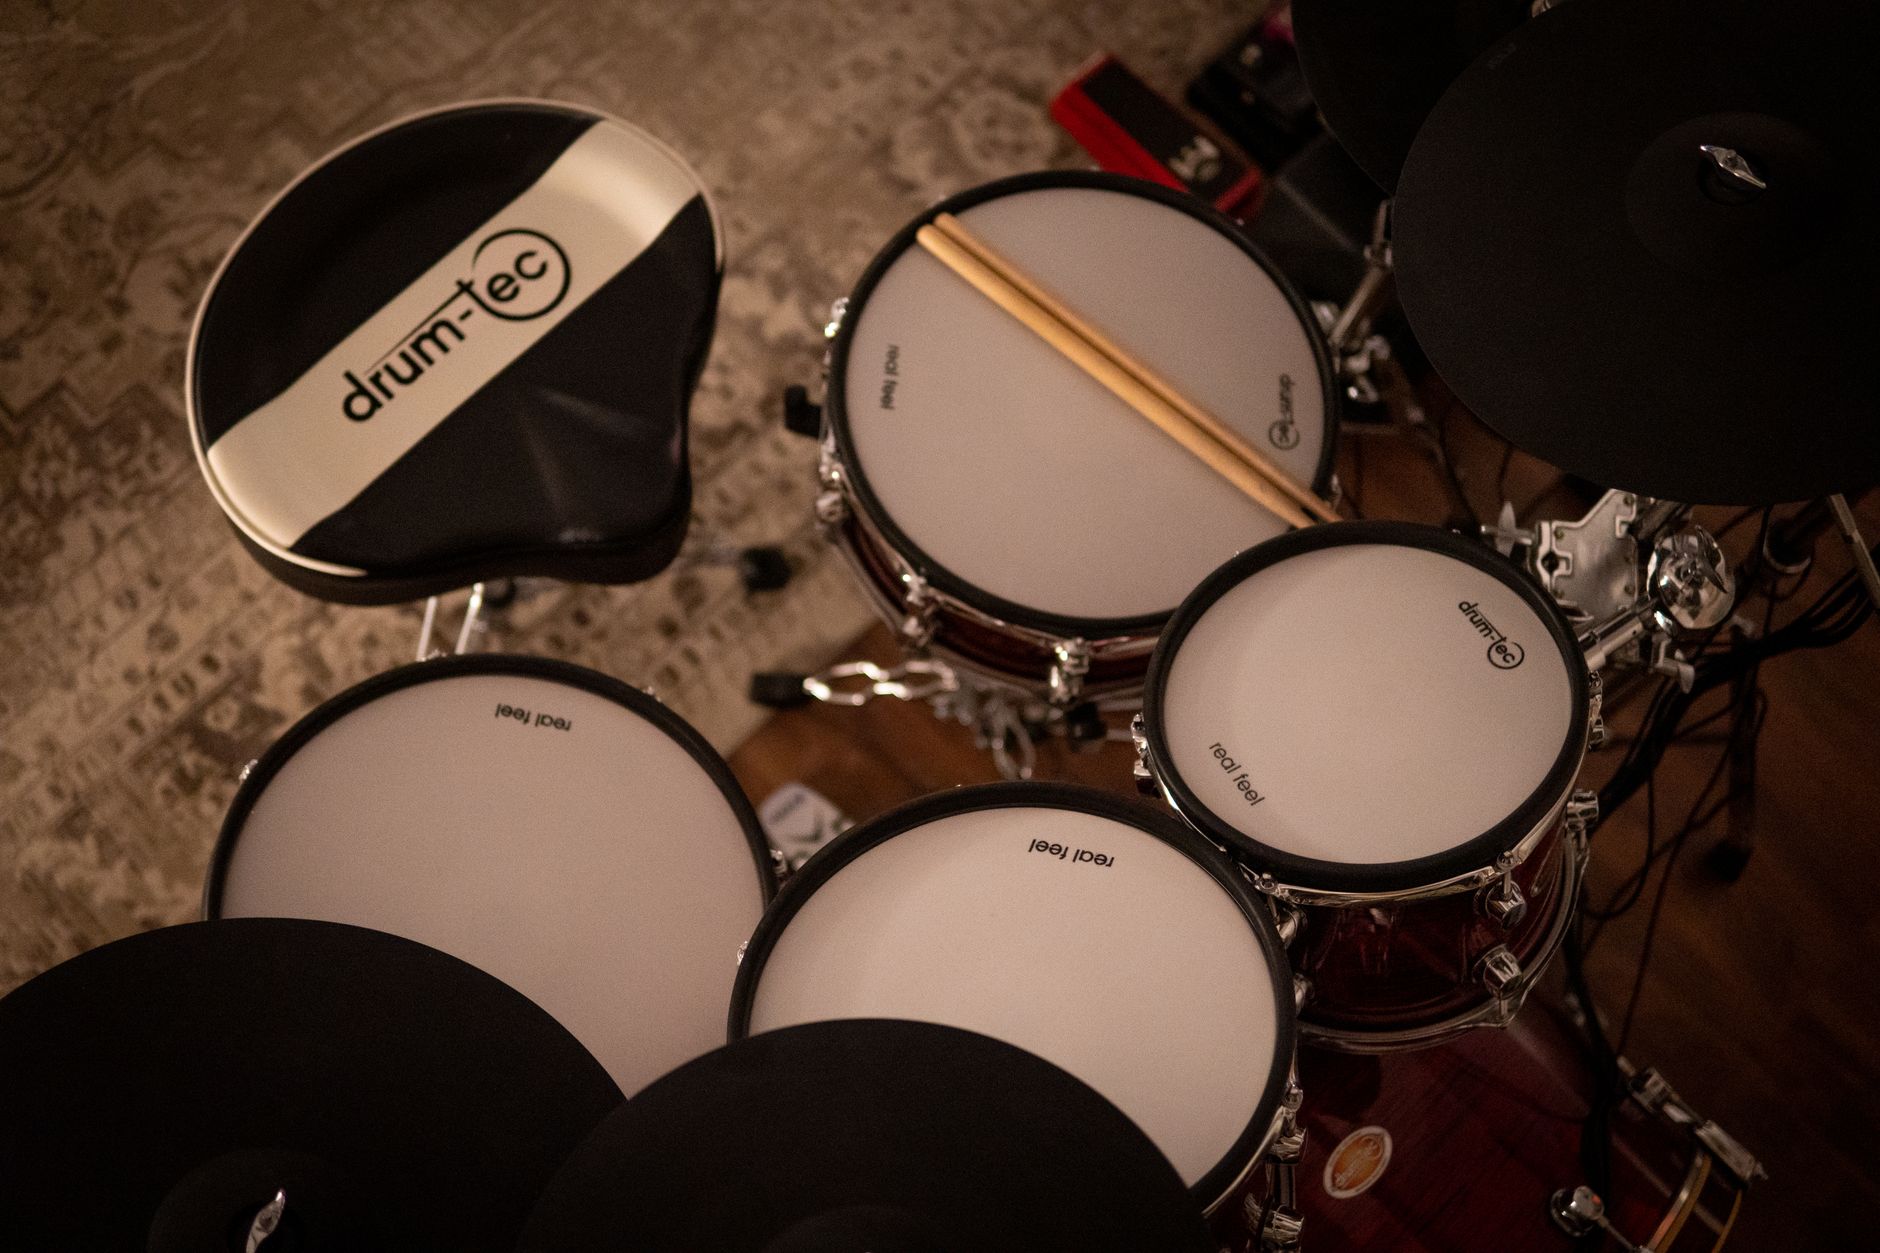
Hyperpop drums should feel like a pinball bouncing between bumpers: sharp impact, weird ricochets, sudden silence. The groove can be simple, but the ear candy around it needs movement.
Start with a kick on beats 1 and 3, then add extra hits before the snare for stumble. Use a short snare around 180 to 220 Hz for body and 2 to 5 kHz for crack. Transients (the first sharp attack of a sound) matter more than low-end weight here.
Drum Programming That Does Not Turn to Soup
Layer one clean kick with one distorted click. High-pass the click layer at 300 Hz so it does not fight the sub. Put a soft clipper after the drum bus and shave 1 to 3 dB from the peaks. Clipping means flattening the loudest peaks, which can make drums feel louder without raising the fader.
For hats, randomize velocity by 10 to 25 percent. Then mute a few hits. The missing hits make the busy parts feel intentional.
- Kick: short decay, tuned near the bass note if possible.
- Snare: bright, dry, and slightly over-compressed.
- Hats: 1/16 notes with occasional 1/32 fills.
- Percussion: one silly sound, not six.
- Drum bus: soft clip before heavy limiting.

Make Vocals Sound Like a Character
A hyperpop vocal is less like a documentary recording and more like a comic-book character. The performance is still human, but the processing exaggerates the face, posture, and attitude.
Record close to the mic, 10 to 15 cm away, with a pop filter. Aim for peaks around -10 dBFS (decibels below digital full scale). That gives your tuning, compression, and distortion room to work.
Tuning, Formants, and Doubles
Use fast pitch correction. Retune speed at 0 to 10 ms gives the hard robotic pull. If that is too obvious, back it off to 20 to 35 ms. Formants are the resonant shapes that make a voice feel smaller, larger, younger, or darker. Shift formants up 2 to 5 semitones for a tiny plastic lead, or down 1 to 3 for a thicker response layer.
After tuning, try this chain: EQ, compressor, saturator, de-esser, short delay, then reverb. With Waves CLA-2A, take 3 to 7 dB of gain reduction on the lead vocal. Use Valhalla VintageVerb on a small plate, 0.7 to 1.2 seconds, with low cut around 250 Hz.
- Record clean before making the vocal weird.
- Tune first, then compress.
- Use one main lead and two quieter doubles.
- Pan doubles 30 to 70 percent left and right.
- Automate delay throws on the last word of a phrase.

Choose Synths by Color, Not Price
Synth choice is like choosing markers for a poster. You do not need every color in the box. You need one thick outline, one bright fill, and one strange accent.
For this style, start with three roles: chords, lead, and bass. Chords carry the emotion. The lead gives the hook. The bass keeps the track from floating away.
Simple Patches That Feel Hyperpop
For chords, use a saw wave with 4 to 7 voices of unison (stacked copies of the same oscillator), detune around 8 to 14 percent, and a low-pass filter opened above 8 kHz. For lead, use a square wave with portamento (sliding between notes) around 40 to 90 ms.
Bass should be boring on purpose. Use a sine wave or triangle wave under the chaos. Distort a duplicate bass layer, high-pass it at 120 Hz, and blend it quietly so phones can hear the bassline.
- Vital: good free starting point for wide digital chords.
- Serum: fast for sharp leads and clean modulation.
- Phase Plant: strong if you like building layered patches.
- Teenage Engineering OP-1: useful for odd melodic snippets, not mandatory.
- Stock synths: enough if you understand envelopes and filters.

Use Distortion Like Seasoning
Distortion is hot sauce. A few drops wake up the part. Pour the bottle over everything and the track tastes the same from start to finish.
Distortion adds extra harmonics, which are new frequencies related to the original sound. That is why a clean vocal can suddenly feel sharper, brighter, and closer after saturation.
Distortion Chains That Stay Controlled
Try parallel distortion. Parallel means you keep the clean signal and blend in a processed copy. Send the vocal to an aux channel with Decapitator, Trash, Saturn, or a stock saturator. High-pass the distorted return at 300 Hz, low-pass it around 7 to 10 kHz, then blend it under the dry vocal until you miss it when muted.
For synths, place distortion before reverb if you want the whole sound to smear. Place it after reverb if you want a blown-out wash. I prefer distortion before reverb for beginner mixes because it is easier to control.
- Vocals: parallel distortion, blended low.
- Drums: soft clipper on the bus, not every channel.
- Synths: distortion before reverb for cleaner edges.
- Bass: split clean sub and distorted mid layer.
- Master: avoid heavy distortion until the mix balances.

Arrange and Mix So the Chaos Reads
Arrangement is film editing. You can shoot wild scenes, but the cuts need rhythm. If every bar has a new trick, the listener stops trusting the track.
Use four-bar and eight-bar phrases. A phrase is a small musical sentence. Change one main thing at the end of each phrase: remove drums, pitch the vocal up, reverse a crash, or mute the bass for half a beat.
Sidechain, EQ, and Loudness Targets
Sidechain ducking is a conversation rule: when the kick speaks, the bass steps back. Use a compressor keyed from the kick, or a volume shaper like ShaperBox. Start with 3 to 6 dB of ducking, fast attack, and release around 80 to 140 ms.
EQ is traffic control for frequencies. Cut mud around 180 to 300 Hz on busy synths. If the vocal hurts, dip 2.5 to 4 kHz by 1 to 3 dB. Check loudness with Youlean Loudness Meter. For a rough demo, -9 to -7 LUFS integrated is loud enough to judge impact without crushing every transient.
- Intro: 4 to 8 bars with one recognizable hook.
- Verse: pull drums back so the vocal reads.
- Pre-drop: remove low end for one or two beats.
- Drop: bring kick, bass, lead, and doubles together.
- Final pass: compare against two released references at matched volume.
| Part | Beginner Move | Useful Tool | Starting Setting |
|---|---|---|---|
| Drums | Clip the drum bus lightly | Ableton Saturator or FL Soft Clipper | 1 to 3 dB peak shaving |
| Vocals | Fast pitch correction and tight compression | Auto-Tune style tuner plus Waves CLA-2A | 0 to 20 ms retune, 3 to 7 dB reduction |
| Synth chords | Wide saw stack with bright filter | Vital or Serum | 4 to 7 unison voices, filter above 8 kHz |
| Bass | Clean sub plus distorted mid layer | Stock synth and saturator | High-pass distorted layer at 120 Hz |
| Mix check | Read loudness and headroom | Youlean Loudness Meter | -9 to -7 LUFS for rough demo checks |
Further reading
- How to make hyperpop that pushes the limits — blog.native-instruments.com
- Hyperpop — en.wikipedia.org
Frequently asked questions
What is hyperpop production for beginners?
hyperpop production is pop writing pushed through exaggerated sound design: tuned vocals, bright synths, clipped drums, sudden edits, and distorted textures. Beginners should start with a simple hook and clean structure first, then add weird processing in layers so the track still feels like a song.
What BPM should a hyperpop track be?
Most hyperpop tracks sit around 150 to 180 BPM, but you can write at 75 to 90 BPM and use double-time drums for the same feel. Pick the speed that makes the vocal phrase sound natural, then build the drums around that pocket.
Do I need expensive plugins to make hyperpop?
No. Stock synths, stock distortion, a basic tuner, and a decent compressor can cover the core sound. Paid tools like Serum, Phase Plant, Valhalla VintageVerb, and Waves CLA-2A speed up certain moves, but arrangement, vocal editing, and gain staging matter more.
Why does my hyperpop mix sound harsh?
Harshness usually comes from too many bright parts fighting between 2 and 6 kHz. Solo less, balance more. Dip painful synth or vocal frequencies by 1 to 3 dB, low-pass distorted returns, and check at quiet volume before pushing the limiter.
Conclusion
hyperpop production gets much easier when you stop treating it as random rule-breaking. Build the track like a clear pop sketch, then exaggerate the edges: sharper drums, brighter synths, tuned vocals, parallel distortion, and edits that land at phrase endings. Keep your first version simple enough to mute any one part and still understand the song.
For your next session, set a 30-minute timer and make only an eight-bar loop with a vocal hook, kick, snare, bass, and one synth. Bounce it, listen on headphones and small speakers, then write down the first three problems you hear. Fix those before adding more chaos.
My Career makes videos from your own track and posts them for you, pitches your release to 34,000+ labels, playlists, radio stations, YouTube channels and blogs, puts it in every store and briefs you every morning. Free plan, no card, two minutes to set up.