 By TGP Production Desk · August 30, 2026
Custom kick drums are usually taught backwards: people obsess over sub weight first, then wonder why the kick has no punch once it sits under a bassline. The bigger myth is that Diva is too smooth for drums. Wrong. Diva can make a nasty, club-ready kick if you stop treating it like a preset synth and start treating it like a small drum circuit with envelopes, gain stages, and a controlled transient.
The working method is less romantic. One oscillator drops in pitch. One envelope defines length. A tiny click gives the ear a start point. A spectrum analyser and oscilloscope keep you honest. If you came here looking for a building custom kick drums inside Diva PDF, the useful version is shorter than most people expect: tune the body, time the pitch fall, shape the click, then test it against the bass before adding layers.
Myth: Diva Is Too Polite for Custom Kick Drums
Diva has a reputation for creamy pads, Juno-style basses, and expensive-sounding filter sweeps. That reputation makes producers skip it for drums and reach for a sample pack before they have tested what the synth actually does.
The flaw in that belief is simple: a kick is not a genre preset. It is a short voltage event. Diva gives you fast envelopes, oscillator reset behaviour, drive stages, and filters that can be pushed into weight. That is enough for custom kick drums if you build the patch from silence instead of browsing bass presets.
Start With One Oscillator, Not a Stack
Use one oscillator first. A single sine or triangle-style source gives you a body that is easy to tune and easy to phase-check. In Diva, start with the cleanest oscillator model you like, set the amp sustain to zero, and pull the decay into the 250-450 ms range for house or techno.
The pitch envelope does the heavy lifting. Start around +24 semitones, then drop to the target note in 35-70 ms. For a club kick in F, the body lands near 43.65 Hz. For G, it lands near 49 Hz. Guessing here is how tracks get muddy.
Custom kick drums need gain staging before character
Leave headroom while designing. Aim for peaks around -10 to -6 dBFS inside the channel before saturation or bus processing. Diva can sound thick, but the bottom folds up quickly if you print too hot and then smash it later.
- Oscillator level: conservative, not maxed.
- Amp decay: set by groove length, not by solo excitement.
- Filter drive: add only after the body is tuned.
- Output trim: keep the kick below the bass while designing.
- Use one oscillator until the body works on its own.
- Set amp sustain to zero and shape the tail with decay.
- Tune the landing note, not the opening pitch.
- Keep peaks near -10 to -6 dBFS while designing.
- Add drive after the pitch and length feel right.

Myth: A Kick Is Just a Sine Drop
The sine-drop tutorial is not wrong. It is unfinished. A sine falling in pitch gives you the low body, but a record-ready kick also needs a front edge, a controlled decay curve, and enough upper information to read on small speakers.
This is where Diva beats a lazy sample edit. You can decide exactly how the attack behaves, rather than accepting whatever click, room, or phase offset came with a sample.
Build Three Timed Events
A strong synthetic kick has three separate events: the click, the pitch fall, and the tail. They overlap, but they are not the same job. Treat them separately and custom kick drums stop feeling random.
- Click: 1-8 ms of noise, filter snap, or oscillator edge.
- Pitch fall: usually 35-90 ms depending on style.
- Tail: 180-600 ms depending on groove and bass space.
If the click is too long, it becomes a wooden knock. If the pitch fall is too slow, the kick sounds like a tom. If the tail is too long, the bassline loses its first note.
Use Noise Like a Mic, Not Like a Cymbal
Add a tiny noise transient through a high-pass or band-pass shape. Keep it short. A 3-5 ms burst around 2-5 kHz can make the kick speak without turning it into a basketball bounce.
This is the software equivalent of moving a kick mic toward the beater on an acoustic drum. You are not adding more low end. You are adding a start marker so the low end feels louder than it measures.
- Click gives the ear a starting point.
- Pitch fall creates the thump.
- Tail length decides whether the bass has room.
- Noise should be measured in milliseconds, not bars.
Myth: More Low End Makes a Punchier Kick
This one ruins more bedroom mixes than bad monitors do. More 45 Hz does not equal more punch. Punch is contrast: a fast front edge, a controlled low-frequency cycle, and silence before the next hit.
If your room exaggerates 80 Hz or hides 50 Hz, you will keep adding sub until the master limiter coughs. The alternative is to check the kick visually and rhythmically before trusting the room.
Check the Waveform Before EQ
Put Melda MOscilloscope or another oscilloscope after Diva and look at the first 100 ms. A clean kick usually shows a clear transient followed by a stable low-frequency wave. If the first cycle starts late or flips oddly after layering, no EQ boost will fix the feel.
Use Voxengo SPAN to confirm the fundamental. If the body lands at 49 Hz but the bass is also living there, move one part. A 3 dB EQ cut at 220 Hz can clear cardboard, but it cannot solve two instruments trying to own the same fundamental.
Punch Lives Around the First 60 ms
For four-on-the-floor music, the first 40-60 ms decides whether the kick feels firm. Try a pitch envelope decay of 45 ms, then adjust in 5 ms moves. That is a better workflow than sweeping EQ boosts while the envelope is still wrong.
On a 128 BPM track, a sixteenth note lasts about 117 ms. If the pitch fall takes most of that time, the groove will feel slow even when the MIDI is on the grid.
- Do not boost sub before checking the envelope shape.
- Use an oscilloscope to spot slow attacks and phase flips.
- Keep the first 60 ms tight for club punch.
- Move the bass or kick fundamental when they collide.
- Cut boxiness around 180-300 Hz only after tuning.

Myth: Layering Fixes a Weak Diva Kick
Layering is the standard advice because it sounds productive. It is also the fastest way to make a kick smaller. Two good low-end layers can cancel each other if their first cycles disagree.
The better rule is harsh but useful: if the Diva patch does not work alone, layering is probably hiding the problem. Fix the body and transient first. Then add a layer only for a job the patch cannot do.
Layer by Frequency Job
Keep Diva responsible for the sub and thump. If you add a sample, high-pass it aggressively, often around 150-250 Hz, and use it only for click, grit, or acoustic texture. That prevents the sample from fighting the synthesized body.
Ableton Drum Rack is handy here because you can put Diva on one chain, a short click sample on another, then use chain-level EQ and phase invert while the groove loops. Print the result once it works. Endless live layers invite accidental changes later.
A/B Against a Reference, Not a Fantasy
Use ADPTR MetricAB or your DAW’s reference setup to compare level-matched kicks. Do not compare your unmastered kick to a mastered track at full volume. Pull the reference down until perceived loudness is close, then judge envelope length, click level, and low-end note.
For custom kick drums, the reference should match the arrangement density. A sparse warehouse techno kick is a bad target for a vocal slap-house track with a busy offbeat bass.
- Layer only after the main patch works alone.
- High-pass click layers so they do not fight the body.
- Check polarity when adding any sample layer.
- Reference against a similar arrangement, not just a famous record.
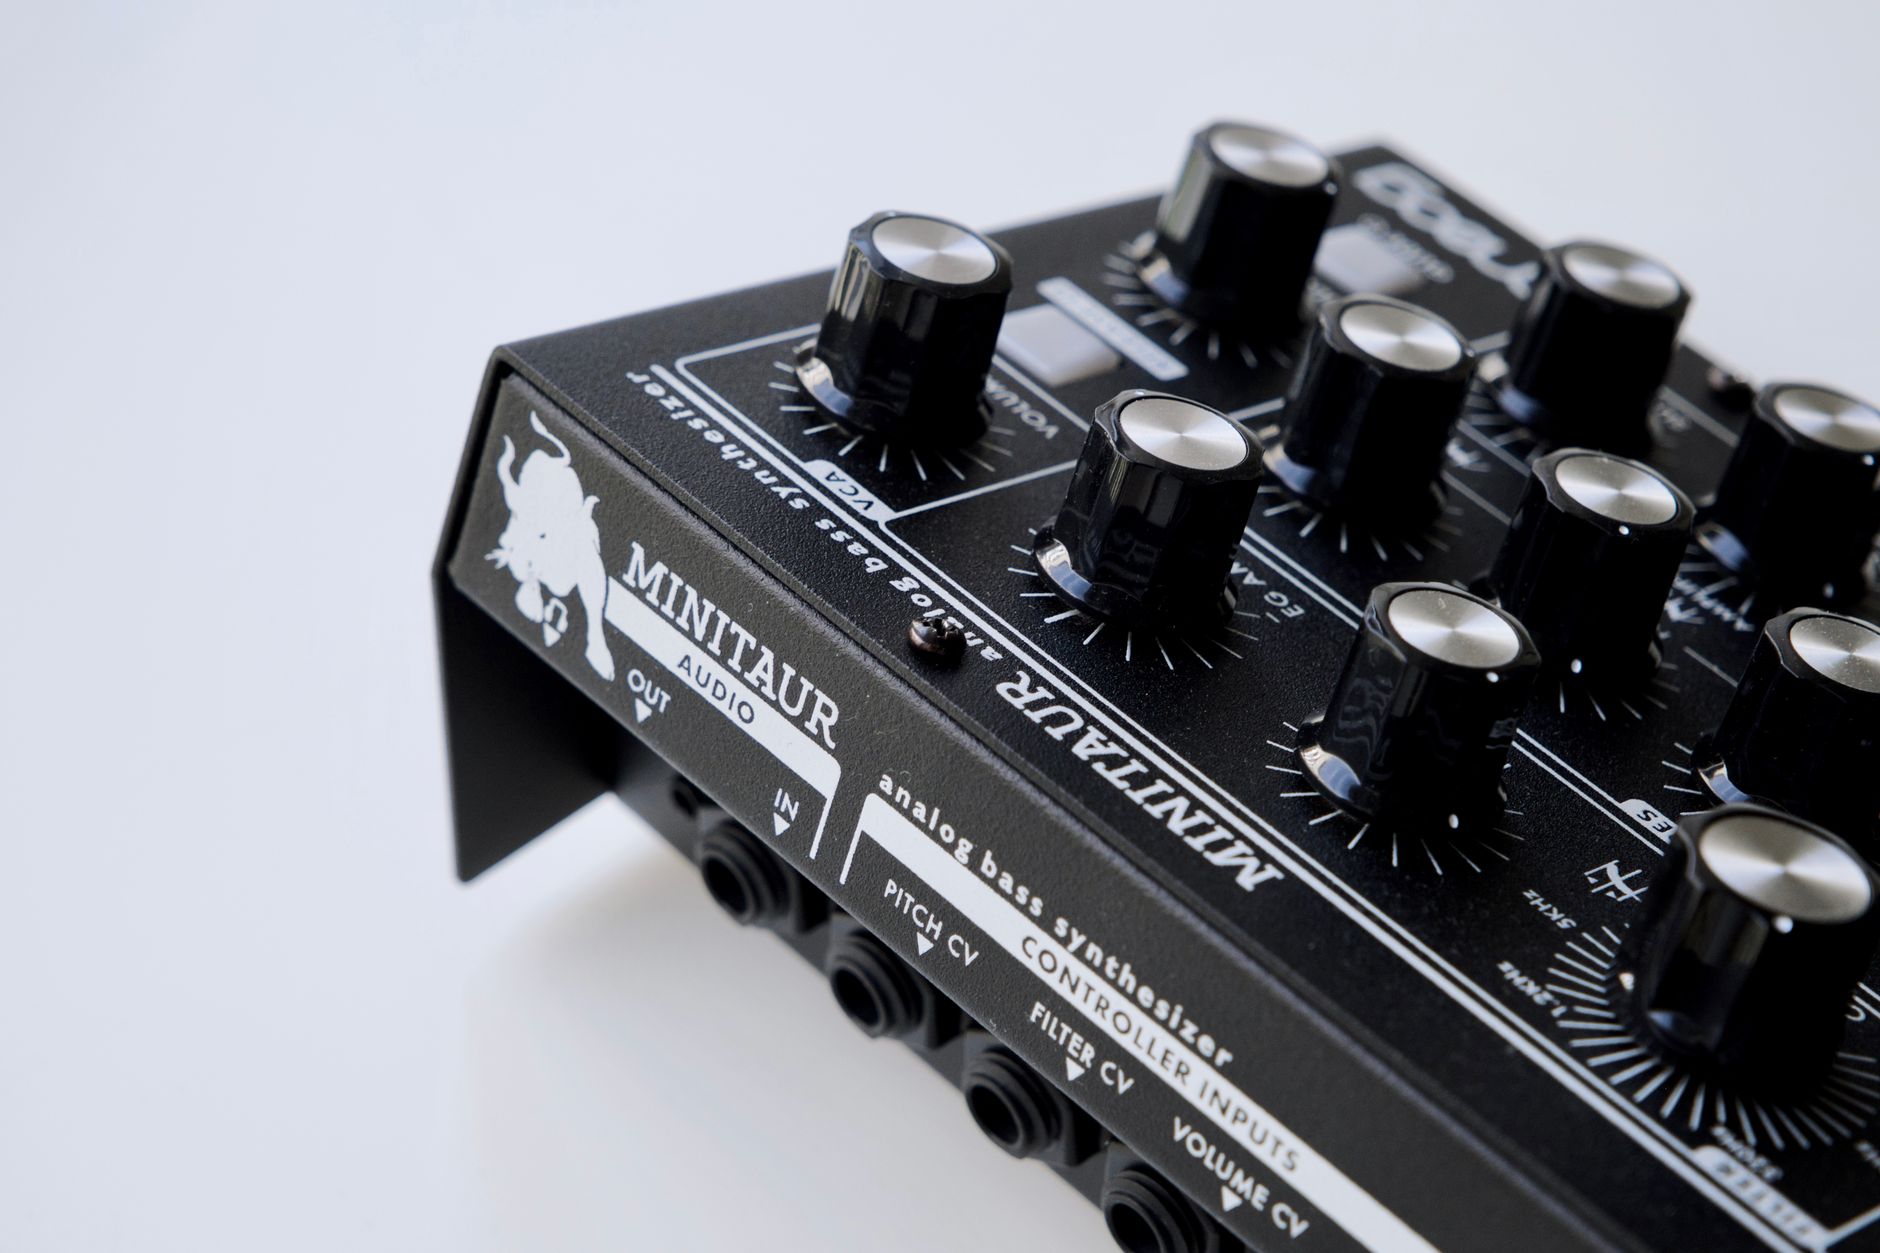
Myth: Hardware Kick Circuits Are the Only Serious Reference
Hardware drum circuits are worth studying, but copying the romance around them is not the same as understanding them. An Erica Synths Kick Drum module or an EDU DIY FM Drum project is useful because it shows the architecture: oscillator, decay, pitch modulation, drive, output. Diva can mirror that structure closely enough for production work.
A kick drum circuit design guide can teach you signal flow, but it will not mix your record. The practical move is to steal the timing logic, then use Diva’s recall and automation to make the kick fit the song.
Translate Circuit Blocks Into Diva Moves
Think in blocks. The oscillator is the drum head. The pitch envelope is the hit. The amp envelope is the shell length. Drive is the circuit being pushed. Filter shape is the damping.
- Oscillator pitch sets the final body note.
- Pitch envelope amount sets the knock.
- Pitch envelope decay sets the perceived size.
- Amp decay sets the tail.
- Drive adds harmonics for smaller speakers.
FM Ideas Work, but Keep Them Small
The Erica Synths EDU DIY FM Drum is a useful reminder that FM can create sharp attacks and metallic pressure. Inside Diva, do not overdo the equivalent movement. A tiny burst of modulation or a short filter snap is enough for aggression.
If the attack starts sounding like a laser zap, shorten the modulation decay or lower the amount. Club kicks need identity, but they still need to anchor the groove.
- Use hardware circuits as architecture lessons, not magic objects.
- Copy timing relationships before copying tone.
- Treat drive as harmonic support, not volume.
- Keep FM-style attack movement short and controlled.

Myth: A Generative Drum Sequencer Builds Better Kicks
A generative drum sequencer can find patterns. It cannot design the sound for you. The same goes for a homemade drum machine workflow: the sequencer may be inspiring, but the kick still has to survive tuning, phase, and mix pressure.
The useful role of sequencing is auditioning. A kick that sounds huge on one hit can feel lazy across a 16-bar phrase. Put it in motion before you decide it is finished.
Test the Kick in Phrases, Not Solos
Loop a 4-bar section with the bass, clap, and main groove running. Then mute the kick every fourth bar. If the track breathes when the kick disappears, the tail may be too long or too loud.
Use sidechain ducking after the kick exists, not while you are still designing it. A 3-5 dB duck on the bass with a 40 ms attack and 120 ms release can work, but it should not be a bandage for a badly timed kick tail.
The Five Tools That Actually Matter
You do not need a building custom kick drums inside Diva YouTube marathon to finish a usable patch. You need a short tool chain and the discipline to check what each stage is doing.
- u-he Diva: oscillator, pitch envelope, filter, amp envelope, drive.
- Melda MOscilloscope: first-cycle shape and phase behaviour.
- Voxengo SPAN: fundamental, harmonics, and muddy build-up.
- Ableton Drum Rack: controlled click layers and printing workflow.
- ADPTR MetricAB: level-matched references against released tracks.
That setup is boring in the best way. It tells you whether the kick works instead of flattering you while solo mode lies.
- Audition kicks inside a 4-bar or 8-bar groove.
- Use generative tools for pattern pressure, not sound design decisions.
- Print the final kick when the envelope and phase are right.
- Sidechain after design, not as a rescue move.
| Tool | Best Use | What to Check | My Take |
|---|---|---|---|
| u-he Diva | Synthesizing the body, pitch drop, tail, and drive | Pitch envelope decay, amp decay, output headroom | The main instrument, not a decorative layer |
| Melda MOscilloscope | Viewing the first cycles of the kick | Late attacks, polarity issues, uneven low waveforms | More useful than another EQ boost |
| Voxengo SPAN | Reading fundamental and harmonic balance | 43-55 Hz body, 180-300 Hz boxiness, click region | Keeps the room from lying to you |
| Ableton Drum Rack | Managing click layers and printing variations | Chain EQ, polarity, layer timing | Great for discipline if you commit the result |
| ADPTR MetricAB | Level-matched kick and mix references | Tail length, transient level, low-end relationship | Stops loudness from fooling your judgment |
Worth a deeper read: bass drum synthesis.
Questions producers actually ask
How can I build custom kick drums inside Diva?
Start with one oscillator, set amp sustain to zero, and use a fast pitch envelope that drops 12-24 semitones into the target note. Shape amp decay around 250-450 ms, add a tiny noise or filter click, then check the first 100 ms with an oscilloscope before adding layers.
How can I build my own kick drum from scratch?
Build three parts: a low oscillator for the body, a pitch drop for impact, and a short click for definition. Tune the body to the track, keep the tail short enough for the bass, and avoid heavy processing until the raw envelope already feels solid.
Should I place my kick drum mic inside or outside the drum?
For an acoustic kick, an inside mic gives more beater attack and less room, while an outside mic gives more shell weight and low bloom. For a synthesized Diva kick, copy the principle: use a short click for the inside-mic effect and a tuned low tail for the outside-mic weight.
How do I get a punchy kick drum sound?
Punch comes from timing, not just low end. Keep the pitch drop tight, often under 60 ms, make the click short, and leave space before the next bass note. Check phase if you layer. A louder sub tail can feel weaker if it masks the transient.
What does putting a hole in your kick drum do?
On an acoustic resonant head, a hole lets air escape, reduces some boom, and gives easier access for inside mic placement. In synth terms, it is like shortening decay and increasing attack focus. You get less uncontrolled resonance and more direct punch.
Is Diva better than a dedicated kick plugin?
Diva is better when you want a kick that belongs to the song, because you can shape oscillator behaviour, filter colour, and drive like a synth patch. A dedicated kick plugin is faster for preset-style results. For original production, I would take Diva plus proper metering.
What to remember
- Diva can build serious synthetic kicks if you treat it like a drum circuit.
- A useful kick has a click, a pitch fall, and a controlled tail.
- More sub rarely fixes weak punch; envelope timing usually does.
- Layering should add a specific frequency job, not hide a bad patch.
- Oscilloscopes and spectrum analysers catch problems your room may miss.
- Test every kick in a real 4-bar or 8-bar groove before printing.
Wrapping up
The myth worth dropping is that custom kick drums need exotic tools or endless sample layers. Diva already gives you the main ingredients: oscillator pitch, fast envelopes, filter colour, and drive. The hard part is making disciplined decisions. Tune the body. Time the pitch drop. Keep the click short. Check the waveform before you start boosting lows. Then run the kick against the bassline and let the arrangement expose what solo mode hides.
Try this in your next session: build one Diva kick from silence, print three decay variations, and choose the winner only after hearing it through a full 8-bar groove.
My Career makes videos from your own track and posts them for you, pitches your release to 34,000+ labels, playlists, radio stations, YouTube channels and blogs, puts it in every store and briefs you every morning. Free plan, no card, two minutes to set up.