Key takeaways
- Treat delay as an arrangement part, not leftover ambience.
- Filter inside the feedback path when repeats keep thickening.
- Sidechain or dynamically EQ delay from the dry source for clarity.
- Print important throws and edit them like audio fills.
- Check wide delays in mono before committing them to the mix.
- Use fewer returns with clearer jobs instead of stacking presets.
Creative delay effects get ugly when the repeats fight the kick, vocal center, or bass mono image, so the first move is not choosing a cooler plug-in, it is deciding what the delay is allowed to occupy.
I use creative delay effects as arrangement, groove, and depth tools before I treat them as ambience. A dotted eighth slap can make a topline lean forward. A filtered quarter-note throw can make a pre-drop feel twice as long. A modulated ping-pong can widen a synth without touching the dry channel. The mistake is printing a stereo wash and then asking FabFilter Pro-Q 4 or Soothe2 to rescue it later. Design the delay return like a part: timed, filtered, automated, gain-staged, and emotionally accountable.
Why creative delay effects need less low end than you think
Most delay advice says to high-pass the return. True, but incomplete. The useful question is where the repeat starts to behave like a second bass instrument. On club systems, that line arrives earlier than bedroom monitors suggest.
If the kick fundamental sits around 50 Hz and the bass has weight from 70 to 130 Hz, I usually cut delay returns at 180 to 260 Hz before I even audition feedback. For vocal throws, I might go higher, 300 to 450 Hz, because the repeat only needs intelligibility and motion.
Filter the feedback path, not only the return
Putting Pro-Q 4 after Valhalla Delay cleans the return, but every repeat still regenerates full-band inside the delay. That is why some creative delay effects keep thickening even after a sensible high-pass. Use a delay with feedback-path filtering, like Ableton Echo, Soundtoys EchoBoy, FabFilter Timeless 3, or PSP 608 MultiDelay.
My starting move: high-pass the feedback at 220 Hz, low-pass it at 6.5 kHz, then add a shallow 1.5 dB dip around 500 Hz if the return feels cardboardy. That keeps the echo alive without building a fog bank.
Mono below the crossover
Wide delay in the low mids sounds impressive on headphones and weak on a rig. If the return has stereo movement below 150 Hz, the mono fold can sag. Use mid/side EQ or a utility tool to collapse anything under 160 Hz on the delay bus.
This matters even for ghost production work where the client wants a huge topline demo. A wide demo that loses punch in mono makes the production feel cheaper, not bigger.
- High-pass most delay returns between 180 and 300 Hz.
- Filter inside the feedback loop when the plug-in allows it.
- Keep stereo movement out of the sub and low-mid foundation.
- Use a spectrum analyzer after the return, not only on the dry channel.
- Leave at least -6 dB headroom before master limiting if delays stack in drops.

Timing repeats against groove, not against the grid
Tempo sync is not timing. It is only arithmetic. A 1/8 delay at 124 BPM can either glue the groove or trip over the offbeat hat, depending on swing, transient length, and pre-delay perception.
House, UK garage, Afro house, melodic techno, and pop-EDM all punish lazy delay timing differently. The grid gives you a starting point. The groove tells you whether the repeat should arrive early, late, dotted, triplet, or barely audible.
Timing creative delay effects against the pocket
For creative delay effects on vocals, I often start with dotted eighths, then shift the delay time slightly shorter if the phrase feels behind the beat. Ableton Echo lets you unlink channels and nudge one side. Timeless 3 goes further with modulation per tap, which is useful when the dry hook is very locked.
A 1/16 triplet repeat can make a percussion loop feel more expensive, but it can also create fake swing that disagrees with the drums. If the drum groove already has MPC-style lag, a straight synced delay may sit better than a swung one.
Use DJ phrasing as an arrangement ruler
On CDJ-3000s or a Pioneer DDJ-FLX10, DJs think in 4-bar and 8-bar blocks because the crowd feels tension in blocks. Your delay throws should respect that. A throw on bar 7 beat 4 often reads as a cue into bar 9. A long feedback tail across a 16-bar drop entry usually reads as indecision.
Print the return and look at the waveform. If the repeat crosses the next downbeat and masks the kick transient, automate feedback down one beat earlier. Brutal, but it works.
- Use dotted eighths for forward vocal motion.
- Use quarter-note throws for call-and-response spaces.
- Try 1/16 triplets on percussion only when the groove can take it.
- Automate feedback one beat before a new section.
- Check delay tails across 4-bar and 8-bar phrase boundaries.
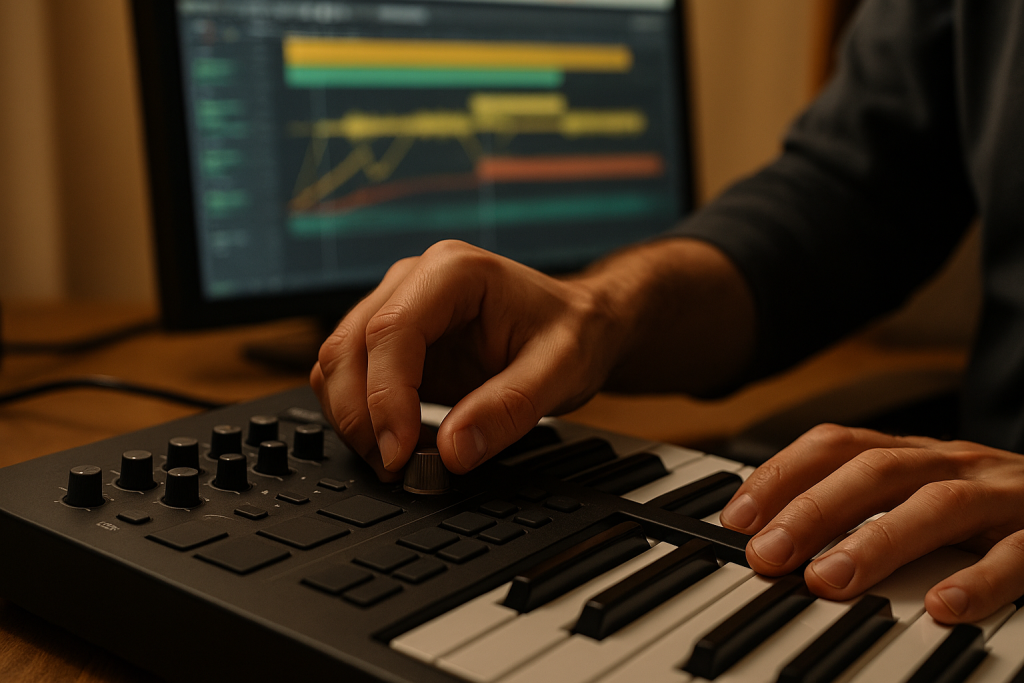
Make delay throws perform like edits
A good delay throw is not a wet version of the last word. It is an edit that happens to be made with feedback. Treat it like a fill, riser, reverse cymbal, or vocal chop.
The best throws are usually over-controlled. That sounds unromantic, but it is the reason they hit cleanly after mastering. Print them. Cut them. Fade them. Reverse them. Do not leave the whole hook feeding a 60 percent feedback delay unless you actually want soup.
Automate sends with hard intent
For vocal throws, I prefer send automation over wet/dry automation on the insert. Send automation lets the dry channel stay stable while one word hits a dedicated return. In Ableton Live, map the send to Push 3 and ride it like a dub mixer. In Logic, latch automation works fine if you clean the breakpoint mess afterward.
Set feedback lower than feels exciting while writing, maybe 25 to 38 percent, then automate a one-word spike to 55 percent. Creative delay effects feel more expensive when only the chosen syllable blooms.
Print, chop, and commit
Once the throw speaks, record the return to audio. Then edit like any other sample. Trim the first transient if it flams with the dry vocal. Fade the tail before the next snare. Reverse the final repeat into a downbeat if the section needs lift.
This is where most tutorials stay too polite. Leaving six live delay returns running until the final bounce is not flexible. It is avoidance. Print the one that works and move on.
- Automate the send, not the whole wet/dry balance.
- Spike feedback only on the word or hit that deserves it.
- Record the return to audio before detailed arrangement edits.
- Use fades to stop tails masking snares and downbeats.
- Name printed throws clearly so later mix revisions stay sane.
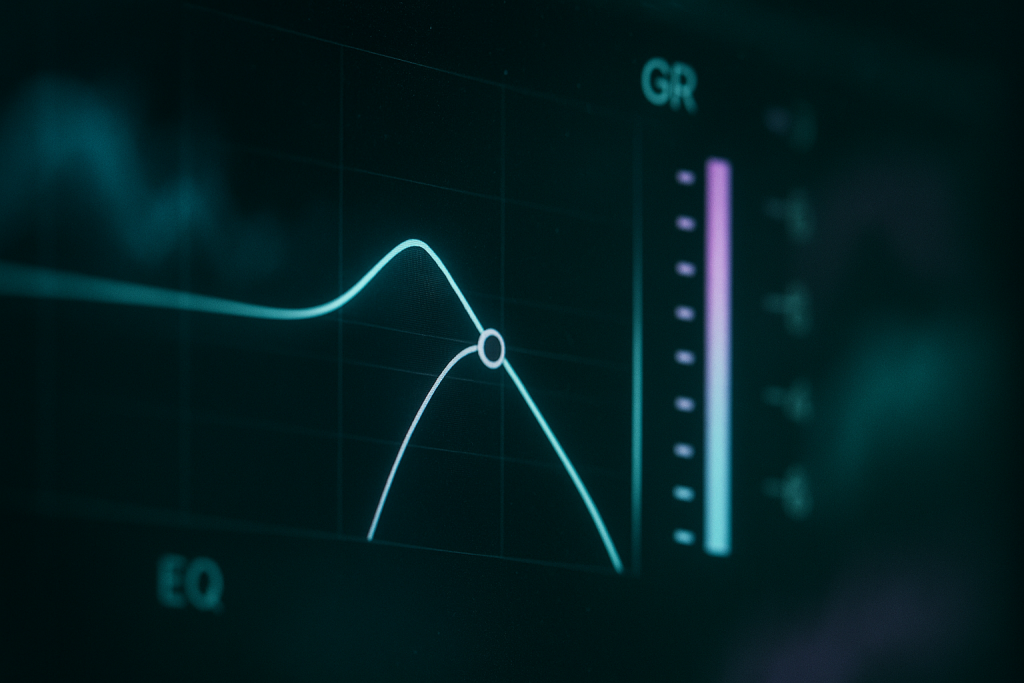
Sidechain and dynamic EQ decide whether delay feels loud
Turning a delay down is not the same as making it fit. If a repeat masks the lead vocal for 80 milliseconds, the listener hears clutter even when the return peaks quietly. Dynamics solve what static faders cannot.
For creative delay effects that need to sound loud without occupying the center, I usually build a return chain with ducking before tone shaping: delay, dynamic EQ or compressor keyed from the dry source, then saturation, then static EQ.
Ducking before the pretty stuff
Sidechain ducking after a lush saturator can pump in a cool way, but it also exaggerates harmonics. If the goal is clarity, duck before saturation. Use FabFilter Pro-C 2, Trackspacer, or Ableton Compressor keyed from the dry vocal. Fast attack, release around 120 to 220 ms, and 2 to 5 dB of gain reduction usually does it.
For synth delays, key the ducking from the lead bus rather than the whole mix. Keying from the kick is tempting, but it makes the delay breathe with the drums instead of the musical phrase.
Dynamic EQ beats broadband ducking on hooks
If the delay only fights the vocal presence range, broadband ducking is clumsy. Use Pro-Q 4 dynamic bands or Soothe2 on the return keyed by the dry vocal. Pull 2 to 4 dB around 2.5 kHz to 5 kHz when the vocal enters, and let the repeat stay wide around the edges.
This is a better trade than simply low-passing everything at 4 kHz. Dark delays can feel small. Controlled bright delays feel intentional.
- Duck delay returns from the dry source, not always from the kick.
- Try 120 to 220 ms release for vocal-led dance records.
- Use dynamic EQ when only the presence band is clashing.
- Place ducking before saturation when clarity matters.
- Avoid lookahead limiters on delay buses unless transients are genuinely spiking.

Use stereo delay width without wrecking translation
Width is addictive because headphones flatter it. Club systems judge it harder. Wide delay has to survive mono fold, limiter pressure, and the fact that many listeners hear one Bluetooth speaker from the kitchen counter.
I like wide creative delay effects, but I do not trust unexamined ping-pong presets. Some ping-pong algorithms flip phase relationships in ways that feel wide until the chorus collapses. Check correlation, then check the mono button, then decide.
Ping-pong is not a free stereo button
A ping-pong delay on a pluck can leave the center open for vocal and snare. Great. On a lead that already has chorus, Haas widening, and stereo unison, the same ping-pong can make the hook blurry. Pick one width mechanism as the main character.
If Serum has 7 voices of unison and the Ableton Hybrid Reverb return is already wide, keep the delay narrower. Use dual mono with different filters instead of hard left-right throws. One side at 3.8 kHz low-pass, the other at 5.5 kHz, same timing. Cleaner.
All-pass filters and modulation are not decoration
Some delay plug-ins use all-pass filters, diffusion networks, or modulation to smear repeats into a reverb-like tail. That can be perfect for pads and awful for drums. Schroeder-style diffusion gives density fast. Convolution-style spaces give realism but can steal transient focus.
When I want motion without blur, I use tiny modulation depth, often under 8 percent, and slow rates around 0.15 to 0.35 Hz. If the pitch wobble becomes the hook, fine. If not, keep it behind the groove.
- Check every wide delay in mono before printing.
- Use one main width source per lead part.
- Try dual mono filtering instead of hard ping-pong.
- Keep modulation depth small when pitch movement is not the hook.
- Watch the correlation meter during the loudest chorus, not only in the breakdown.

Build one serious delay return instead of ten average ones
Session bloat kills decisions. Ten half-finished delay returns usually mean the arrangement has not chosen its space. One serious return can do more if it has routing, automation, and a defined job.
For custom production and artist records, I often keep three delay returns max: a short slap, a tempo throw, and a wide texture. Everything else has to justify itself as audio. This forces creative delay effects to become parts, not background weather.
A return chain that survives the mix bus
Here is a chain I trust: Ableton Echo or EchoBoy, Pro-Q 4 for cleanup, Pro-C 2 keyed from the source, Decapitator or Saturn 2 for controlled grit, then a final utility for width and gain. Keep the return peaking around -18 to -12 dBFS while writing. It should not be slamming a bus compressor before the dry elements are stable.
If the master is heading toward -8 LUFS-I, check LUFS-S during dense hook moments. Delay tails can raise short-term loudness without adding punch, which makes the limiter work harder for no emotional payoff.
When to use insert delay instead
Insert delay is better when the delay is part of the sound design, not an effect send. A pluck patch through Timeless 3 with feedback modulation is one instrument. A vocal line feeding a shared throw return is a mix decision. Do not confuse those jobs.
I take a side here: for leads and vocals, sends win most of the time. They keep automation readable, make sidechain control easier, and stop the dry channel from changing character every time you chase a new throw.
- Keep a short slap, a tempo throw, and one wide texture return.
- Use insert delay when it defines the instrument patch.
- Use send delay when arrangement control matters.
- Gain-stage returns before they hit group compression.
- Print special moments once they earn a place.
| Technique | Best use | Risk | Starting setting |
|---|---|---|---|
| Filtered send delay | Vocal throws and synth echoes | Can feel dull if low-passed too hard | HPF 220 Hz, LPF 6.5 kHz |
| Ping-pong delay | Opening space around a centered hook | Mono collapse or smeared stereo image | 1/8 dotted, width checked in mono |
| Sidechained delay | Loud repeats under vocals or leads | Obvious pumping if release is wrong | 2-5 dB ducking, 120-220 ms release |
| Printed delay throw | Arrangement edits and transitions | Over-editing can sound stiff | One-word send spike, then audio fades |
| Modulated delay | Pads, plucks, atmospheric hooks | Pitch wobble distracts from melody | Depth under 8%, rate 0.15-0.35 Hz |
Further reading
- Ableton audio effects — Ableton's official manual documents Echo, Compressor, Hybrid Reverb, and other devices referenced in the article.
- Sound On Sound delay techniques — Sound On Sound is a long-running technical recording publication with detailed engineering coverage.
Frequently asked questions
How do I use creative delay effects without muddying the mix?
High-pass the delay return, but also filter the feedback path if your plug-in allows it. Start around 220 Hz for synths and 300 Hz for vocals. Then use sidechain ducking or dynamic EQ from the dry source so the repeat moves out of the way when the main part plays.
Should delay go before or after reverb?
For clean throws, delay before a small reverb can place the repeats in a shared space. For rhythmic clarity, keep delay and reverb on separate sends. I rarely put a big reverb after a busy delay unless the part is meant to blur into the background.
What delay time works best for vocals?
Dotted eighths are a strong starting point for dance vocals because they create forward motion without copying the groove exactly. Quarter notes work better for obvious call-and-response throws. Always test the repeat against the next downbeat and trim the tail if it masks the kick or first word.
Is ping-pong delay good for club tracks?
Yes, but only after mono checking. Ping-pong delay can keep the center open, which helps the kick, bass, vocal, and snare stay focused. The problem is over-wide presets on already-wide synths. Use correlation metering and narrow the return if the chorus loses weight.
Why do my delay throws sound messy after mastering?
Master limiting raises quiet tails and makes messy feedback more obvious. Print your throws, fade them before section changes, and leave headroom before the limiter. If the master target is loud, check short-term loudness during the chorus because delay can raise LUFS-S without adding impact.
What are the best plugins for creative delay work?
Ableton Echo is fast and musical, Soundtoys EchoBoy is still great for character, FabFilter Timeless 3 is deep for modulation, and Valhalla Delay is excellent for color. The best choice depends on whether you need clean routing, vintage tone, diffusion, or detailed feedback-path control.
Conclusion
creative delay effects work when the repeat has a job: answer the vocal, widen the hook, pull tension into a drop, or make a percussion loop lean harder. The weak version is a preset left running because silence felt awkward.
Build one return properly. Filter the feedback path, duck it from the dry source, automate the send, print the moments that matter, and check the result through mono and a limiter. That process sounds less romantic than twisting a feedback knob for ten minutes, but it leaves you with records that translate. Try it in your next session: pick one word, one synth stab, or one drum fill, and make the delay earn its bar.
Creative delay effects — Quick Recap
The fastest way to lock in creative delay effects is to internalise the workflow above and repeat it on every project. Start small: pick one technique from this creative delay effects guide, apply it to your next session, and audit the result against a reference track.
- Treat delay as an arrangement part, not leftover ambience.
- Filter inside the feedback path when repeats keep thickening.
- Sidechain or dynamically EQ delay from the dry source for clarity.
- Print important throws and edit them like audio fills.
Treat creative delay effects as a habit, not a one-off — the producers who consistently nail creative delay effects are the ones who run the same checks on every track. That’s the difference between a clean, club-ready master and a track that sounds great at home but falls apart on a real system.
In a real studio session, creative delay effects comes down to the order in which you make decisions: reference first, gain stage second, then the creative work. Producers who treat creative delay effects as a checklist instead of a vibe end up shipping more tracks.
Most producers and DJs undervalue creative delay effects because the wins are invisible until the track plays back on a real system. Bake creative delay effects into your template and the next ten projects benefit automatically.
When you struggle with creative delay effects, the fix is rarely a new plugin. Loop a problem section, A/B against a reference, and isolate which element is breaking your creative delay effects.
Treat creative delay effects as a craft, not a chore. The producers releasing on the biggest labels lock creative delay effects in early so they can spend their energy on melody and arrangement instead of fighting the mix.
Document your creative delay effects process — even a short note in the project file. Future-you will rebuild the same creative delay effects win in half the time.
If creative delay effects sounds great in headphones but bad in the car, you have a translation problem, not a creative one. The creative delay effects tweaks above are designed to survive every system.
Schedule a recurring creative delay effects pass on every project: same checklist, same reference tracks. Repeating creative delay effects drills is what separates a consistent producer from a lucky one.
Ultimately, creative delay effects is a craft you compound. Every project you finish raises the floor of your next attempt at creative delay effects, which is why shipping consistently matters more than chasing perfection.
My Career makes videos from your own track and posts them for you, pitches your release to 34,000+ labels, playlists, radio stations, YouTube channels and blogs, puts it in every store and briefs you every morning. Free plan, no card, two minutes to set up.