 By Emma Carter · August 17, 2026
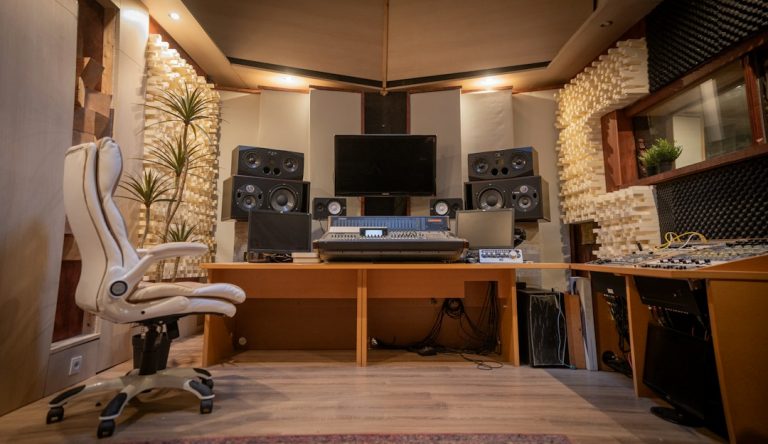
Change pitch in GarageBand saved a 124 BPM vocal demo for me at 1:40 a.m., two hours before a house topline had to leave the studio. The singer had cut a great hook, but the beat felt heavier in A minor than the original B minor sketch. We had a Neumann KH 120 pair on the desk, a cheap USB mic take in the session, and no time to move the song into Logic.
I had to change pitch in GarageBand without turning the vocal into shiny plastic or making the percussion loop smear. The fix was not one magic button. It was project key first, MIDI second, audio in small semitone moves, and pitch correction only where the vocal actually needed help. That session is the backbone here, because GarageBand can do more than beginners think, but it punishes lazy transposing fast.
Change Pitch in GarageBand Starts With Project Key
The first mistake I see is opening the editor and dragging pitch controls before checking the song key. That is how good loops start sounding wrong for reasons that are hard to name. On that late-night topline, the kick, bass and vocal all felt connected once the project key matched the musical target.
GarageBand treats key as more than a label. Apple Loops can follow it, pitch correction can lock to it, and MIDI notes make more sense once the key signature stops lying to you.
Change Pitch in GarageBand for a Whole Song
For a whole-song move, I start with the project key in the LCD area at the top. If the track was written in B minor and the singer sits better in A minor, change the project key to A minor before touching regions. Then listen to what follows automatically and what does not.
Apple Loops usually respond well. Recorded audio may not. MIDI regions might keep their notes unless you transpose them yourself. That is normal GarageBand behaviour, not a broken session.
The 30-Second Key Check I Use
Before any pitch move, loop the chorus and play the root note on Musical Typing or a MIDI keyboard. Hold A under an A minor chorus, then hold B under the old key. The one that makes the vocal relax is usually the right call.
- Set the project key before tuning vocals.
- Solo the bass and vocal together, not the vocal alone.
- Check the hook on small speakers or headphones after transposing.
- Leave at least -6 dB headroom before pitch correction, because tuned peaks can jump.
- Use the project key as the session map, not decoration.
- Move from B minor to A minor with intent, not guesswork.
- Check Apple Loops after changing key because some follow better than others.
- Confirm the bass root against the vocal before exporting.
- Save a duplicate project before large pitch moves.

Vocals: Pitch Correction Without Plastic Shine
The vocal from that session was not badly sung. It was just tense in the original key. That matters, because GarageBand pitch correction is a blunt tool compared with note-by-note editors. Used lightly, it tightens a hook. Slammed at 100, it can make a human take sound like a frozen ringtone.
The built-in Pitch Correction control lives in the Smart Controls area on vocal tracks. It is simple, which is both its strength and its trap.
Start With the Pitch Correction Slider
Select the vocal region, open Smart Controls, and turn on Pitch Correction. I usually start around 25 to 35 for sung verses and 45 to 60 for a modern pop or EDM hook. If the song key is right, enable Limit to Key. If the key is wrong, that button will confidently pull notes into the wrong places.
For the 124 BPM hook, 38 gave the best trade-off. The held notes tightened, but the little scoops into phrases stayed alive.
When an AU Plugin Makes Sense
If the singer needs a harder tuned sound, I would rather use a dedicated Audio Unit than force GarageBand’s slider to do a job it dislikes. MAutoPitch can work for free if installed as an AU plugin. Auto-Tune Access is a paid option with a faster, more obvious effect.
Use retune speed carefully. Fast settings flatter short club hooks. They can ruin exposed verses. I print a rough bounce, walk away for five minutes, then listen for consonants turning weird.
- 25 to 35: natural tightening for verses.
- 45 to 60: more obvious pop or dance correction.
- 70 to 100: special effect territory, not invisible repair.
- Limit to Key only after the project key is correct.
- Duplicate the vocal before heavy tuning.
Samples and Audio Regions: Transpose Before You Stretch
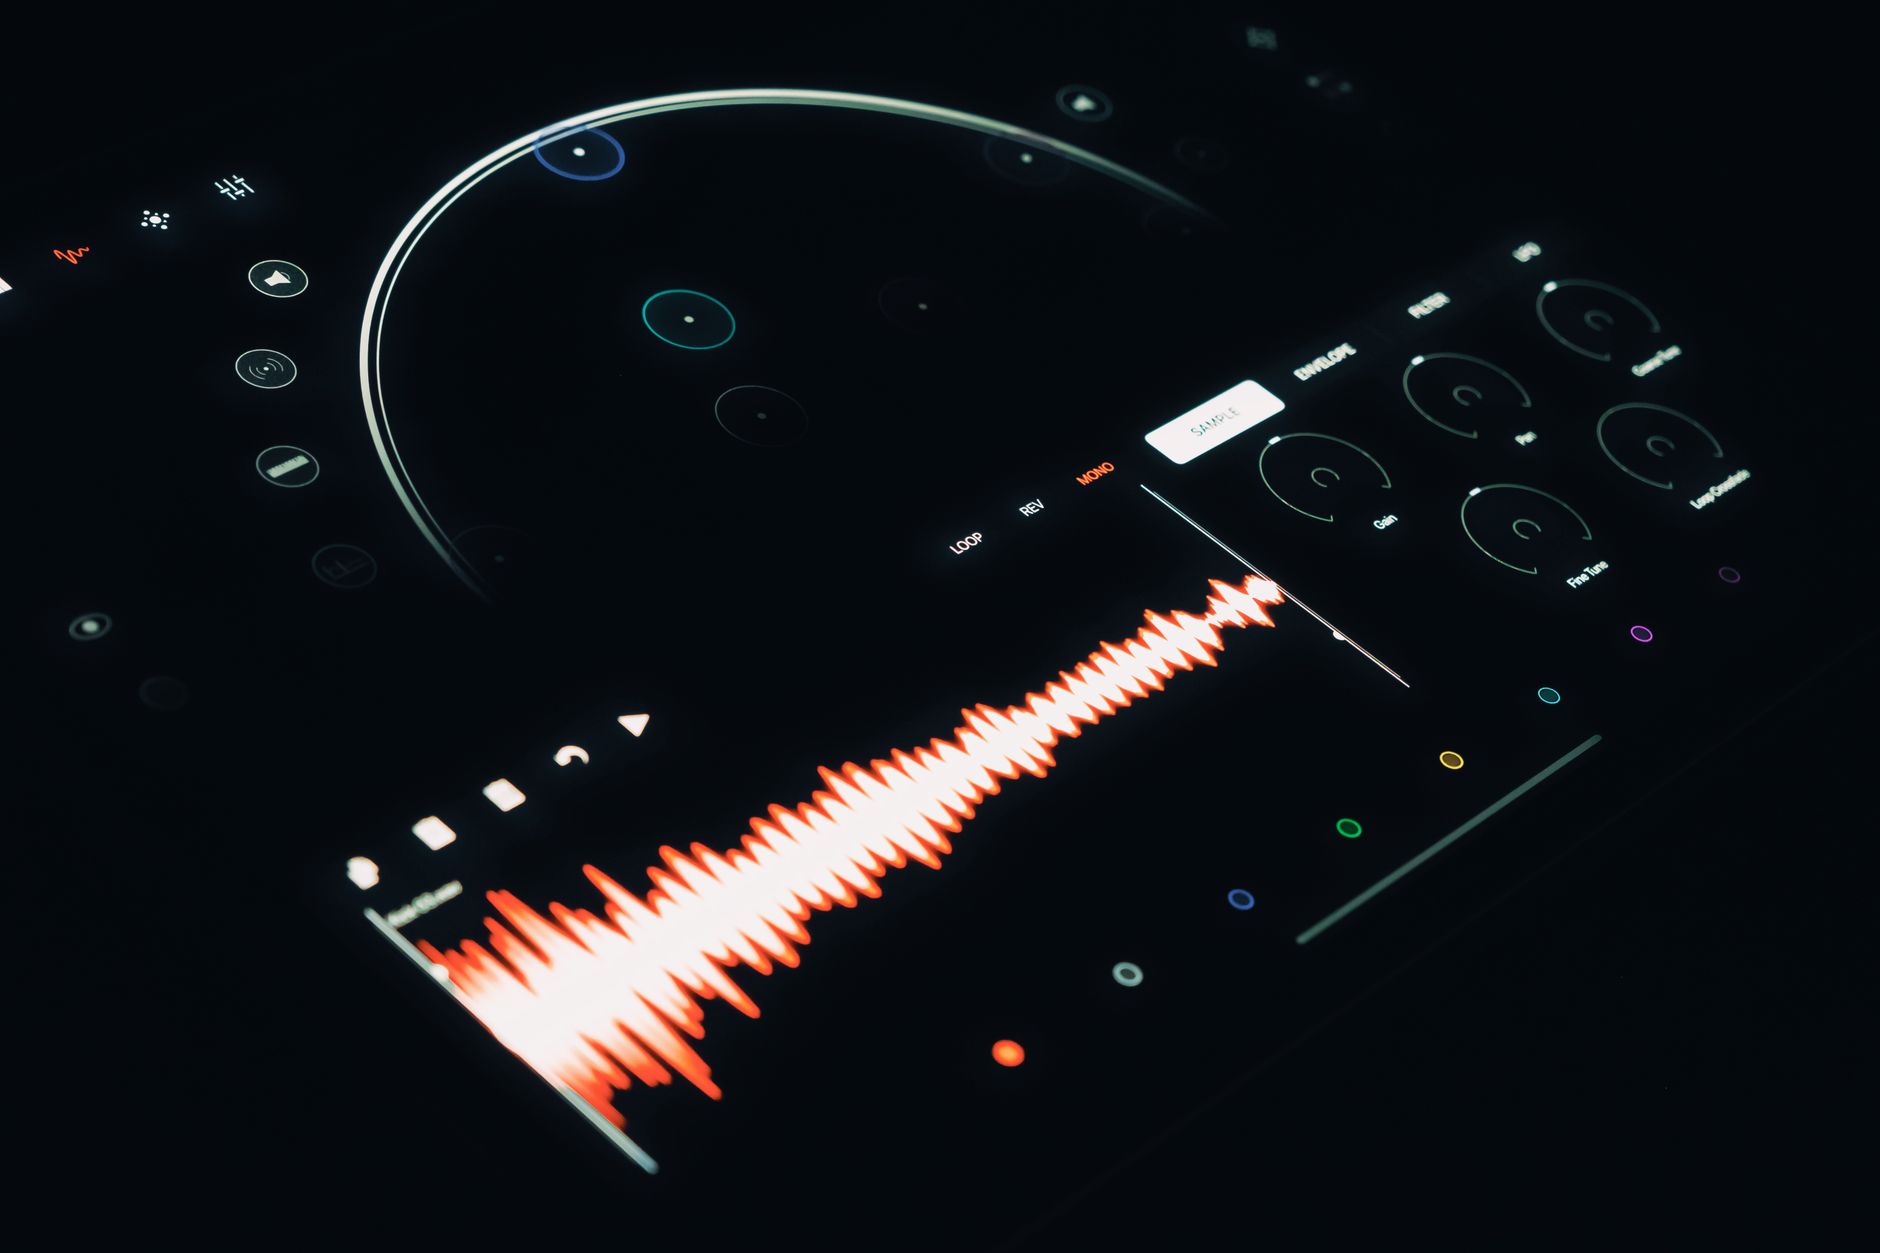
Samples are where beginners usually hear the ugly side first. A two-semitone lift on a clean piano stab can work. A seven-semitone lift on a full drum loop often sounds like foil being crumpled in a tunnel. GarageBand will try, but physics still gets a vote.
When I change pitch in GarageBand on samples, I separate musical material from drums before doing anything dramatic.
Use Region Transpose for Musical Audio
Click the audio region, open the editor, and look for the region pitch or transpose control. Move in semitones first. Try +1, +2, -1 or -2 before chasing larger jumps. A vocal chop can usually survive three semitones. A full mix sample often cannot.
If the sample also needs tempo matching, do pitch first, then time. Big time-stretch plus big pitch-shift is where the watery artifacts arrive.
AU Pitch for Special Moves
Apple’s AU Pitch effect can sit on a track when you want a creative shift rather than permanent region editing. I use it for risers, octave-down ad-libs and pitched delays. Set it in cents for fine nudges or semitones for obvious movement.
For a vocal chop that feels sharp against the bass, try -100 cents before moving a full semitone. Small moves often solve the clash without changing the identity of the sample.
- Transpose melodic samples in semitones.
- Use cents for tiny tuning fixes, such as -20 or +35.
- Avoid pitching full drum loops more than two semitones.
- Bounce a duplicate before committing destructive edits.
- Check mono after heavy sample pitching.

MIDI Parts: Move Notes, Not Audio
MIDI is the cleanest part of the whole job. If the bassline is MIDI, do not bounce it to audio and then pitch-shift the recording. Move the notes. That keeps the synth tone, envelopes and timing intact.
On the rushed house demo, the bass was a simple GarageBand synth patch. Moving it from B to A took seconds, and it sounded cleaner than any audio transpose would have.
Transpose MIDI Regions Fast
Select the MIDI region, open the Piano Roll, select all notes, then drag them up or down. B to A is down two semitones. C to D is up two. If the part has passing notes, listen after the move because some notes may need manual correction to stay in the scale.
For chord parts, I prefer moving the whole region first, then fixing individual notes. It keeps the rhythm intact while you focus on harmony.
Octaves Matter More Than Beginners Think
A MIDI part can be technically correct and still sit badly. After transposing down, a bass may lose bite. Try moving only the top note of a chord up an octave, or push the bass pattern up 12 semitones for a thinner pre-chorus variation.
- Shift semitones for key changes.
- Shift 12 semitones for octave moves.
- Keep kick and sub from fighting on the same low note.
- Use velocity edits after transposing, because the new register may feel louder or softer.
- Edit MIDI notes before reaching for pitch effects.
- Use -2 semitones for B to A.
- Use +12 or -12 for octave changes.
- Check chord inversions after transposing.
- Rebalance velocity when the register changes.

Apple Loops: Key Matching Without Guesswork
Apple Loops are the friendliest part of GarageBand until they are not. The green MIDI loops are flexible. The blue audio loops can follow tempo and key, but they still have a recorded sound hiding underneath. Push them too far and the polish falls off.
I treat Apple Loops like session players. They will follow the chart, but they sound best when the chart is reasonable.
Let Loops Follow the Project First
Set the project key, then audition loops from the Loop Browser. GarageBand previews them against your session, which saves time. If a guitar loop was recorded in C but your track is in A minor, it may still work because A minor shares the same notes as C major.
That relative-key trick solves a lot of beginner confusion. A loop can be labelled one way and still fit another key if the scale relationship makes sense.
When to Stop Forcing a Loop
If a loop sounds grainy, phasey or emotionally wrong after the project key change, replace it. Do not spend half an hour rescuing a loop that never belonged. I give loops three tries: original octave, one octave up, one octave down. If none lands, I move on.
That rule has saved more sessions than any plugin. The right part usually sounds right quickly.
- Green Apple Loops are usually safer for key changes.
- Blue audio loops can work, but listen for grain and smear.
- Relative keys can make labelled loops fit unexpected sessions.
- Try octave moves before heavy semitone moves.
- Replace bad fits instead of polishing artifacts.

Artifacts, Drift, and the Take You Should Record Again
There is a point where pitch work becomes denial. I have hit it on vocals, sax samples, guitar loops and badly labelled packs. The screen says the region moved. The monitors say the emotion left the room.
GarageBand artifacts usually show up as warble, metallic edges, blurry consonants, phasey cymbals or low-end wobble. Once you hear those, stop adding more processing and trace the cause.
Common Artifacts and Fast Fixes
Warble often means the pitch shift is too large. Metallic edges usually mean aggressive correction. Blurry timing can come from stretching and pitching the same region too far. For vocals, split the region and process only the bad phrase rather than the whole take.
On the late-night demo, one word in the hook kept grabbing wrong. The fix was not more correction. I cut that word to its own region, lowered correction slightly, then automated volume by about -1.5 dB so it stopped jumping forward.
My Re-record Rule
If I need more than four semitones on a lead vocal, I re-record unless the sound is meant to be artificial. If a full musical sample needs more than five semitones, I find another sample. For kick drums, I tune by ear against the bass, but I rarely pitch more than one or two semitones.
To change pitch in GarageBand well, you need that line. Tools are useful. Taste decides when they stop helping.
- Warble means the shift is probably too large.
- Metallic vocals often come from too much correction.
- Phasey cymbals usually mean the drum loop has been pushed too far.
- Split phrases instead of tuning entire vocals aggressively.
- Re-record lead parts when the fix costs more than the performance.
| Tool | Best for | Safe starting point | Watch out for |
|---|---|---|---|
| Project Key | Whole-session direction and Apple Loops | Set before editing regions | Recorded audio may not follow cleanly |
| Pitch Correction | Tightening lead vocals and harmonies | 25 to 60 depending on style | Wrong key creates wrong notes |
| Region Transpose | Samples, chops and melodic audio | +/-1 to 3 semitones | Large moves create warble |
| Piano Roll | MIDI basslines, chords and melodies | +/-2 semitones for common key shifts | Chord notes may need manual fixes |
| AU Pitch | Creative shifts and fine cents tuning | -100 to +100 cents for small nudges | Track-wide effects can confuse the mix |
| MAutoPitch or Auto-Tune Access | More obvious vocal tuning | Medium correction, matched key | Fast retune can flatten emotion |
Worth a deeper read: Apple pitch correction.
Common questions
How do I change pitch in GarageBand without changing speed?
Use the region transpose or pitch controls rather than dragging the region length. GarageBand can change pitch while keeping timing, but keep the move modest. One to three semitones is usually safe for musical audio. Larger shifts can create warble, especially on full loops or exposed vocals.
Can GarageBand change the key of a whole song?
Yes, but the result depends on the material. Set the project key first, then check Apple Loops, MIDI and recorded audio separately. MIDI can be transposed cleanly. Apple Loops often follow well. Recorded vocals and samples may need region-level pitch changes or a new take.
Where is pitch correction in GarageBand?
Select the vocal track, open Smart Controls, and look for Pitch Correction. Set the project key first, then use Limit to Key if the vocal should lock to that scale. Start around 25 to 35 for natural correction and raise it only if the style needs a more obvious tuned sound.
Why does my vocal sound robotic after pitch correction?
The correction amount is probably too high, the project key may be wrong, or the vocal has slides that the tuner is fighting. Lower the correction slider, check the key, and split problem phrases into separate regions. A little manual editing often sounds better than tuning the whole take harder.
Can I transpose MIDI in GarageBand?
Yes. Open the Piano Roll, select the notes, and drag them up or down by semitones. For example, move B to A by dragging notes down two semitones. MIDI transposition is cleaner than pitching audio because the instrument generates the notes again in the new key.
Do Apple Loops automatically match my project key?
Many Apple Loops follow the project key, especially when previewed from the Loop Browser. Green MIDI loops are usually more flexible than blue audio loops. If an audio loop sounds grainy or phasey after a key change, choose another loop rather than forcing it.
Final thoughts
The best way to change pitch in GarageBand is to treat every sound by its source. MIDI wants note edits. Apple Loops want the right project key. Vocals want gentle correction and honest listening. Samples want small moves, not miracles.
That 124 BPM session shipped because we stopped trying to fix everything with one control. We moved the song key, transposed the MIDI bass, nudged the vocal with Pitch Correction, and replaced one loop that complained too loudly. Try the same order in your next session: key first, MIDI second, audio third, tuning last. Your track will tell you where the real fix is.
My Career makes videos from your own track and posts them for you, pitches your release to 34,000+ labels, playlists, radio stations, YouTube channels and blogs, puts it in every store and briefs you every morning. Free plan, no card, two minutes to set up.