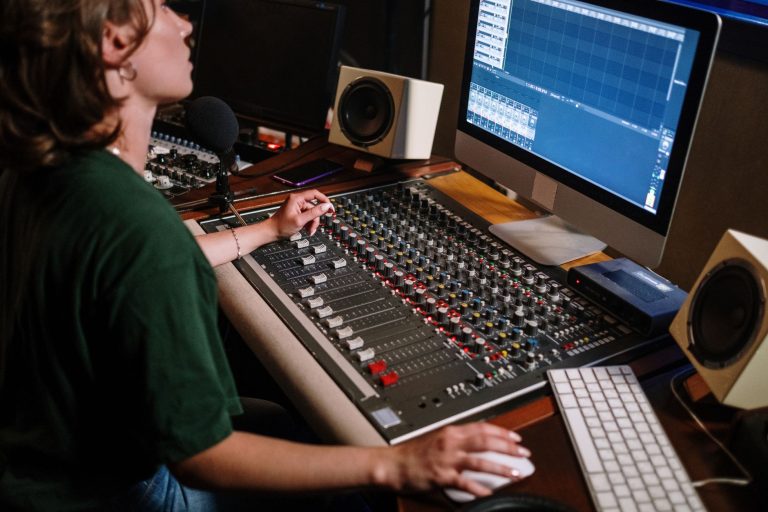
Key takeaways
- A small Ableton template beats a huge one if it helps you start faster.
- Controllers help when they reduce mouse work, not when they add another setup chore.
- Collections and Drum Rack matter because fast sound choice protects the idea.
- EQ Eight, Utility, Compressor, and saved racks are enough for serious early progress.
- Arrangement markers and reference tracks turn loops into finished records.
- Clean export folders are part of professional music production, not admin fluff.
Ableton workflow optimization is really about removing tiny decisions before they steal your focus. ableton workflow optimization sounds technical, but the idea is simple: set up Ableton Live, a DAW (digital audio workstation, meaning the software where you record, arrange, and mix music), so the boring parts stay out of your way.
For an aspiring DJ or bedroom producer, the usual problem is not talent. It is friction. You open Live, hunt for a kick, make eight empty MIDI tracks, forget your sidechain routing, then lose the mood. The tools below are the ones I would set up first on a beginner rig: Ableton Live 12, Push 3 if you have it, Drum Rack, Simpler, Utility, EQ Eight, Audio Effect Rack, FabFilter Pro-Q 4, and a clean export folder. No mystery. Just a session that behaves like a tidy workbench.
Where ableton workflow optimization Starts: The Template
Think of a template like a kitchen prep station. The knives, pans, salt, and chopping board are already where your hands expect them. You still cook the meal, but you are not opening every drawer first.
An Ableton Live template is a saved starter session with tracks, routing, colours, returns, and basic devices already loaded. For ableton workflow optimization, this is the first tool I would fix, before buying a single plugin.
Ableton workflow optimization starts with one home base
Open a blank Live 12 set and build a simple home base. Add eight tracks: Kick, Drums, Bass, Chords, Lead, Vocal, FX, and Reference. A reference track is a finished song you compare against so your mix does not drift into fantasy. Set the master fader so peaks land around -6 dB. Headroom means spare volume space before clipping, which is ugly digital distortion.
Save this as your default set. In Live, go to Preferences, File Folder, then save the current set as the default. That one move can remove five minutes of setup from every session.
What to load before you write
Put Utility on every group. Utility is Ableton’s simple gain, width, and phase tool. Add EQ Eight on your main music groups, but leave it flat. Add a basic sidechain compressor on the Bass group, keyed from the Kick. Sidechain ducking means one sound gets turned down briefly when another sound hits, like bass stepping aside when the kick speaks.
- Kick track routed straight to the Drum group
- Bass group with Compressor sidechain ready
- Two return tracks: short reverb and eighth-note delay
- Reference track muted and routed away from the master processing
- Use consistent track names and colours every time.
- Keep the default template under 12 tracks at first.
- Load only devices you understand enough to adjust.
- Leave -6 dB of master headroom before exporting.
- Save genre-specific templates only after finishing several tracks.
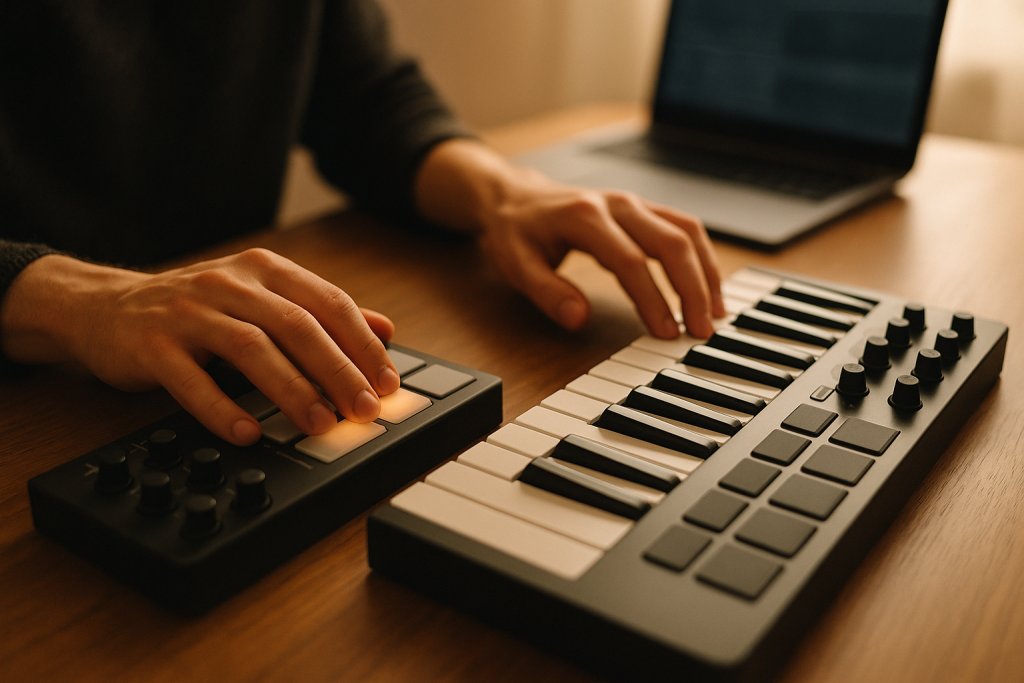
Push 3 and Controllers: Hands First, Mouse Second
A controller is like the steering wheel in a car. It does not replace the engine, but it lets your body react faster than a mouse click. That matters when a bassline idea is still fresh.
Ableton Push 3, Novation Launchkey 49, Akai MPK Mini, and even a Pioneer DDJ-FLX10 can all help. For ableton workflow optimization, the goal is not owning expensive hardware. The goal is reducing the gap between hearing an idea and recording it.
Use Session View like a sketchpad
Session View is Ableton’s vertical clip launcher. A clip is a small block of MIDI notes or audio. Use it to test 4-bar phrases without committing to a full arrangement. A 4-bar phrase is a short musical loop that usually feels complete in dance music.
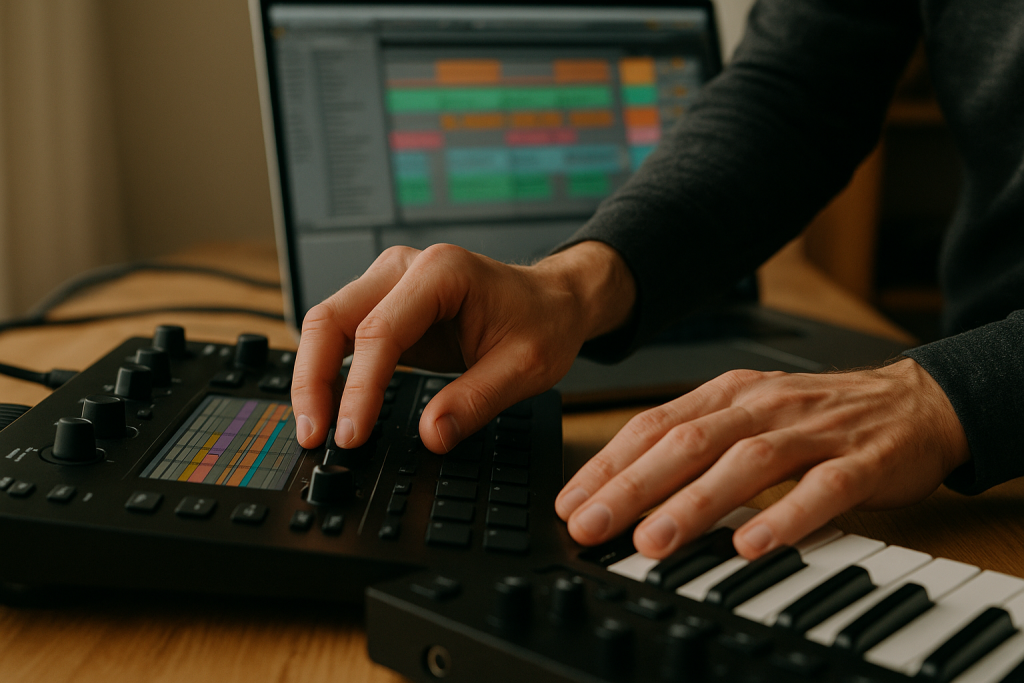
Push 3 is strong here because you can record drums, bass, and chords without staring at the screen. Set quantisation to 1/16 notes if your timing is loose. Quantisation means Live nudges recorded notes onto a rhythmic grid.
Map the controls you touch daily
Do not map 64 knobs on day one. Map eight. Filter cutoff, reverb send, delay send, bass volume, lead volume, drum group volume, sidechain amount, and master Utility gain. MIDI mapping means assigning a hardware knob or fader to a software control.
This is where ableton workflow optimization gets physical. When the same knob always controls the same job, your hands learn the room.
- Use pads for drums before drawing every hit with a mouse.
- Keep one octave of keys free for bass sketches.
- Map only controls you use in most sessions.
- Label your controller with removable tape if needed.
- Record imperfect takes, then edit after the idea is down.

Collections, Samples, and Drum Rack Without the Mess
Your sample library is like a record crate before a DJ set. If the crate is sorted, you can find the right tool under pressure. If it is a pile, you audition 70 claps and forget why you opened the folder.
Collections in Ableton are coloured browser labels. They let you tag plugins, presets, samples, and racks. For ableton workflow optimization, Collections are boring in the best way.
Build five colour labels only
Too many labels become another mess. Start with Drums, Bass, Synths, Mixing, and Favourites. Put Drum Rack under Drums. Drum Rack is Ableton’s pad-based drum sampler, where each pad can hold a kick, snare, clap, hat, or percussion hit.
Put Simpler under Favourites. Simpler is Ableton’s one-sample instrument. It is ideal for chopping a vocal stab, pitching a one-shot bass, or turning a short noise into a riser.
Stop collecting sounds you never use
Pick one main drum folder for each genre. For house, I keep a small kit with 909-style kicks, tight claps, closed hats, open hats, rides, and 20 percussion hits. That is plenty. Ableton workflow optimization improves when the good sounds are close and the average sounds are archived.
- Delete duplicate kicks that sound almost identical.
- Keep 10 favourite claps, not 200 maybes.
- Save finished Drum Racks from tracks you actually liked.
- Make a Favourites Collection for proven sounds only.
- Use Drum Rack presets built from finished sessions.
- Name sample folders by job, not by random pack title.
- Keep vocals, drums, and FX in separate parent folders.
- Archive weak samples instead of scrolling past them forever.
Racks, EQ Eight, and Utility as Your Basic Tool Belt
An Audio Effect Rack is like a small guitar pedalboard. You choose the pedals, place them in order, and save the chain so it is ready next time. In Ableton, a rack can hold multiple effects and macro knobs. A macro knob controls several settings at once.
This is where ableton workflow optimization moves from tidy folders into actual sound shaping. You want a few dependable chains, not 40 mystery presets.
Make a beginner vocal clean-up rack
Start with EQ Eight, then Compressor, then De-Esser if you own one. EQ, or equalisation, changes the balance of frequencies. Cut low rumble with a high-pass filter around 80 Hz on most vocals. A high-pass filter lets highs pass and reduces lows.
Compression is an automatic volume rider. It turns loud moments down so the performance feels steadier. Set Ableton Compressor around 3:1 ratio, medium attack, and adjust threshold until you see 2 to 4 dB of gain reduction.
Use paid plugins when they save time
FabFilter Pro-Q 4 is faster than EQ Eight for surgical work because the analyser and dynamic EQ are clearer. Dynamic EQ means a frequency cut reacts only when that frequency gets too loud. Soothe2 can tame harsh resonances on vocals and synths, but do not use it to avoid choosing better sounds.
For ableton workflow optimization, paid tools earn their place only if they reduce repeated work. If a plugin makes you tweak longer, it is not helping yet.
- Save one vocal rack, one bass rack, and one drum bus rack.
- Use Utility for fast gain matching before judging plugins.
- Cut bass below 30 Hz on non-bass tracks.
- Try mid/side EQ only after the basic balance works.
- Rename rack macros with plain jobs like Brightness or Width.
Arrangement View and Reference Tracks for Finishing
Arrangement View is like a train map. The intro, breakdown, drop, second break, and outro are stops. If you cannot see the route, you keep looping the same station.
Arrangement View is Ableton’s horizontal timeline, where a sketch becomes a finished song. For ableton workflow optimization, switching from Session View to Arrangement View early is one of the best habits a beginner can build.
Copy a structure before you invent one
Drag in a reference track close to your style. If you are making melodic house, use a track with a similar tempo, not a random festival banger. Add locators at every major section. Locators are timeline markers. Label them Intro, Groove, Break, Drop, Break 2, Drop 2, Outro.
Now mute the reference and build under those markers. This is not stealing. It is learning the grammar. Most club tracks use predictable 8-bar and 16-bar blocks because DJs need clean mix points.
Use automation to create movement
Automation means recording changes over time, like a filter opening during a build. Start simple. Automate an Auto Filter cutoff on a pad from 300 Hz to 8 kHz over 16 bars. Automate reverb send up before a break, then pull it down when drums return.
Ableton workflow optimization is not only speed. It is also making sure the track tells you what should happen next.
- Place arrangement locators before polishing sounds.
- Use 8-bar blocks for DJ-friendly section changes.
- Mute elements instead of adding new ones every time.
- Automate filters, sends, and noise risers for movement.
- Print a rough arrangement before mixing details.

Gain Staging, Sidechain, and Metering Made Simple
Gain staging is like water pressure in a house. Too little pressure and nothing feels strong. Too much pressure and pipes rattle. In audio, gain staging means setting volume levels through the whole signal path so nothing clips or disappears.
For ableton workflow optimization, clean levels make every later decision faster. EQ reacts better. Compression behaves better. Your rough bounce sounds less like a fight.
Set levels before adding polish
Start with the kick peaking around -10 dB on its track. Bring bass in until it supports the kick without covering it. Most beginner mixes fail because the bass is too loud at 80 to 220 Hz. Use EQ Eight to cut a little around 220 Hz if the low mids feel boxy.
Put Utility before heavy plugins and after them. Match the output volume so louder does not trick you into thinking better.
Sidechain is a conversation
Sidechain ducking is like two people talking in a booth. If both speak at full volume, you hear mush. If one briefly makes room, the sentence lands. Put Compressor on the bass, enable Sidechain, choose the Kick as the input, and lower the threshold until the bass dips 2 to 5 dB on each kick.
This small routing habit is classic ableton workflow optimization because it fixes groove and mix space at the same time.
- Keep the master channel out of the red at all times.
- Use Utility for gain matching before and after effects.
- Sidechain bass, pads, and long FX to the kick when needed.
- Check low end in mono before widening anything.
- Leave mastering loudness for the final stage.
Export Presets and Project Folders That Clients Understand
Exporting is like packing cables after a gig. If every lead goes back into the right bag, the next setup is painless. If not, you pay for it later.
Bedroom producers who want ghost production or custom music work need tidy exports. Ableton workflow optimization is not finished until another person can open your files without guessing.
Save export settings you trust
Use WAV at 24-bit for mix exports unless a client asks for something else. Bit depth is the resolution of the audio file. Leave normalise off. Normalise raises the file to a target peak level, which can hide gain staging problems.
Export a full mix, an instrumental, an acapella if vocals exist, and stems. Stems are grouped audio files, such as Drums, Bass, Music, Vocals, and FX. They are easier to handle than 90 separate tracks.
Name files like a grown-up session
Use clear names: Artist_SongTitle_BPM_Key_Version_Date. Example: Nova_River_124BPM_Am_Mix01_2026-02-14.wav. Boring names save real time when revisions start.
Collect All and Save before sending a project. This Ableton command gathers samples into the project folder so missing files do not ruin the handoff. That final housekeeping step is quiet ableton workflow optimization, but clients notice it.
- Export 24-bit WAV files for serious review.
- Leave normalise off unless the delivery spec asks for it.
- Print stems from clean groups, not random soloed tracks.
- Collect All and Save before archiving or sharing.
- Keep revision numbers clear: Mix01, Mix02, Final, Master.
| Tool | Best job | Why it helps workflow | Watch-out |
|---|---|---|---|
| Ableton Live Template | Starting every session cleanly | Tracks, returns, colours, and routing are ready before writing | Do not overload it with unused plugins |
| Ableton Push 3 | Recording clips and drums by hand | Less mouse work, faster idea capture in Session View | Expensive if you only need basic keys |
| Drum Rack | Building reliable drum kits | Favourite kicks, claps, hats, and percussion stay in one place | Messy racks become slow if every pad is random |
| EQ Eight and Utility | Basic cleanup and level control | Stock devices open fast and teach the fundamentals | They will not fix poor sound selection |
| FabFilter Pro-Q 4 | Detailed EQ decisions | Clear analyser and dynamic EQ speed up surgical fixes | Easy to over-edit if you keep staring at the curve |
| Export Presets | Delivering mixes and stems | Repeatable settings reduce mistakes during revisions | Bad file names still create confusion |
Further reading
- Ableton Live manual — Ableton’s official manual is the primary source for Live features, routing, Session View, Arrangement View, and export behaviour.
- Sound On Sound EQ — Sound On Sound is a long-running professional audio publication with practical engineering explanations trusted by producers and mix engineers.
Frequently asked questions
What is ableton workflow optimization for beginners?
ableton workflow optimization means setting up Ableton Live so writing, arranging, mixing, and exporting require fewer repeated decisions. For beginners, that usually means a clean template, organised samples, a few saved racks, simple sidechain routing, and export settings that stay consistent from session to session.
Is Ableton Push 3 necessary to work faster in Live?
No. Push 3 is useful if you like playing drums, launching clips, and recording without staring at the screen. A cheaper MIDI keyboard can still cover the basics. Spend money on Push only when you already know that hands-on control makes you finish more ideas.
How many tracks should a beginner Ableton template have?
Start with 8 to 12 tracks. Kick, Drums, Bass, Chords, Lead, Vocal, FX, and Reference are enough for most electronic sketches. A huge template looks professional, but it often slows beginners down because every blank track feels like another decision waiting to happen.
Should I use stock Ableton plugins or paid plugins first?
Use stock Ableton plugins first for gain, EQ, compression, delay, reverb, and sidechain routing. They are stable and teach the basics clearly. Paid plugins like FabFilter Pro-Q 4 or Soothe2 make sense later, when they solve a specific problem faster than the stock tool.
What is the fastest way to finish more tracks in Ableton?
Move from loops to Arrangement View earlier. Put locators across the timeline, copy the structure of a reference track, then fill the sections before polishing details. Most unfinished tracks are not missing another synth preset. They are missing a visible route from intro to outro.
How should I export stems from Ableton for a client?
Group related tracks first, then export stems such as Drums, Bass, Music, Vocals, and FX as 24-bit WAV files. Leave normalise off unless requested. Use clear file names with artist, title, BPM, key, version, and date so revisions stay organised.
Conclusion
Ableton workflow optimization is not about turning music into office work. It is about giving your creative brain fewer small jobs while the track is still alive. Start with one default template, five browser Collections, a tight Drum Rack, a few saved effect racks, and a simple export routine. Add Push 3, FabFilter Pro-Q 4, or Soothe2 only when the basic flow is already working.
Try this in your next session: spend 30 minutes building the template, then make one 60-minute sketch without changing the setup. If the session feels calmer, save it. That is the point.
Ableton workflow optimization — Quick Recap
The fastest way to lock in ableton workflow optimization is to internalise the workflow above and repeat it on every project. Start small: pick one technique from this ableton workflow optimization guide, apply it to your next session, and audit the result against a reference track.
- A small Ableton template beats a huge one if it helps you start faster.
- Controllers help when they reduce mouse work, not when they add another setup chore.
- Collections and Drum Rack matter because fast sound choice protects the idea.
- EQ Eight, Utility, Compressor, and saved racks are enough for serious early progress.
Treat ableton workflow optimization as a habit, not a one-off — the producers who consistently nail ableton workflow optimization are the ones who run the same checks on every track. That’s the difference between a clean, club-ready master and a track that sounds great at home but falls apart on a real system.
In a real studio session, ableton workflow optimization comes down to the order in which you make decisions: reference first, gain stage second, then the creative work. Producers who treat ableton workflow optimization as a checklist instead of a vibe end up shipping more tracks.
Most producers and DJs undervalue ableton workflow optimization because the wins are invisible until the track plays back on a real system. Bake ableton workflow optimization into your template and the next ten projects benefit automatically.
When you struggle with ableton workflow optimization, the fix is rarely a new plugin. Loop a problem section, A/B against a reference, and isolate which element is breaking your ableton workflow optimization.
Treat ableton workflow optimization as a craft, not a chore. The producers releasing on the biggest labels lock ableton workflow optimization in early so they can spend their energy on melody and arrangement instead of fighting the mix.
Document your ableton workflow optimization process — even a short note in the project file. Future-you will rebuild the same ableton workflow optimization win in half the time.
My Career makes videos from your own track and posts them for you, pitches your release to 34,000+ labels, playlists, radio stations, YouTube channels and blogs, puts it in every store and briefs you every morning. Free plan, no card, two minutes to set up.