 By TGP Production Desk · October 2, 2026
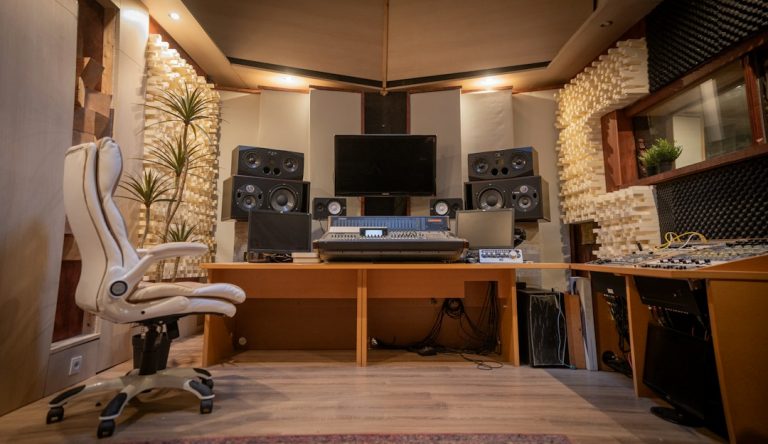
My ableton live beginner wake-up call happened at 1:40 a.m. in a rented writing room above a small techno bar, with a 124 BPM loop that sounded huge for eight bars and useless everywhere else. I had a kick, a closed hat, one Drift bass patch, and Ableton Live staring back at me like I owed it rent. The artist needed a one-minute demo before breakfast. No grand album plan. Just a clean idea that moved.
That ableton live beginner session taught me the path I still give new producers: build one 60-second track, not a folder of abandoned loops. Setup matters, but only if it gets sound moving faster. Arrangement matters more than adding another synth. A rough finish teaches more than a perfect four-bar loop.
The ableton live beginner Project: One 60-Second Track
The mistake I made for years was treating Live like a museum. I clicked every browser category, auditioned every preset, and called it learning. It was avoidance with a metronome.
For this first project, keep the target rude and small: a 60-second electronic track with intro, groove, break, drop, and ending. If it feels too short, good. Short exposes weak decisions fast.
The ableton live beginner Setup That Stays Out of the Way
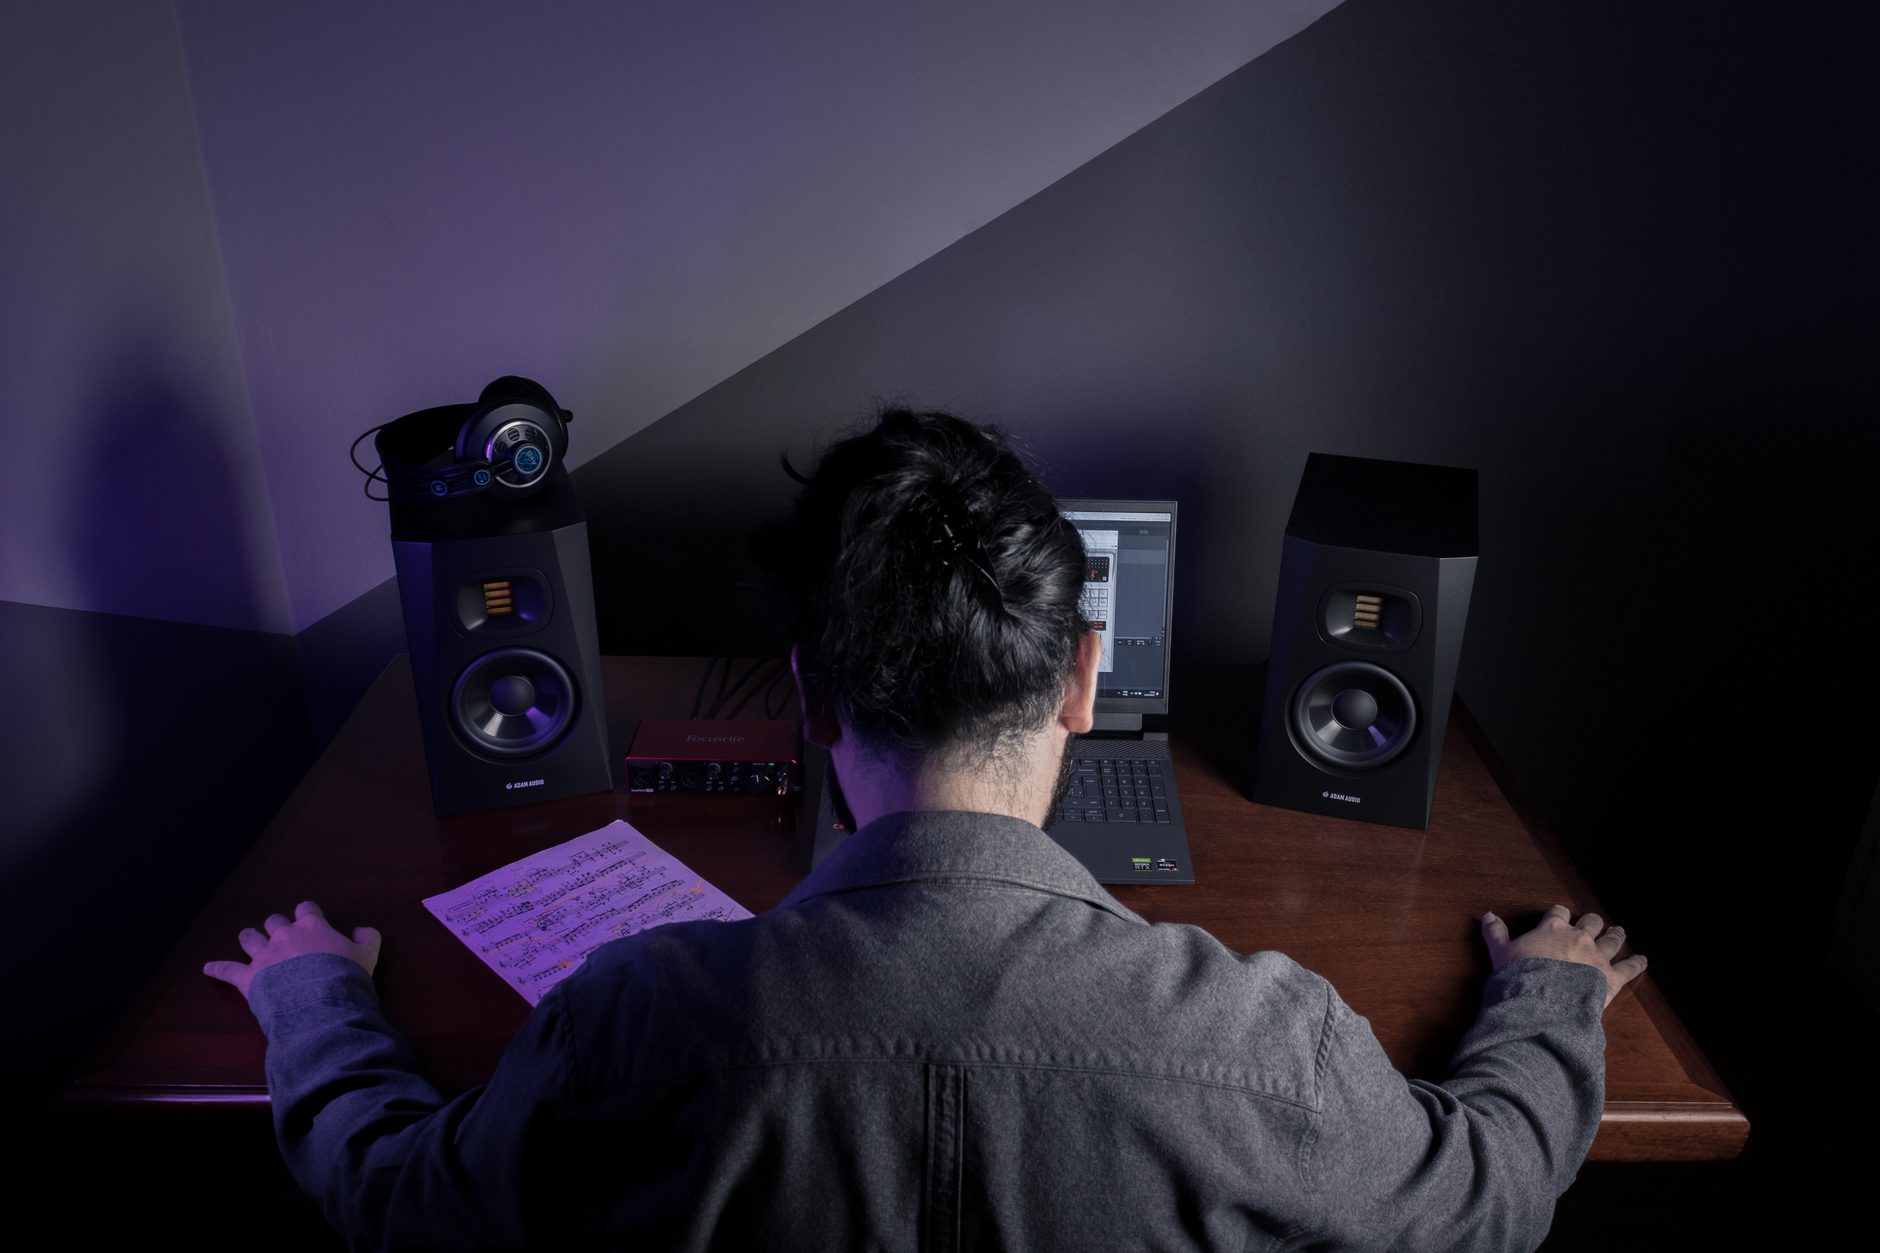
Open a blank Live Set. Set tempo to 124 BPM if you are aiming at house or melodic techno. Use 48 kHz sample rate if your interface and CPU handle it, otherwise 44.1 kHz is fine. Set buffer size to 128 samples while playing parts, then 512 samples when mixing.
Create five tracks before writing: Drum Rack, Bass, Chords, Lead, FX. Name them now. Color them now. Future you will be less angry.
- Tab: switch Session and Arrangement view
- Cmd/Ctrl + D: duplicate clips or time
- Cmd/Ctrl + E: split clips at the cursor
- B: draw mode for MIDI notes and automation
- A: show automation lanes
Screenshot the Boring Stuff First
I tell new producers to take screenshots before the music gets exciting. Capture your audio preferences, your empty track layout, and your first eight-bar loop. Those screenshots become proof that the mess has stages. They also make it easier to spot when a later version got worse.
Common early mistake: recording everything too loud. Keep the master peaking around -6 dB. Live’s meters should move, not pin themselves red like a cheap club mixer on New Year’s Eve.
- Target length: 60 seconds, no exceptions for the first pass
- Tempo: 124 BPM for a club-friendly house template
- Tracks: drums, bass, chords, lead, FX
- Headroom: master peaks near -6 dB
- Screenshots: preferences, track layout, first loop
Build the Eight-Bar Engine Before You Touch Arrangement
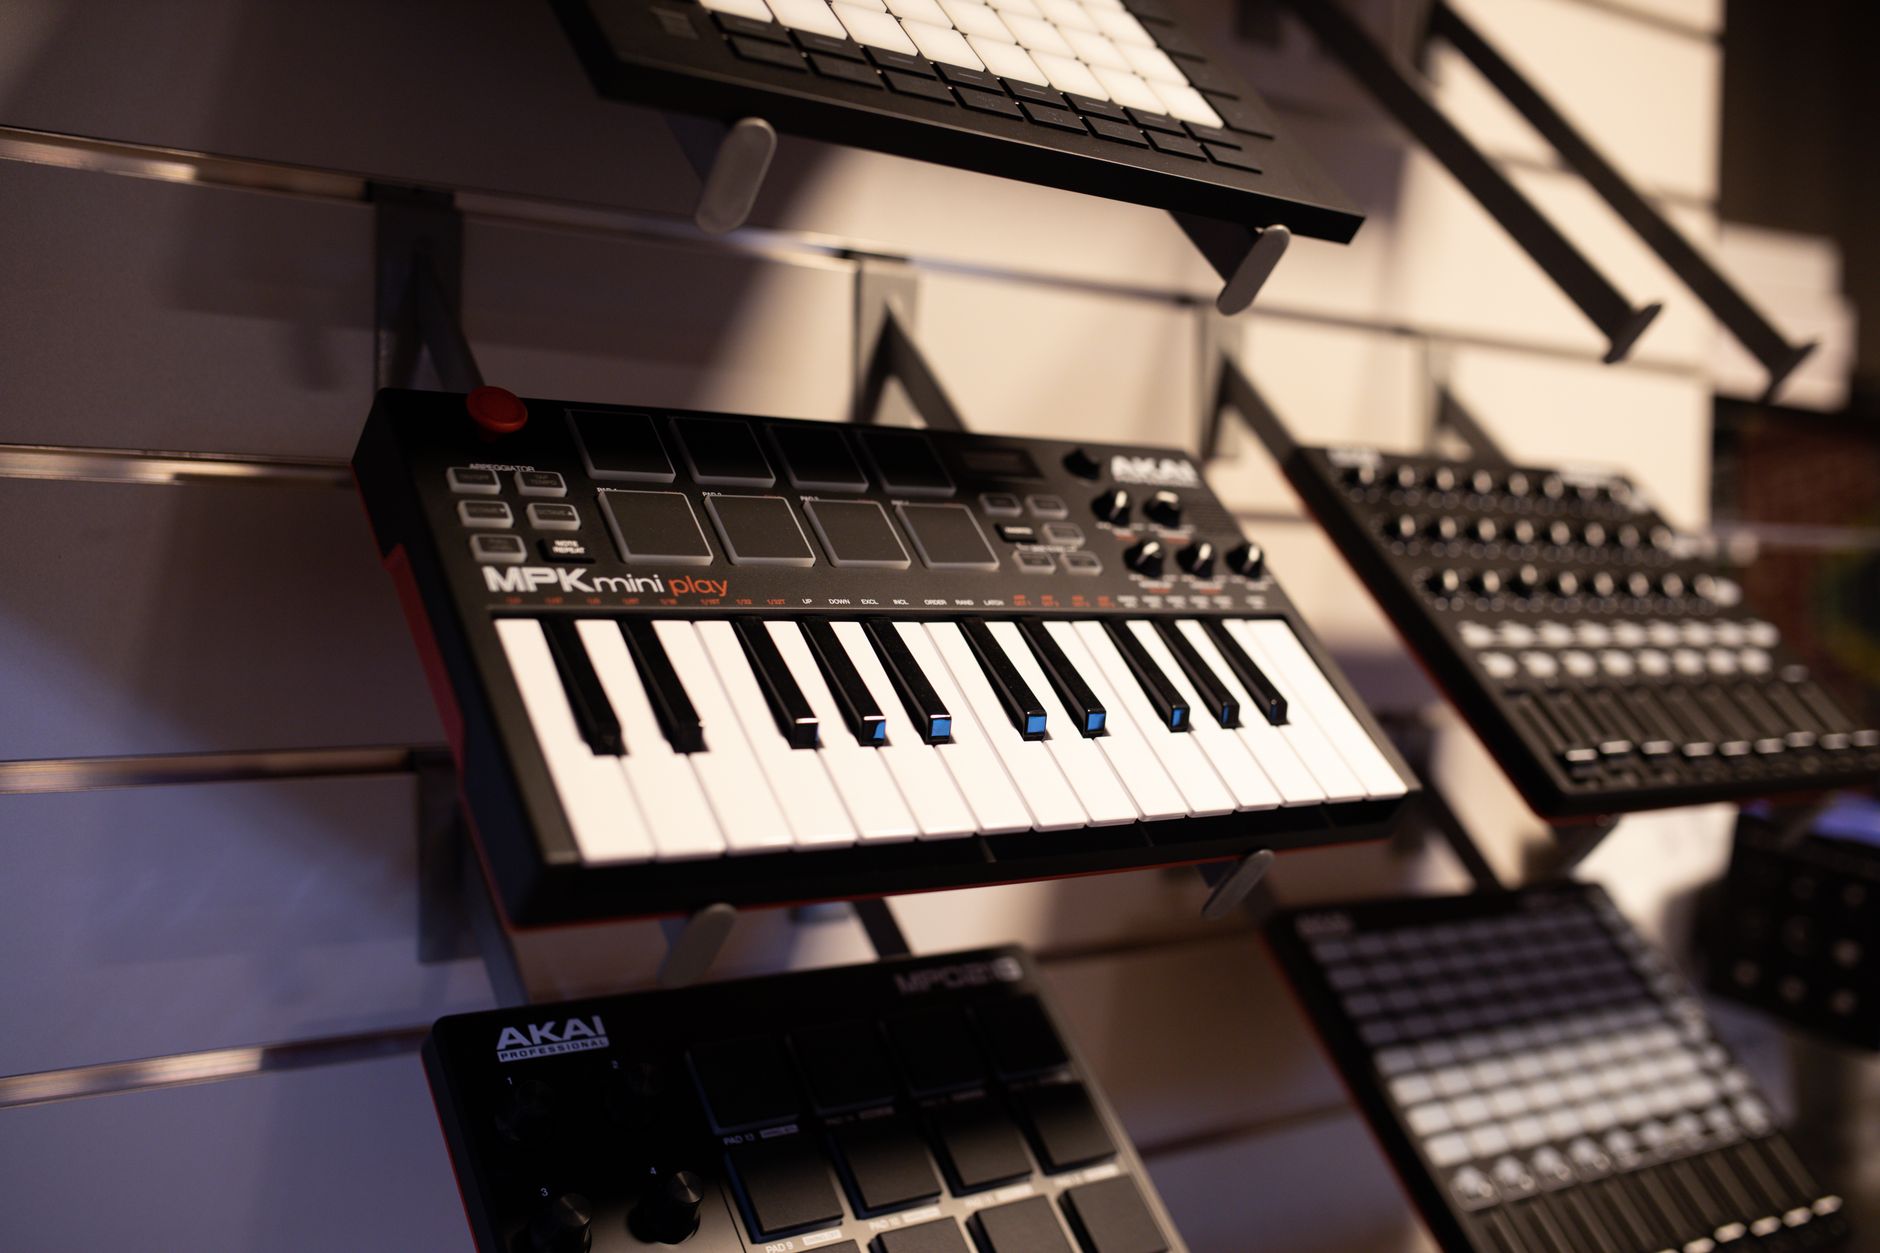
That late-night demo did not start with a melody. It started with the kick. Four kicks per bar, clap on beats two and four, offbeat hat, then one bass note that answered the kick. Boring on paper. Useful in speakers.
The eight-bar engine is where the track earns its pulse. Do not decorate yet. Make the loop nod.
Program Drums Like a DJ Will Hear Them
Load a Drum Rack. Pick a tight kick, not the biggest one in the folder. Put the kick on every quarter note. Add clap on beats two and four. Place a closed hat on the offbeats, then add a quiet shaker at 16th-note resolution with a few hits pulled down to 60-70 velocity.
If the groove feels stiff, nudge one shaker lane late by 5-10 ms. Do not swing the whole kit wildly. Club drums need spine.
Bass Comes After the Kick
Use Drift, Operator, or any simple subtractive synth. Start with a saw or square wave, low-pass around 180 Hz, short decay, no huge release. Write a one-bar bass phrase that leaves room after each kick.
Sidechain it with Live’s Compressor. Set sidechain input to the kick, ratio 4:1, attack 1 ms, release around 120 ms. Aim for 3-5 dB of gain reduction. You should feel the pump before you hear the compressor working.
- Kick on quarter notes
- Clap on beats two and four
- Offbeat hat for motion
- Bass filtered around 180 Hz to start
- Sidechain bass by 3-5 dB from the kick

Turn the Loop Into a Minute Before You Judge It
The loop from that bar-room session sounded finished until I copied it across Arrangement view. Then it felt like wallpaper. That is the point. Arrangement makes the lie visible.
Drag the eight-bar loop into Arrangement and build a crude 60-second shape. No mix decisions yet. Just movement.
Use Five Blocks, Not Endless Tweaks
Work in 4-bar or 8-bar chunks. The first minute can be brutally simple: 8 bars intro, 16 bars groove, 8 bars break, 16 bars drop, 4 bars outro. That is slightly over a minute at 124 BPM, close enough for a learning pass.
Mute parts instead of adding parts. Remove the kick for the break. Filter the chords down with Auto Filter. Bring the hat back one bar before the drop. Small changes read bigger than new producers expect.
Screenshot the Arrangement, Then Commit
Take one screenshot of Arrangement view when the structure is visible. This is the screenshot that stops loop addiction. If the whole track only has one solid idea, the picture will show it.
Use 0 to deactivate clips without deleting them. Use Cmd/Ctrl + J to consolidate messy edits. If the drop does not feel stronger than the intro, remove something from the intro rather than stacking more on the drop.
- Intro: 8 bars with filtered drums or chords
- Groove: 16 bars with kick, bass, and main rhythm
- Break: 8 bars with kick removed
- Drop: 16 bars with the strongest version of the loop
- Outro: 4 bars for a clean ending
Mix Like You Are Protecting the Idea
When the demo finally had a shape, I wanted to start polishing. Bad instinct. A beginner mix should protect the idea, not audition every plugin on the laptop.
Use Ableton’s stock devices first. They are enough for a first pass, and they teach the signal flow instead of hiding it behind presets.
Three Moves That Fix Most Beginner Mess
Put EQ Eight on the chord track and high-pass around 120 Hz. If the bass and kick feel cloudy, cut the bass gently around 220-300 Hz by 2-3 dB. Use Utility to make bass mono below your sub range by keeping stereo widening away from low parts.
On the drum group, try Glue Compressor with 2:1 ratio, slow attack, auto release, and only 1-2 dB of gain reduction. If the groove gets smaller, bypass it. The bypass button is a production tool.
Common Mistakes I Still Hear in First Bounces
The most common ableton live beginner problem is not bad taste. It is too much happening in the same range. Big kick, big bass, wide pad, loud lead, all fighting below 300 Hz. The second problem is exporting one bounce and never checking it anywhere else.
- Do not master into a limiter while still arranging.
- Do not put reverb on the kick.
- Do not widen the sub bass.
- Do not judge low end on laptop speakers.
- Do not keep a part just because it took ten minutes to make.
- High-pass chords around 120 Hz
- Cut bass mud around 220-300 Hz if needed
- Keep low bass centered
- Use Glue Compressor lightly on drums
- Bypass every mix move to prove it helps

Export, Check, and Keep the Practice Checklist
At 3:12 a.m., I bounced that one-minute demo and walked downstairs to hear it through the bar’s tired PA. The bass was too loud. The clap was perfect. The arrangement worked. That was enough to send a version and sleep.
Finishing teaches faster when the export is part of the lesson.
Bounce Settings That Do Not Create Extra Problems
Set the loop brace around the full track. Export WAV at 24-bit, sample rate matching your session. Leave Normalize off. Use dither only if exporting 16-bit. Make a separate 320 kbps MP3 if you need an easy phone check.
Name the file like a working producer: artist_track_124bpm_v01.wav. Version numbers save sessions. Random names kill them.
Downloadable Practice Checklist
Use this as the downloadable practice checklist for the next session. Print it, save it to Notes, or keep it beside the laptop. The point is not romance. The point is finishing.
- Create five named tracks before writing.
- Build one eight-bar groove.
- Arrange a full 60 seconds before mixing.
- Keep the master peaking near -6 dB.
- Take three screenshots: setup, loop, arrangement.
- Export WAV and MP3.
- Check on headphones, phone speaker, and one larger system.
- WAV export: 24-bit
- Normalize: off
- Dither: only for 16-bit files
- Phone check: 320 kbps MP3
- Filename: artist_track_bpm_version
| Decision | Use This | Why It Works | Avoid |
|---|---|---|---|
| Starting view | Arrangement view after the first loop | It forces a beginning, middle, and ending | Staying in Session view for hours |
| First synth | Drift or Operator | Simple controls make sound design less distracting | Layering five presets before writing notes |
| Low-end control | Sidechain Compressor from kick to bass | Creates space without rewriting the groove | Turning the bass down until it disappears |
| Mix target | Master peaks around -6 dB | Leaves headroom and prevents panic clipping | Chasing loudness during arrangement |
Worth a deeper read: Learn Live.
Frequently asked questions
What is the best ableton live beginner project to start with?
A 60-second electronic track is the best first project because it is small enough to finish and long enough to teach arrangement. Build drums, bass, one chord or lead part, a break, and a drop. Avoid full-song pressure until the one-minute version works.
Should I learn Session View or Arrangement View first?
Use Session View to sketch the first loop, then move to Arrangement View quickly. Arrangement View teaches timeline decisions, which beginners need most. If you stay in Session View too long, you can build ten good clips and still have no track.
Can I make a decent track with Ableton stock devices only?
Yes. Drum Rack, Drift, Operator, EQ Eight, Compressor, Glue Compressor, Auto Filter, Saturator, and Utility can finish a solid first track. Third-party plugins are useful later, but they will not fix weak rhythm, cluttered arrangement, or bad gain staging.
How long should my first Ableton Live track take?
Give yourself one evening for the first 60-second version. Two or three hours is enough to set up, write a loop, arrange it, make basic mix moves, and export. The deadline matters because finishing reveals more than endless tweaking.
The short version
- Start with a finished 60-second track, not an open-ended loop.
- Name and color five core tracks before writing anything.
- Build an eight-bar drum and bass engine before adding decoration.
- Move into Arrangement view early so the structure exposes weak spots.
- Use stock Ableton devices for EQ, sidechain compression, and gain control.
- Export, check on multiple speakers, then save versioned files.
Where to go from here
The first finished bounce will not be perfect. Mine was not. The bass was heavy, the lead was plain, and the break needed more tension. Still, it had a start, a lift, a drop, and an ending, which made it more useful than twenty polished loops.
Use this ableton live beginner roadmap as a small pressure test. Open Live tonight, set the tempo, build the five tracks, and finish one honest minute before judging your taste. Then listen back tomorrow and make version two with better ears.
My Career makes videos from your own track and posts them for you, pitches your release to 34,000+ labels, playlists, radio stations, YouTube channels and blogs, puts it in every store and briefs you every morning. Free plan, no card, two minutes to set up.